It’s Feature Friday and I have a treat for you! I’m so happy to have Colleen from Just Paint It guest posting today. Colleen is a wonderful artist who loves to teach others how to paint like the pros! She holds online interactive and video classes too. Colleen is going to show us How to Paint a Holiday Table Runner.
Hi, I’m Colleen and I’m so very excited to be visiting Sand and Sisal today! I’m a longtime admirer of Kim’s and all of her gorgeous projects. I’m a self-taught artist and I blog at Just Paint It where I share painting tips and tricks so anyone can create their own artwork, like this painted holiday table runner.
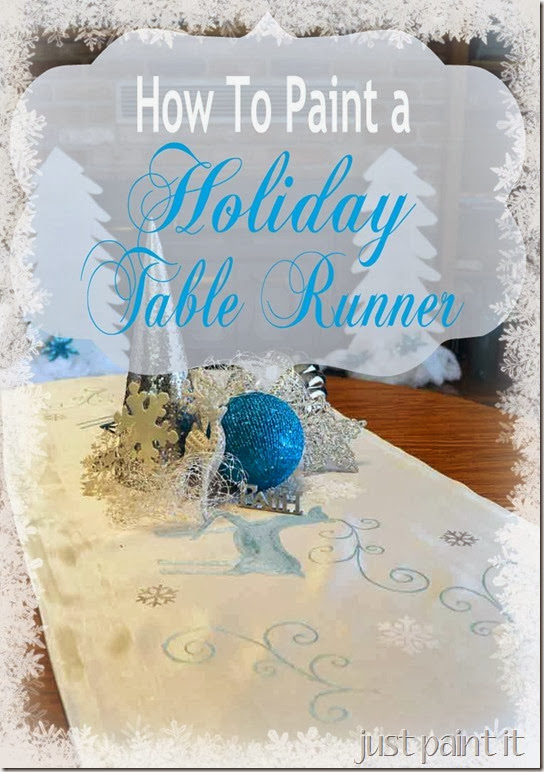 One of the reasons I love to paint home décor projects, besides the fact that it’s just fun, is so I can have the colors I want and also the theme. I have a sitting room attached to my studio and I’m decorating it in whites and light turquoise this Christmas but I couldn’t find anything readymade that I really liked.
A little paint, a stencil, clipart and some thrift store fabric and now I have the perfect table runner, just the way I want it. So while I used a deer and snowflakes, you might want a different theme. And maybe you want burgundy and gold instead of turquoise and silver. You can paint it any way you want to!
So let me show you how to paint a holiday table runner. I’ve included a Supply List at the bottom of the post.
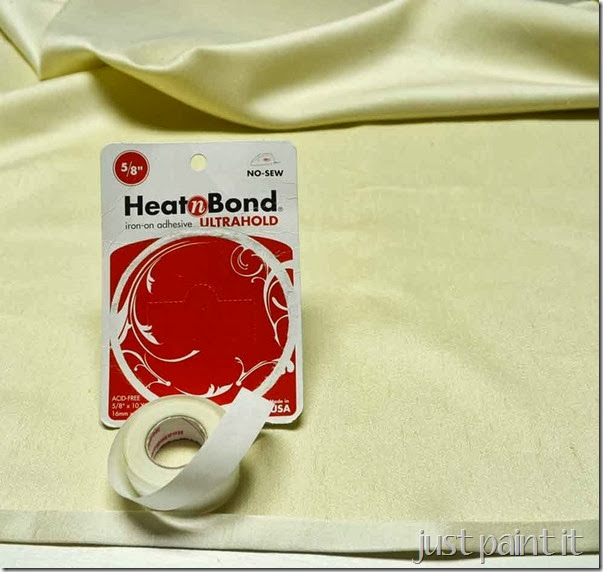 After I decided on the length and width of the runner, I cut it to size, allowing for a hem on all four sides. Then I simply used iron-on adhesive to hem it.
My sewing days are long, long gone but as long as I have this stuff, I can make almost anything I want!
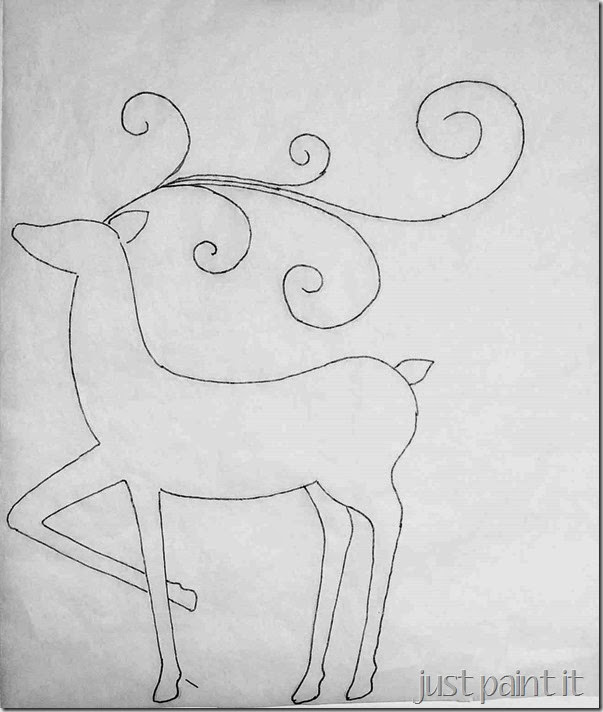
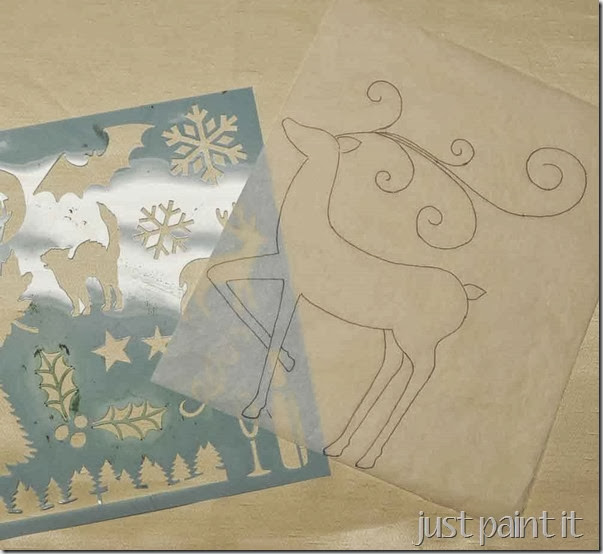 For this project you’ll need a snowflake stencil and my deer pattern. Click on the link and you can download it in any size you want. I’ve also included a photo at the bottom of this post that you can right-click and save to your computer if you choose to do it that way.
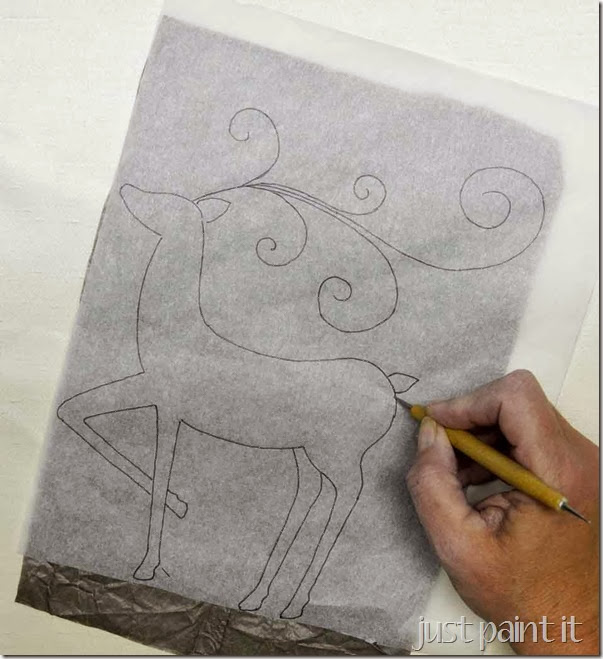 To transfer the deer pattern I use graphite paper, available in any art or craft store. You could also rub a pencil on the back of the pattern, then take a stylus or a ball point pen and trace the outline onto your fabric in the desired position.
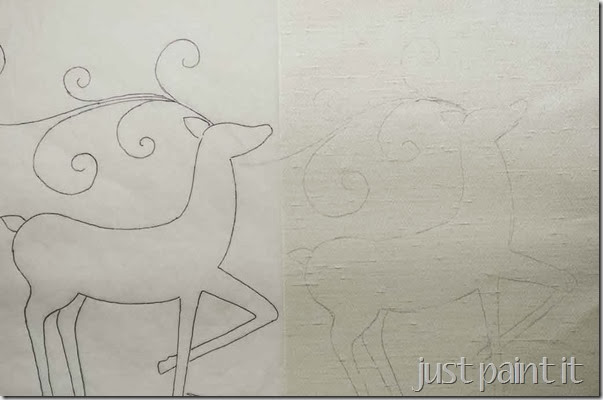 On the right is the transferred image.
Now we just need to paint it!
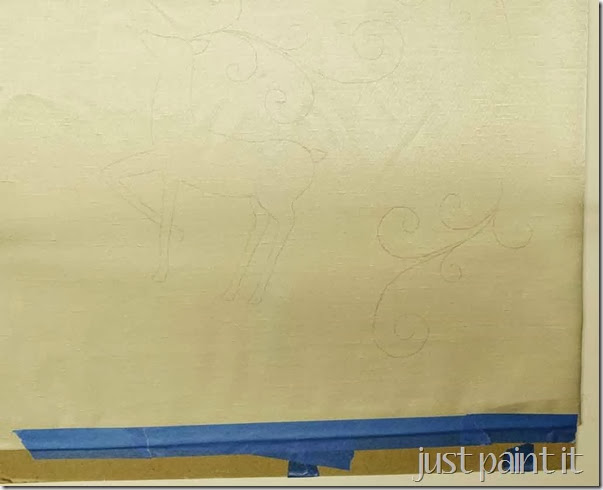 Insert a piece of cardboard behind the fabric to prevent any bleed-through’s and secure the fabric to the cardboard with painter’s tape.
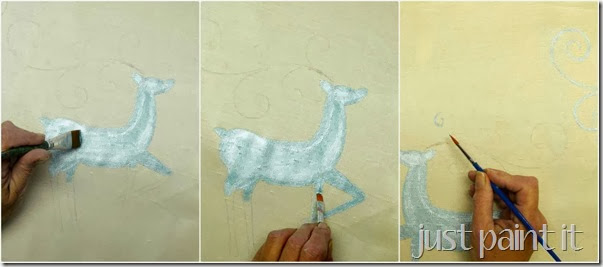 Now you simply color in the pattern. I use as big as brush as possible because it holds more paint, but not so big that I can’t control it. I outlined the deer body with a #6 flat then filled in with a large 3/4 brush. The legs were painted with the #6 and the scrolled antlers with a liner brush. Basically use what works for you, ok?
I did not use textile medium simple because metallic paint glides nicely and I didn’t see the need.
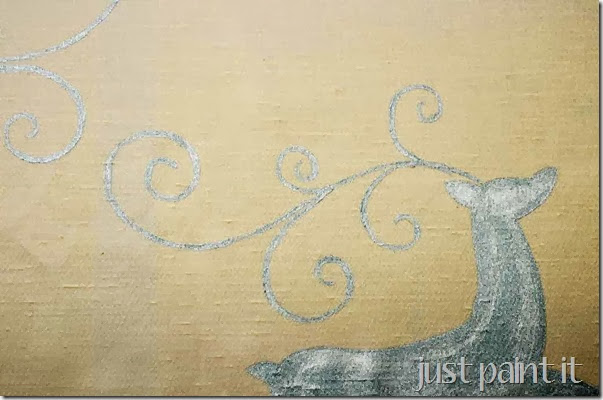 You might need two coats of metallic paint for the deer to get a high shine effect, depending upon your fabric. Fabrics absorb paint so some of the sheen is lost unless you apply two or more coats.
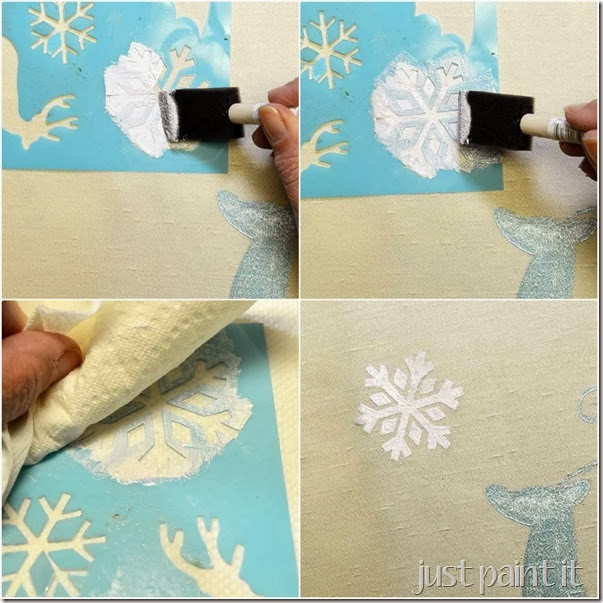 I stenciled two different snowflakes, one white and the other silver. For the white one above, I applied white paint with a foam brush (although you can use any brush you want) then a glitter paint over that, without moving the stencil.
Wipe both sides of the stencil after each snowflake to prevent over-painting.
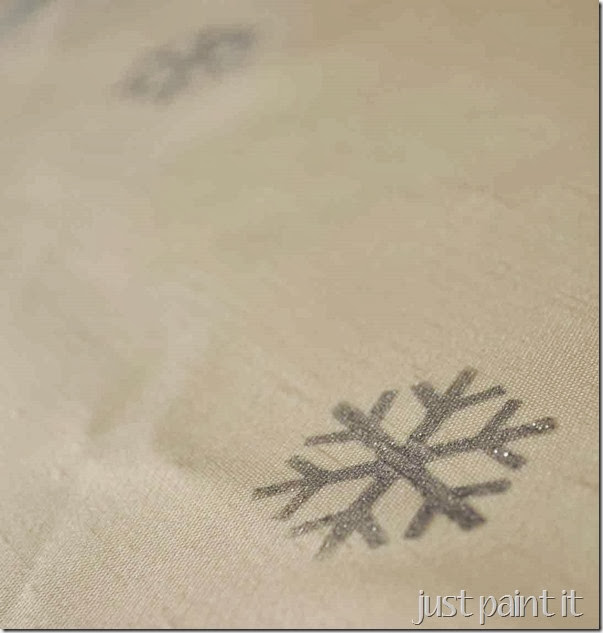 For the silver snowflake I stenciled with a silver metallic paint and then a silver glitter, using a foam brush as above.
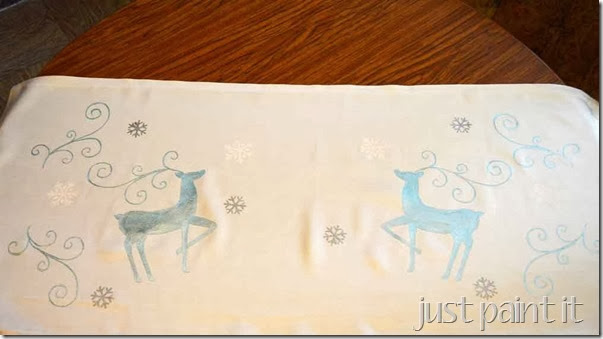 That’s it! Seriously easy, even if you’re not a veteran painter.
When the paint is completely dried, heat-set it by ironing your design, using a press cloth between the iron and the table runner. Once the paint is heat-set, it’s washable.If your fabric is washable, then your runner will be too.
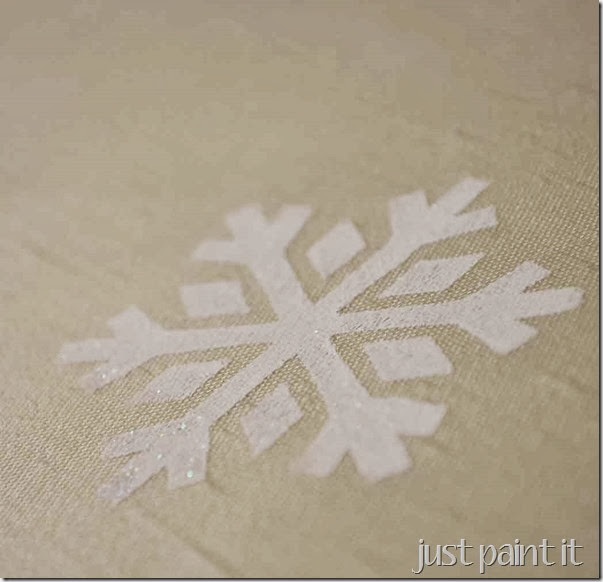 The glitter paint adds a just little sparkle, without going overboard.
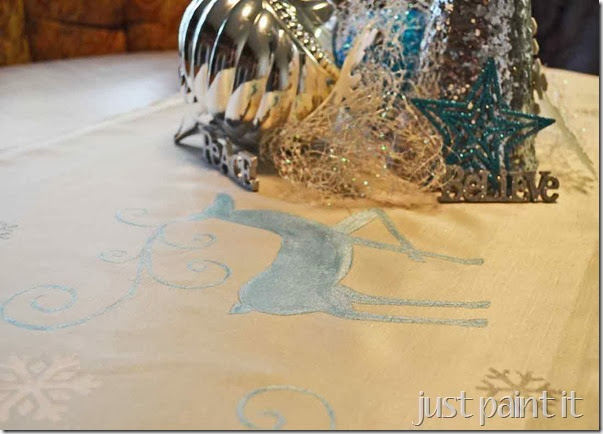 I tend to gather all sorts of sparkly stuff for my holiday tables (and change it around all the time), which is why I left the center portion of the runner blank.
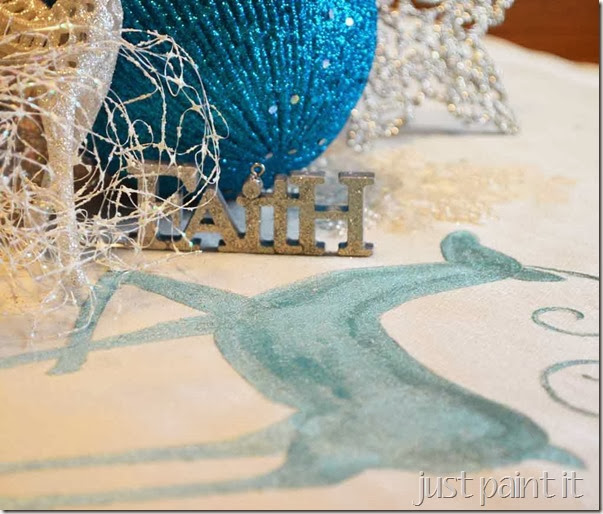 The metallic paint adds a beautiful quality to the fabric. It certainly doesn’t look handpainted.
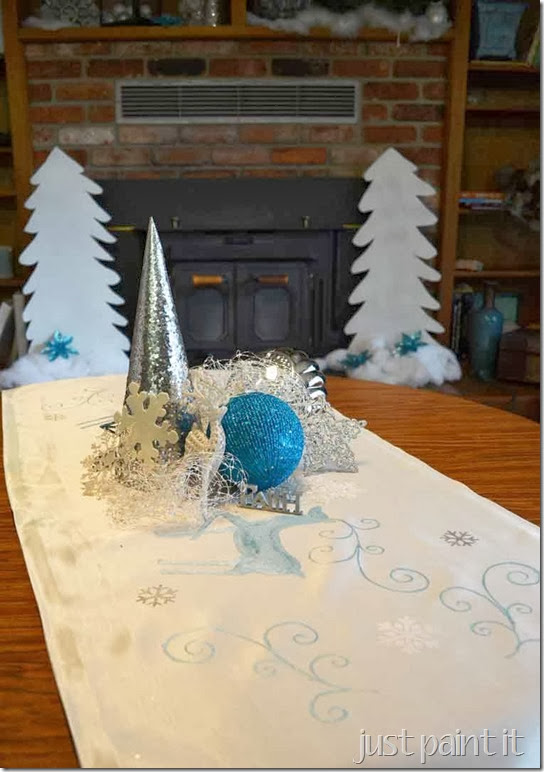 Just the right touch to lighten and brighten my dark little sitting room!
I want to thank you and Kim for having me today. I hope you’ll stop by Just Paint It for more holiday paint projects this season.
Have a very blessed holiday this year!
Supply List
- Fabric for runner (standard runners are 18” wide but I made mine 22”)
- Iron-on adhesive or sewing machine
- cardboard
- painter’s tape
- Deer Pattern
- snowflake stencil
- graphite paper
- stylus or ball point pen
- paint brushes – one liner, #6, 3/4 flat
- two foam brushes
Paints – all are Martha Stewart Craft Paints
- Aquarium – light turquoise metallic
- Wedding Cake – white
- Sterling – metallic silver
- Sterling – silver glitter paint
- Sugar Cube – white glitter paint
Be sure to check out Just Paint It and connect with Colleen on Pinterest, G+, Facebook, and Twitter!

LOVELOVELOVE this idea. I’m hosting Thanksgiving so I’m going to work on a themed runner. Just what I needed. ONE more thing to do LOL
Wow! That’s so beautiful! What a wonderful idea and there is so much you can do with this idea! Thanks so much for sharing!
That turned out so pretty! And although it seems time consuming, it also looks a bit relaxing. I sound crazy, I know. 🙂
WOW!! is one of the words I use to describe this wonderful masterpiece. It is truly stunning!!! Love the beautiful blue color…reminds me of a cold icy day with beautiful icicles on the trees! Very zen….TFS