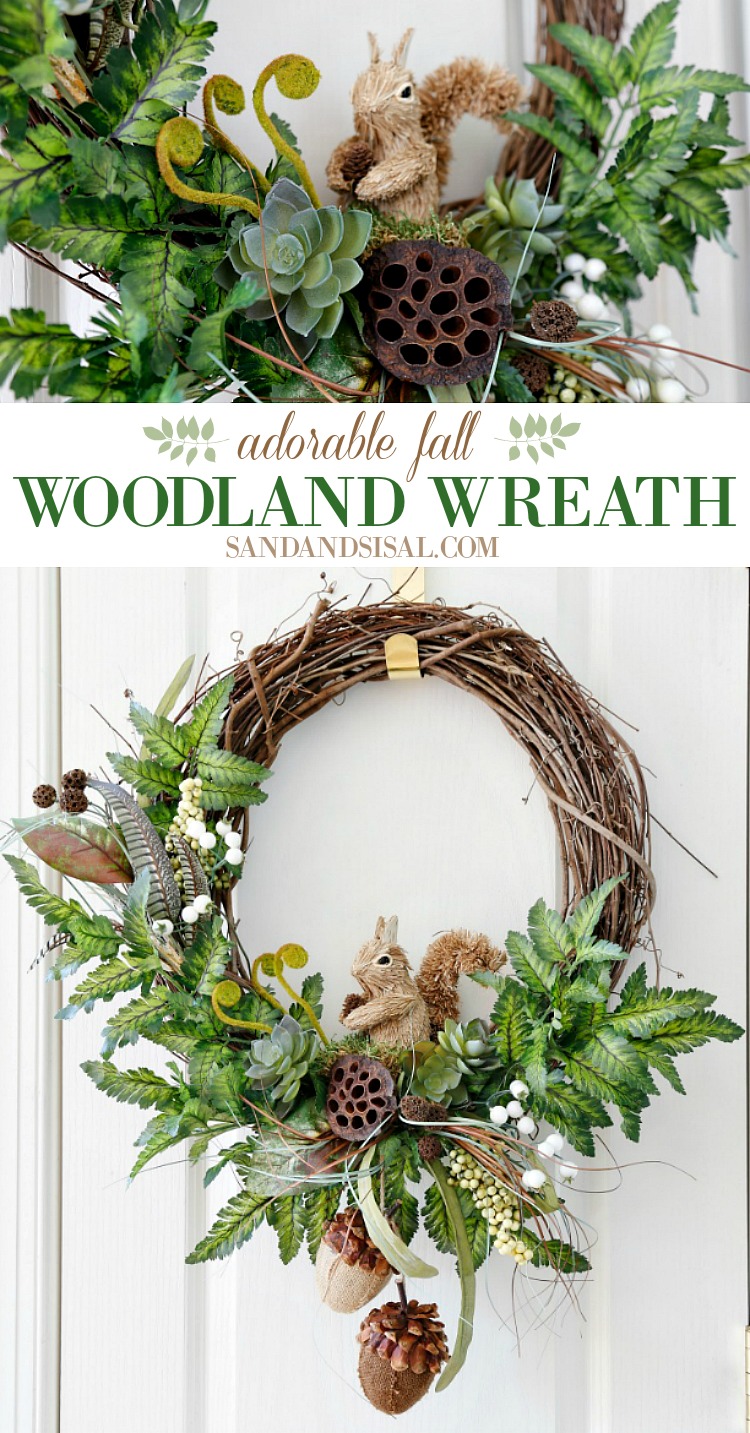
As I sat at my desk writing this post I watched out the window as 2 crazy squirrels chased each other up and down our crepe myrtle trees, showering the ground below with a flutter of leaves as they jumped from limb to limb. As if they knew I was writing about them, one suddenly stopped, posing on the fence and eyed me through the window, flittering his fluffy tale in a little “hello” before scampering off again to play. He must have seen the adorable DIY Fall Woodland Wreath on the front door! At least that is what I’m telling myself. Today I’m going to show you how to make this easy wreath fall wreath.
I don’t know what it is about creating decor crafts, but it fills my soul with happiness, peace, and a sense of satisfaction. Do you feel like that ever when you are creating something beautiful? This week, after the horrible tragedy in Vegas (tragedy doesn’t seem a strong enough word), I needed an escape and being creative is that escape for me. And being able to share it with you all is just the icing on the cake!
I hope that this little fall craft will help bring you a bit of joy too! Let’s get crafting shall we?
DIY Fall Woodland Wreath
I try to use what I have on hand, so for this fall wreath I actually disassembled some old fall wreaths that had seen better days and recycled some of the fall floral picks that were still in good shape.
You will need the following items:
- grapevine wreath
- 1 faux fern stem bunch, cut each stem at the base (available at Michaels)
- 1 lotus pod (Michaels)
- 1 succulent stem, cut each stem at the base (Michaels)
- 2 burlap acorns (AtHome ~ Christmas section)
- straw squirrel (similar at Target, AtHome, Michaels)
- fall berry floral picks (Michaels)
How to Make a Fall Woodland Wreath
TIP: Hang your wreath on a door before assembling. This helps with accurate placement of items and helps achieve a more balanced design.
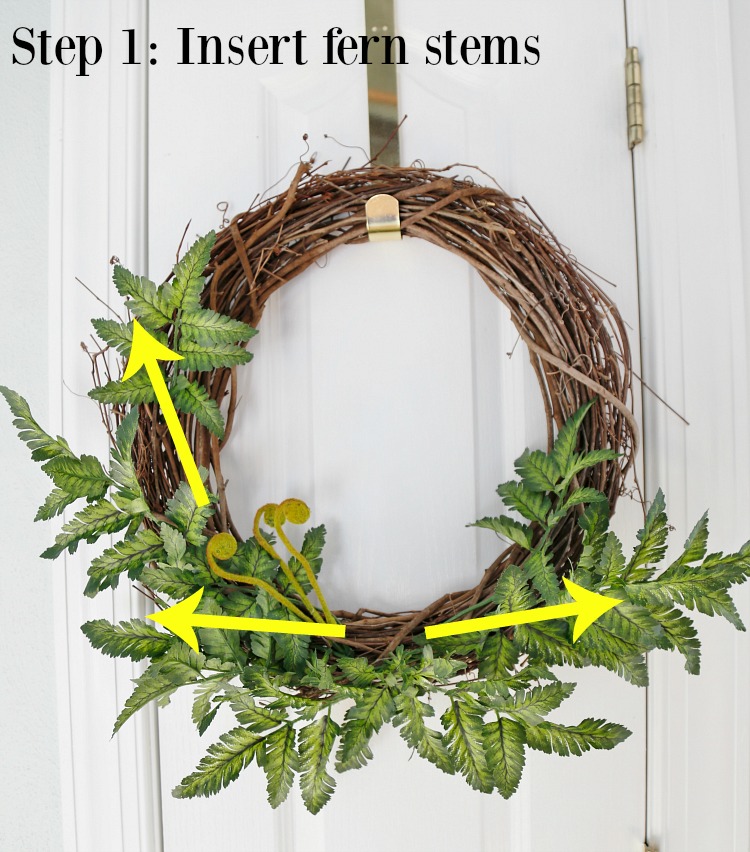
Step 1: Cut the stems off of the fern bunch. Starting at the bottom center of the wreath, insert a few fern stems, splaying horizontally, then insert more fern stems working up the left side of the wreath.
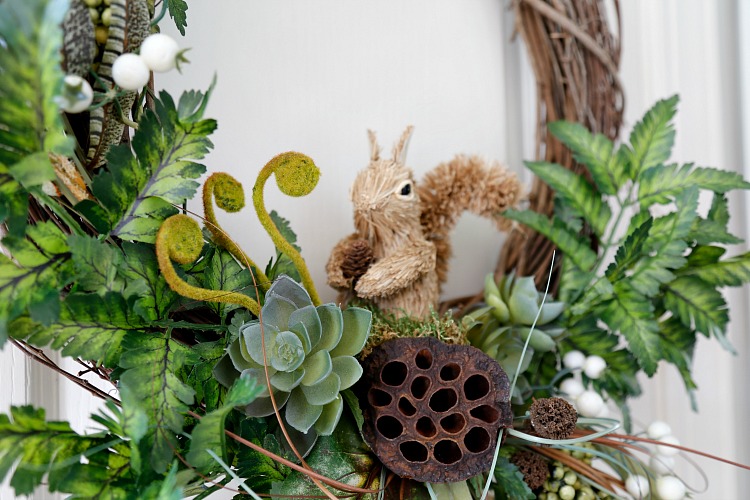
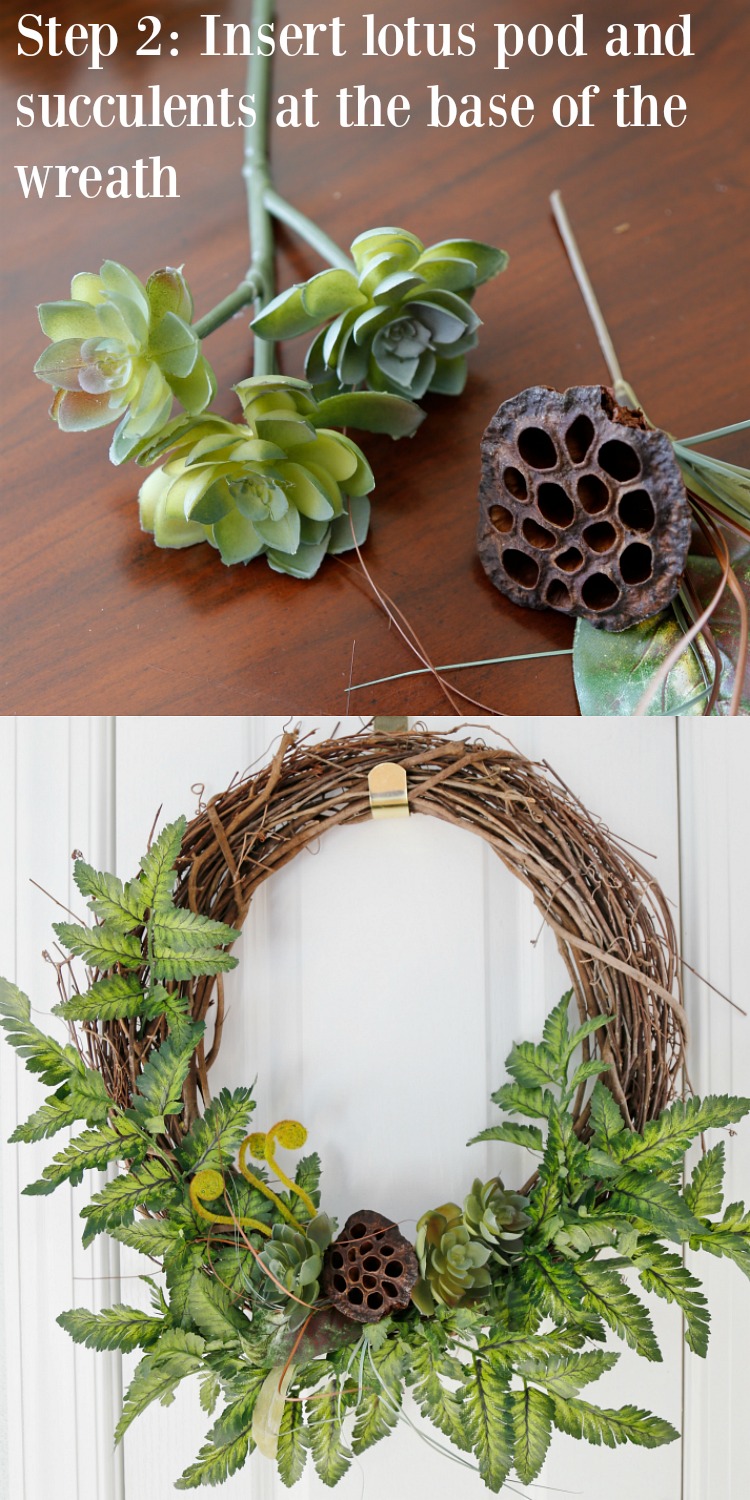
Step 2: Insert the dried lotus pod in the center bottom of the wreath. Cut the succulents apart, leaving a long enough stem to work with. Insert them on either side of the lotus pod. You will simply be tucking these stems inbetween the vines of the wreath. Feel free to wire them in if you feel the need but I haven’t found it is necessary.
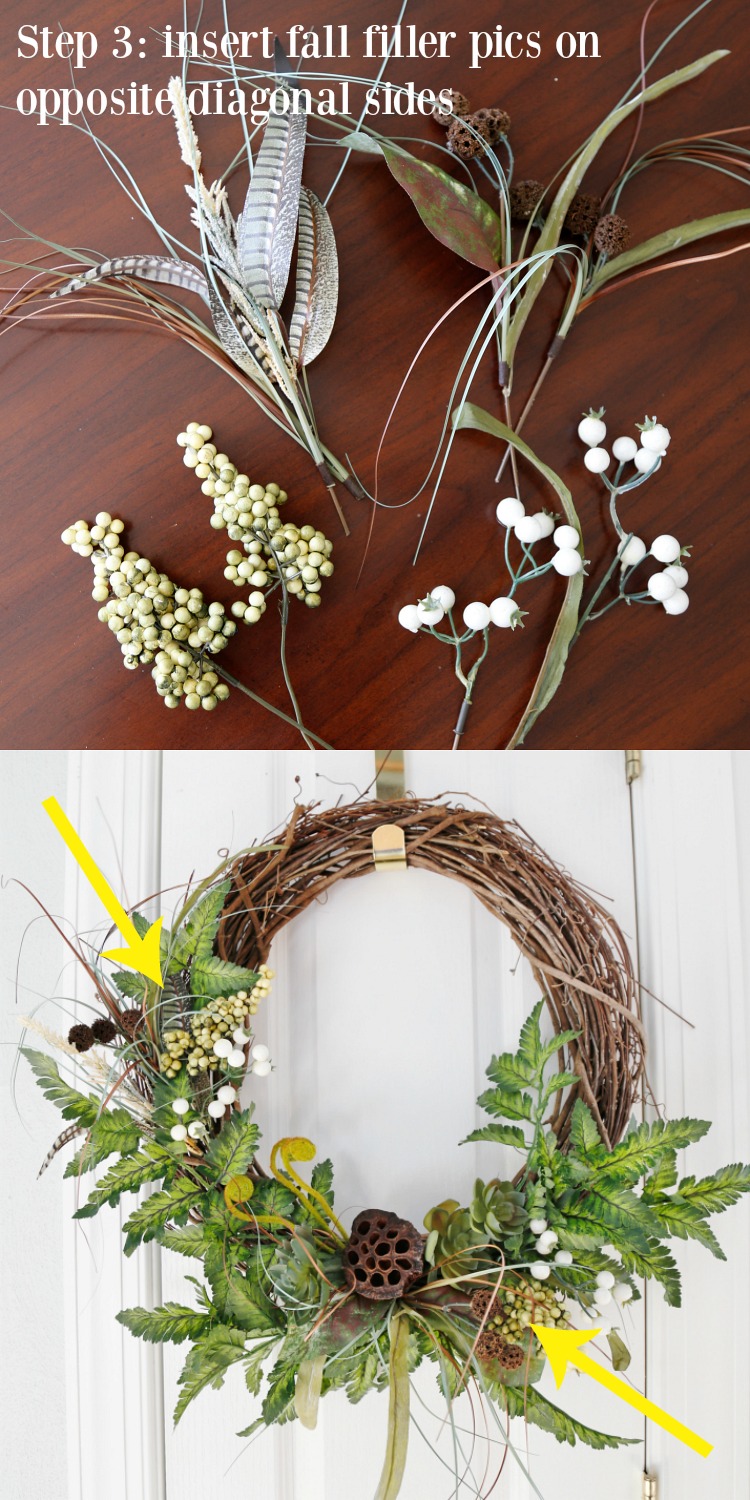
Step 3: Insert a variety of fall filler picks on opposite diagonal sides of the wreath.
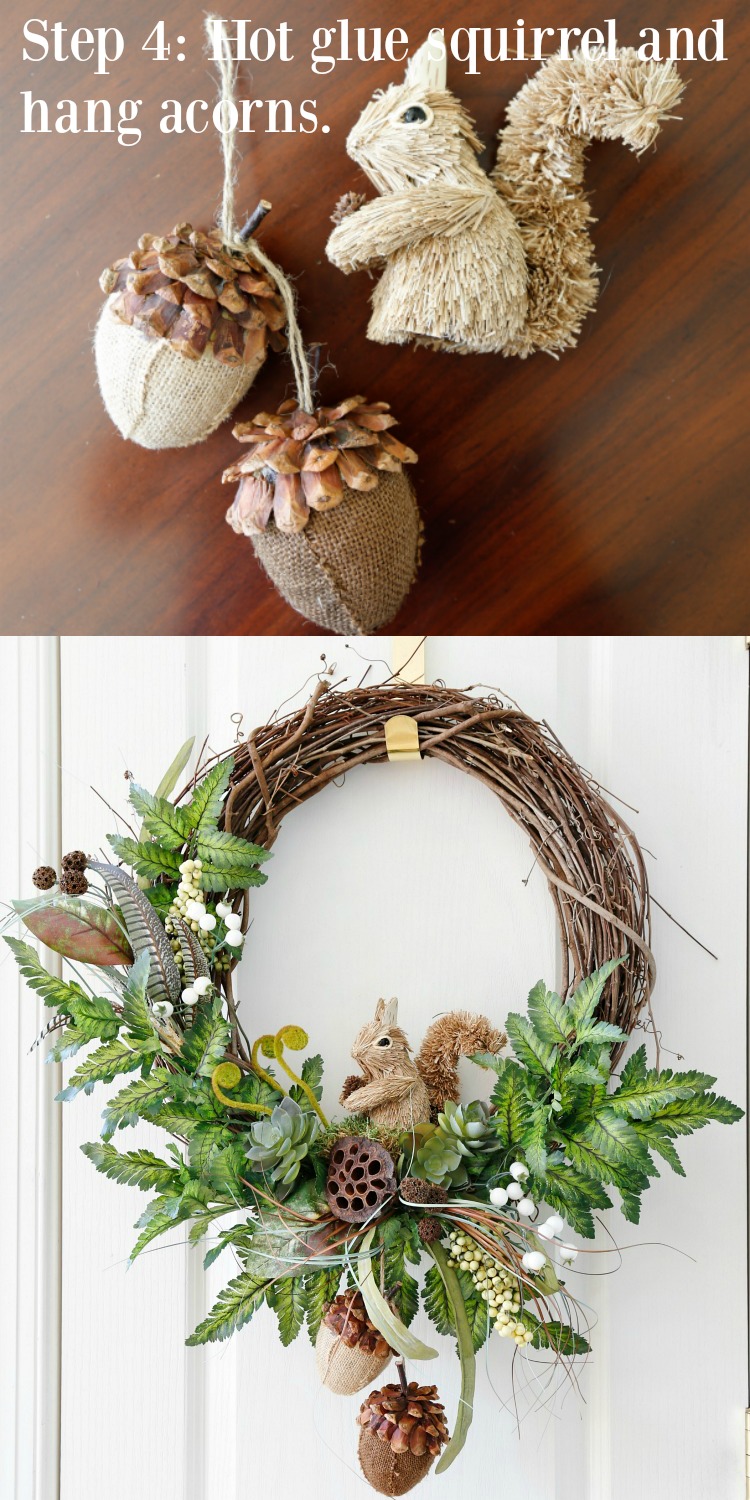
Step 4: Hot glue your cute little squirrel to the wreath and hang the acorns. I simply hooked them over the lotus pod. If you can’t find a squirrel, look for owls, birds, deer, anything that might work. A small white pumpkin in lieu of the squirrel would look great too! Use your imagination and stay in the woodland color theme.
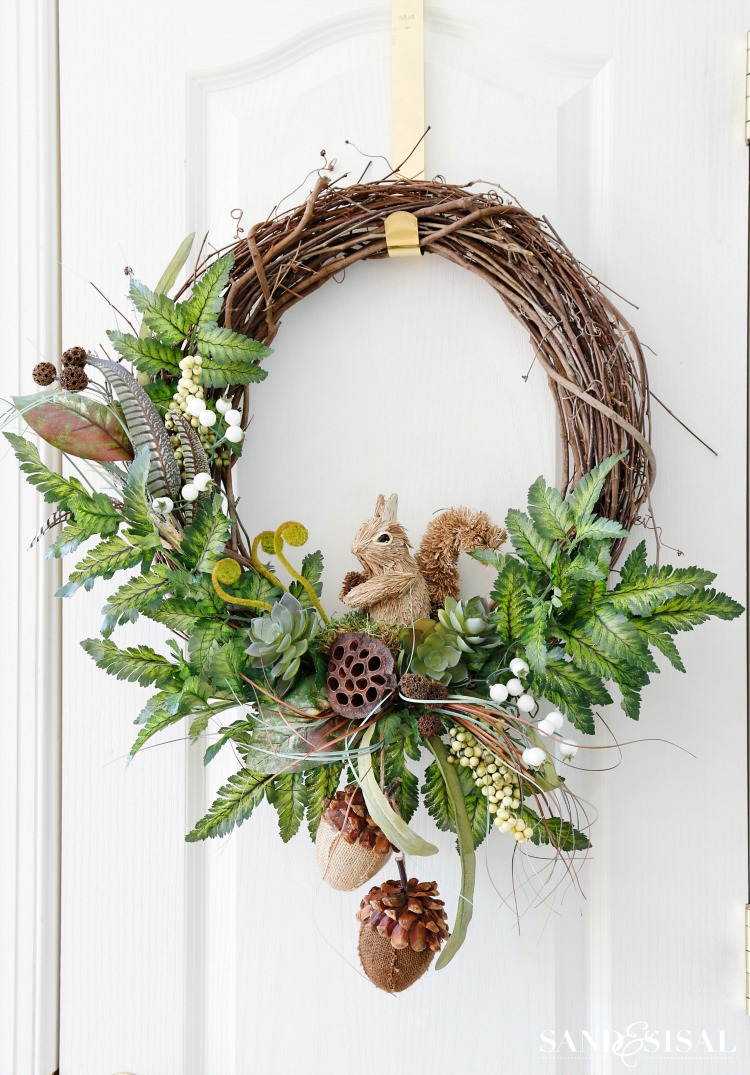
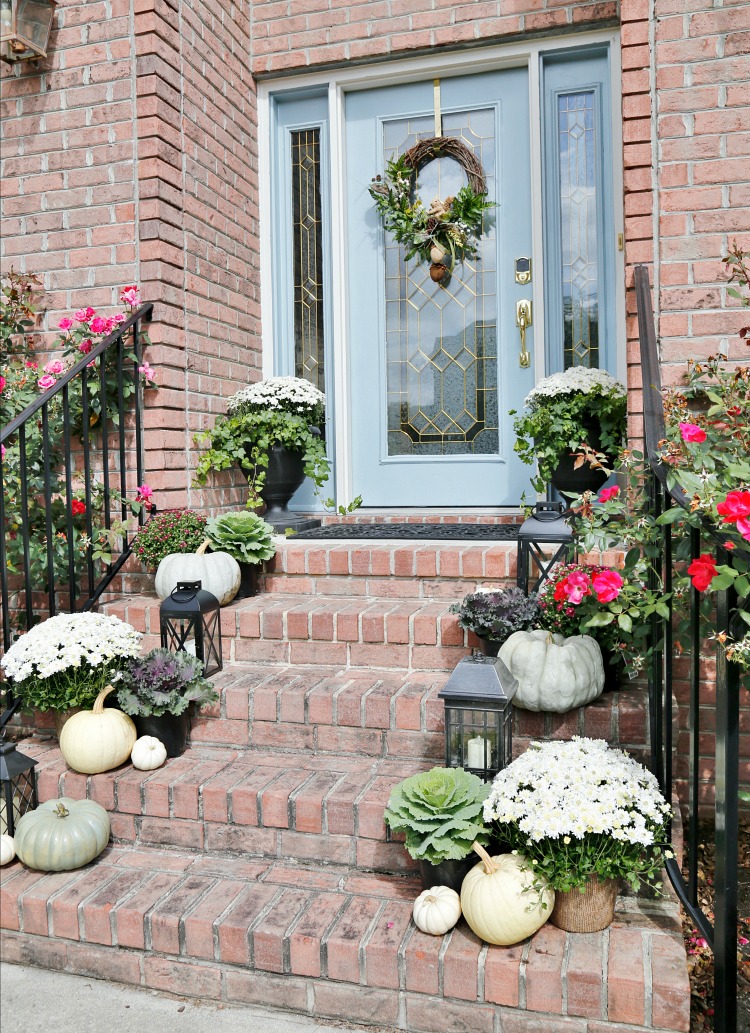
And that’s all there is to it! Here is my DIY Fall Woodland Wreath on the front door of our home and our porch all decorated for fall. This glass door is nearly impossible to photograph, so sorry for not having a close-up.
I kept the porch in the same green and white color palette with just a touch of plum. It’s hard to decorate fall when your roses are bursting with hot pink flowers! They won’t stop blooming until late November here. 😉
I hope you try making this DIY Fall Woodland Wreath yourself! Please feel free to share and pin it for a friend!
Love it? Pin it!
Happy Fall Friends!
KIM
You might also like these posts:

Kim,
This is a beautiful traditional fall wreath. With the squirrel and acorns attached, and the beautiful greenery, this wreath is one that would last for years and could be used every autumn. It is a wonderful creation.
Thank you so much Barbara. I agree that it is quite versatile and would still look lovely without the acorns and squirrel. Maybe a big, fluffy burlap bow instead could work well also. Thanks for taking the time to comment! Have a wonderful weekend! ~ KIM
This is so adorable!! I love it! I featured this as part of a fall wreath diy round-up on my blog- if you’d like to check it out. Thanks so much the inspiration!