I can’t go too many months without reaching into my piles of plastic gallon zip lock bags, stuffed to the seams with seashells, and find something fun and creative to do with them. The shell filled bags inherently come with sand, which is now sprinkled all over my kitchen floor… so goes the life of a beach lover. Hubs mentioned that my shell collection habits are becoming a tad obsessive and so this week I went through the bags and pulled out the shells I NEVER KEEP with intentions to toss them! These are clam shells. Big clam shells are what my little ones always loved to grab up. They are so common and plenitful along the beaches of the OBX (Outer Banks Islands of N.C.), like pinecones littering a forest floor, I usually tossed them aside. But today they have found their beautiful purpose! We are going to put these clam shells to use and make gorgeous Gilded Seashell Salt and Pepper Cellars! These are a must have for any coastal home!
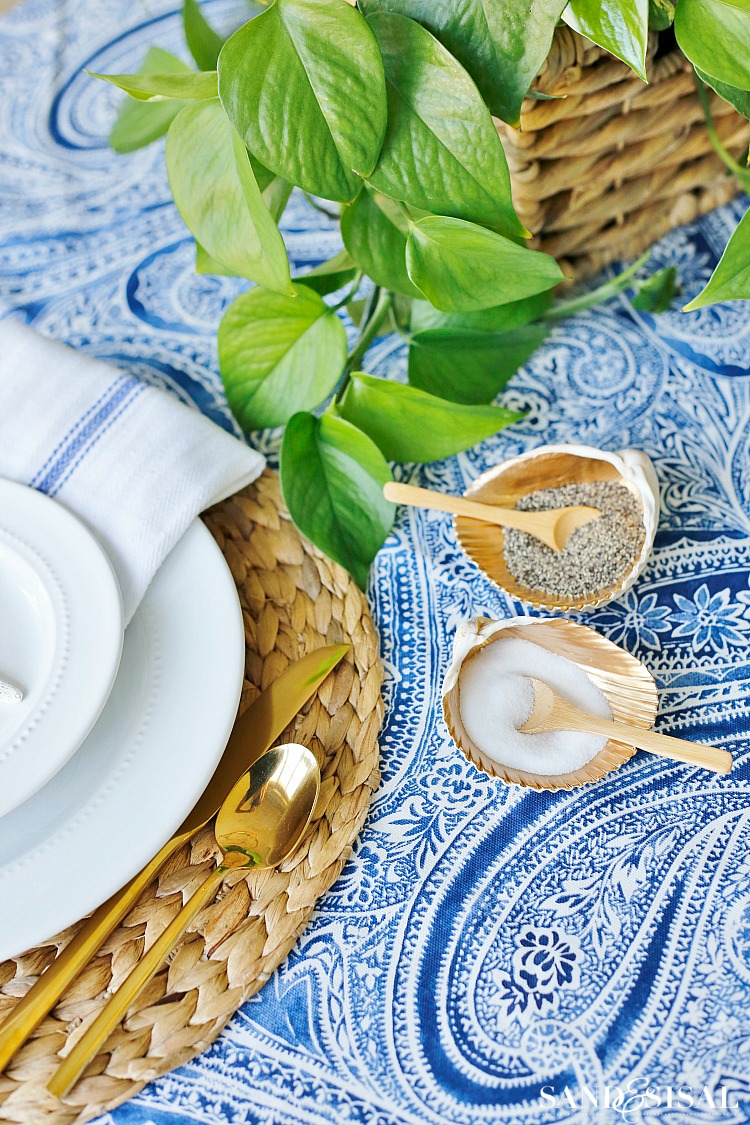
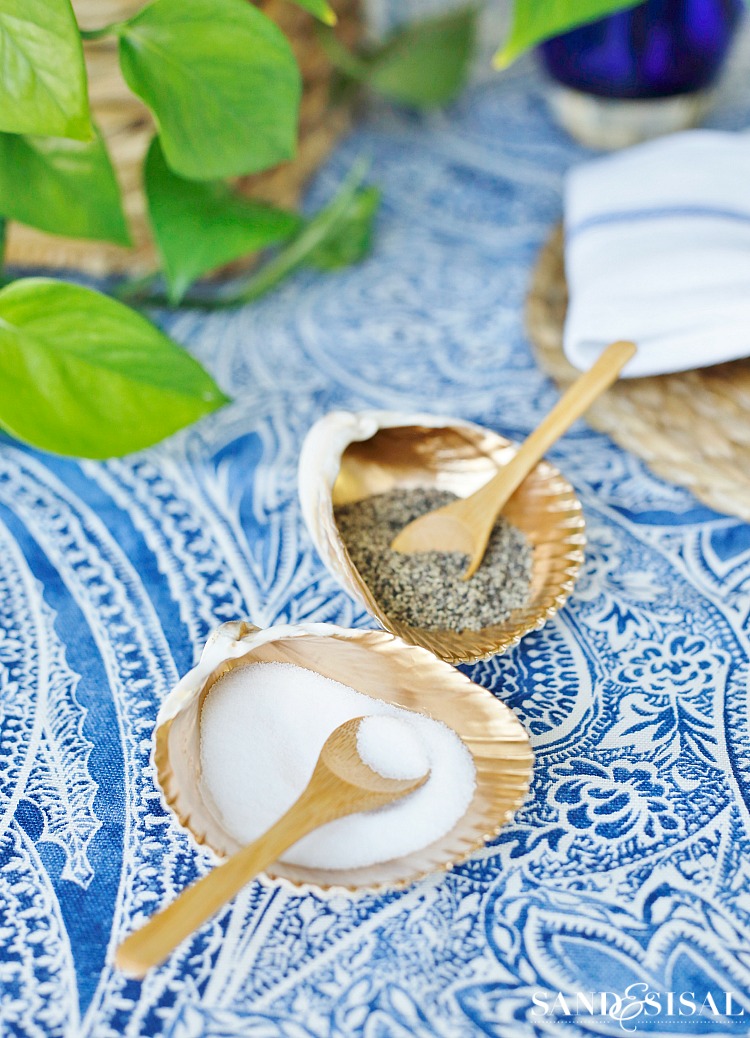
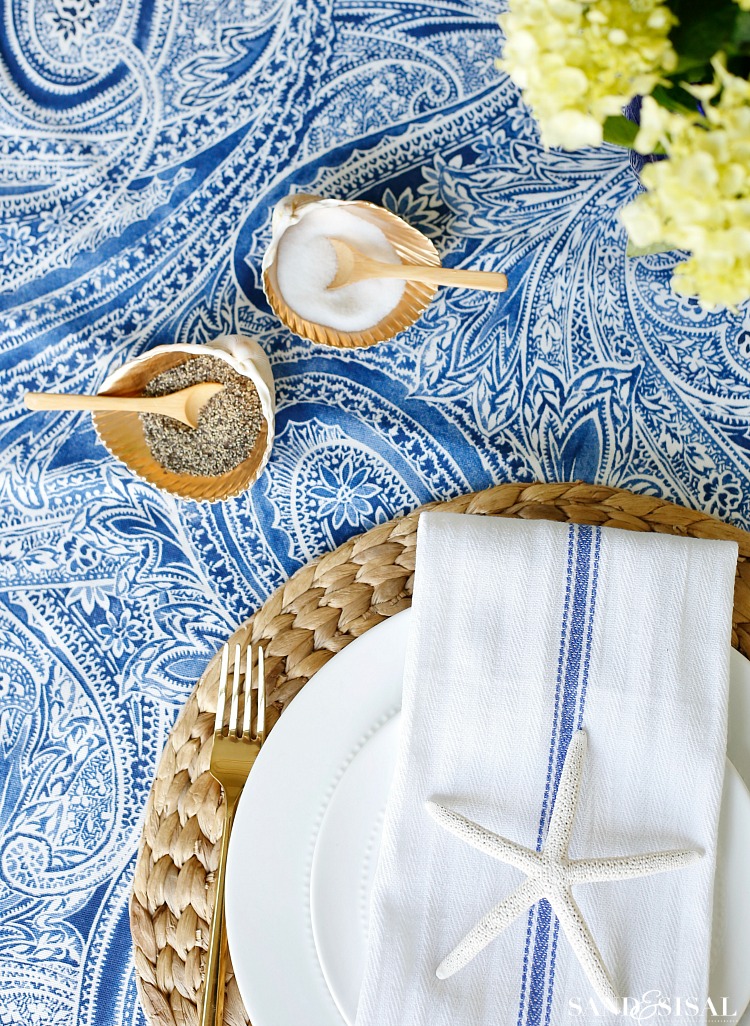
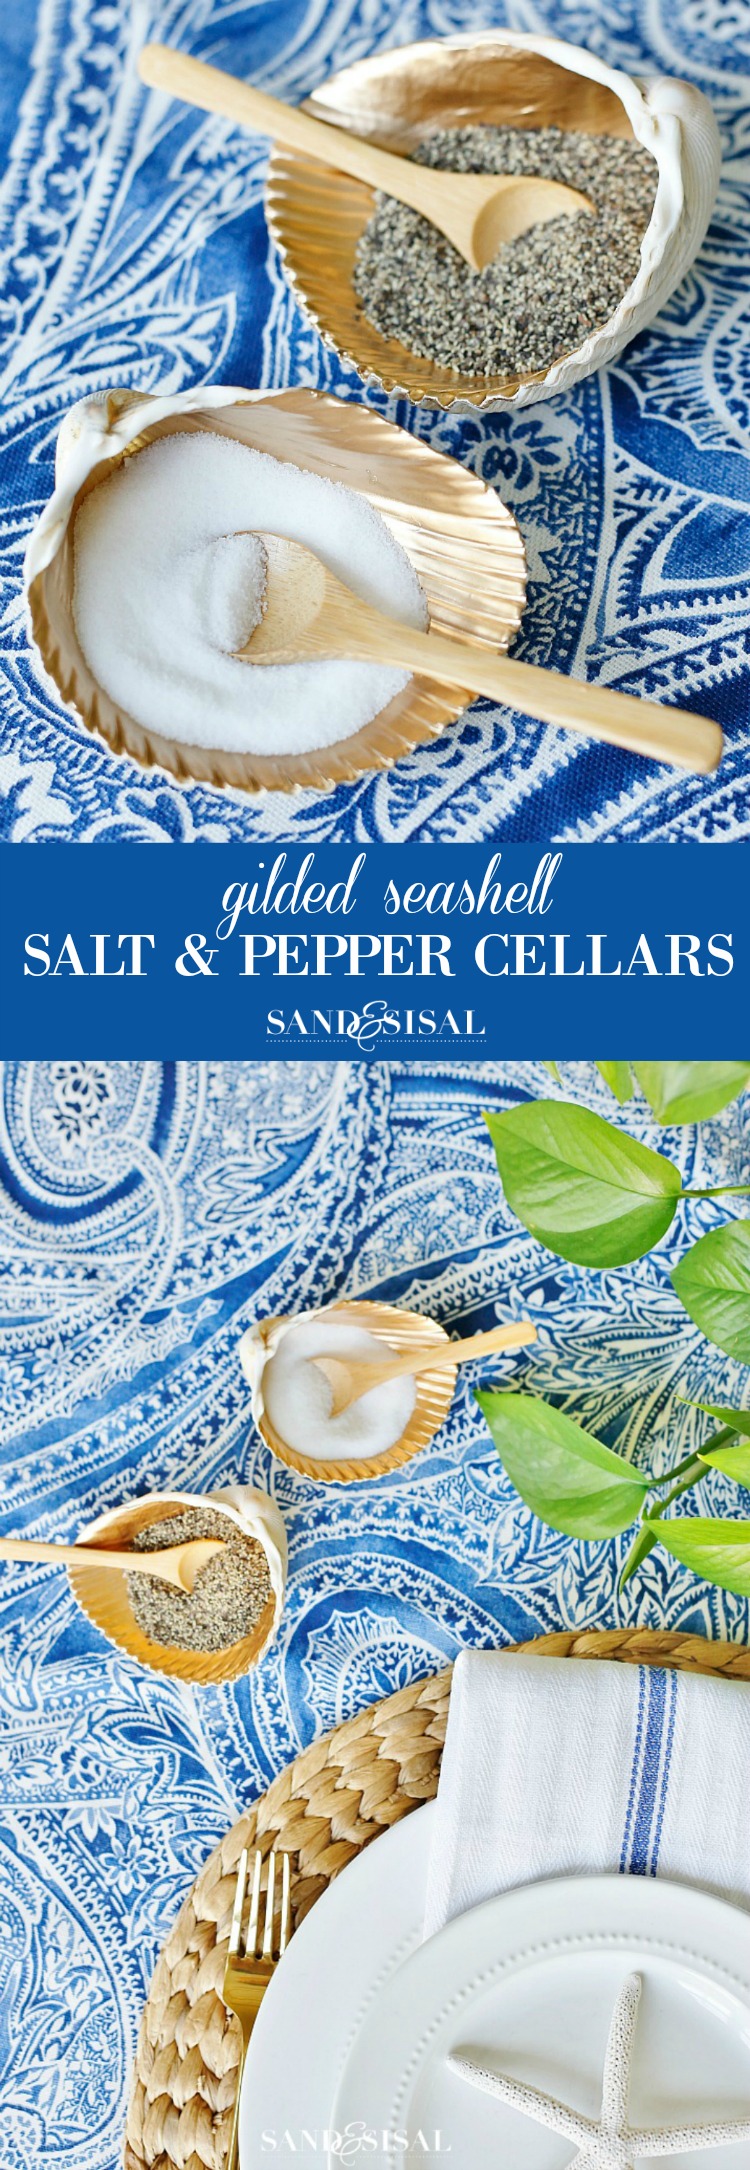
In our family we use normal salt & pepper shakers, but I have found that we are loving salt and pepper cellars even more these past few years. I personally use cellars exclusively when cooking. I find that using fingers to pinch the salt and pepper or using the mini spoons to pour into the palm and then sprinkling with the fingers, allows for more accurate seasoning. And who could resist using these gilded (with real gold) shell salt cellars? Aren’t they lovely?
Gilded Seashell Salt and Pepper Cellars
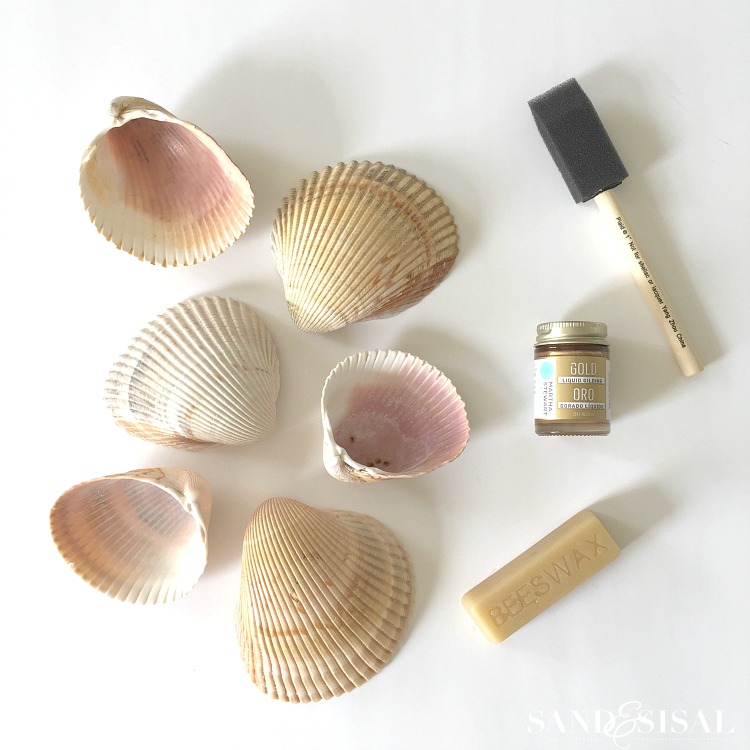
To make these gilded shell salt and pepper cellars you will need the following items (affiliate links provided for your shopping convenience):
- Liquid Gold Leaf Gilding
- Seashells (clam, scallop or oyster)
- Foam Paint Brush
- Organic Bees Wax (optional)
- Bamboo Salt Spoons
All my clam shells were found naturally washed up along the beach, but you can purchase clam, scallop, or oyster shells if you desire (shopping links posted above). When choosing a shell, be sure to choose 2 that are of the same size and that lay relatively flat and will not easily spill its contents.
- Wash and scrub all your shells in hot water with soap. Allow them to dry completely.
- Shake the liquid gold gilding very well. Gold is heavy and will settle to the bottom of the bottle. Follow the manufacturers directions always.
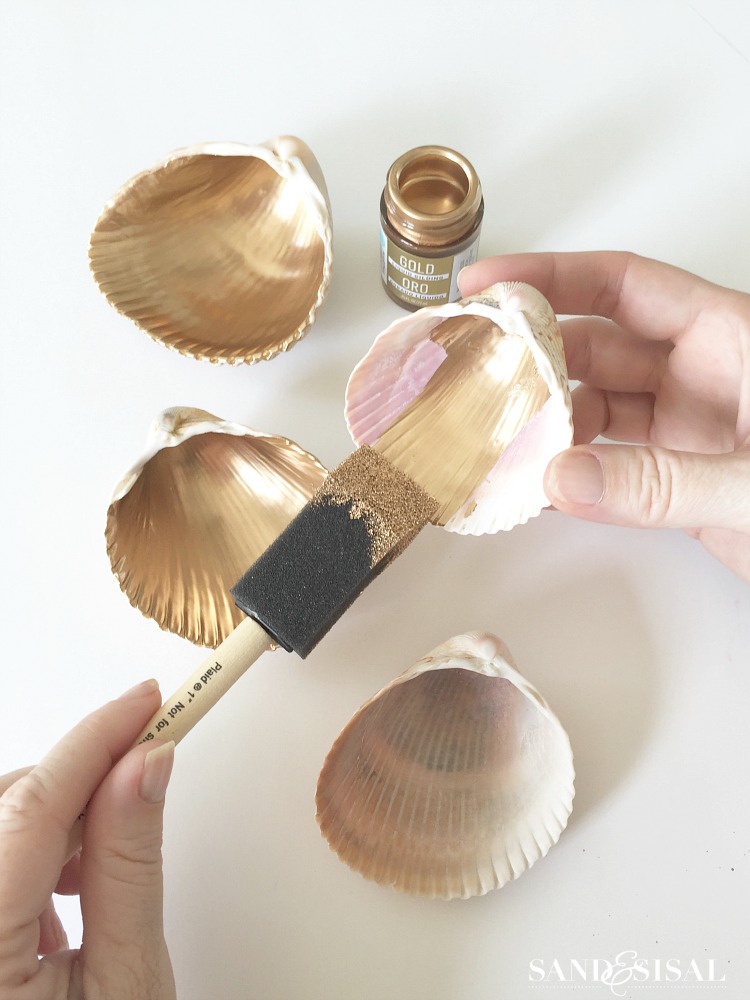
- A little liquid gilding goes a long way…. and I mean LONG! You will wanting to gild everything in your house today after you dip just once, trust me! Dip the sponge brush into the liquid gilding and carefully brush onto the inside of the shell with long, smooth strokes.
4. Allow to dry completely (about an hour) and then give it a second coat, allowing to dry overnight.
5. This is totally optional, but if you desire, you can seal the inside of the gilded shell with a coating of melted organic food grade beeswax (shopping link provided above).
6. Fill the gilded seashell salt and pepper cellars with your choice of salts and peppers. For this photoshoot I used plain table salt and corse ground black pepper. But my kitchen salt cellar is currently filled with pink Himalayan salt.
WATCH A QUICK VIDEO TUTORIAL BELOW!
If you are having a coastal dinner party this summer, consider making several of these gilded shell salt cellars and space a pair out for every 4 guests. These would look fabulous too in silver gilding wouldn’t they? Maybe copper gilding for a fall dinner party even.
LOVE IT? PIN IT!
SHOP THE LOOK- additional decor items shown in this post (affiliate links):
- Water Hyacinth Placemats (these are on SALE right now!)
- Ralph Lauren Tablecloth
- Blue Stripe Cotton Napkin/barcloth
- Gold Flatware Set
- Pencil Starfish
Happy Entertaining!
KIM
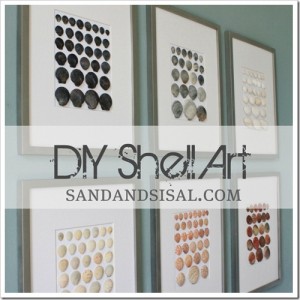
Need more shell craft ideas? You will love these!
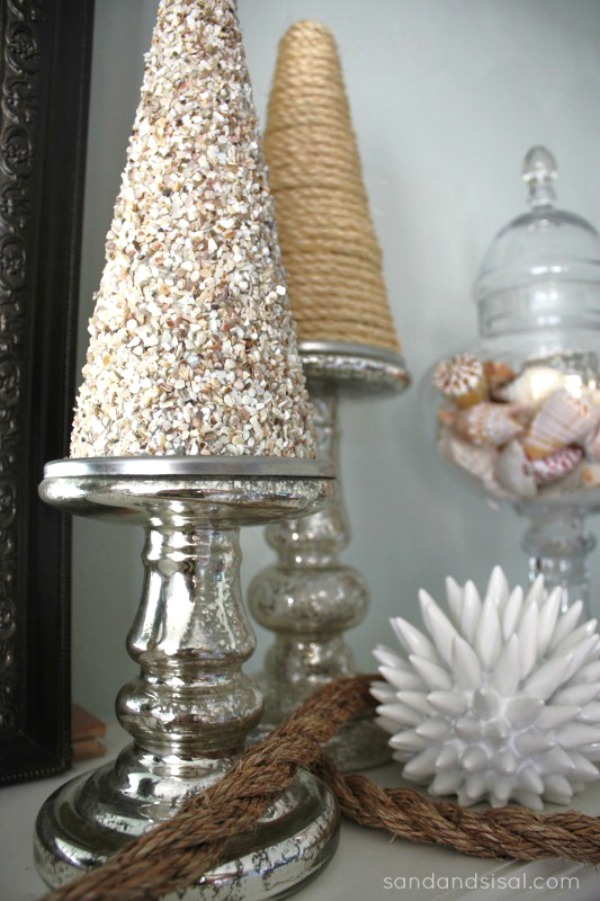
Coastal Shell Craft – Coastal Cones
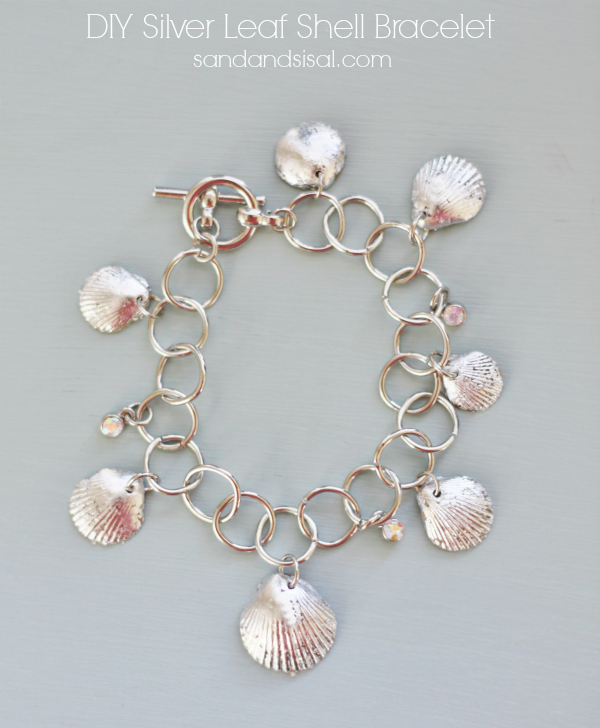
DIY Silver Leaf Shell Bracelet
Love this idea Kim, so beautiful. Thanks for sharing. 🙂
Thank you Nancy!