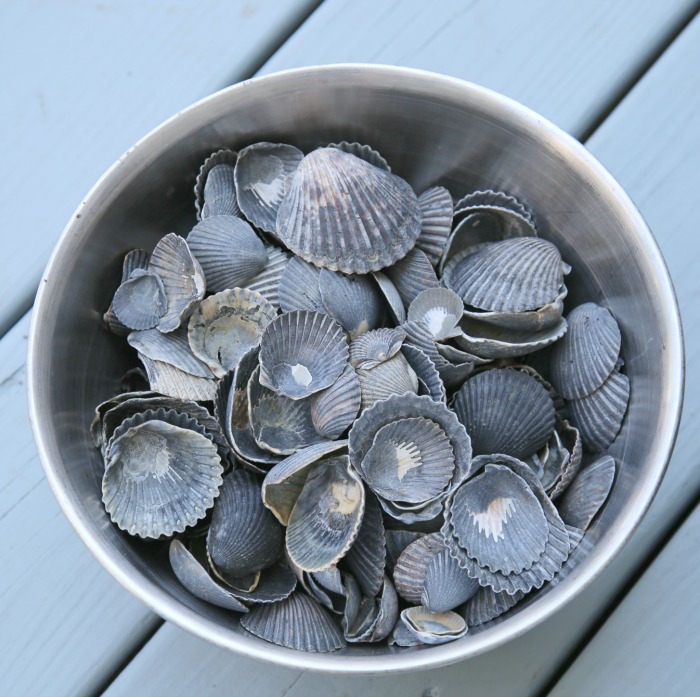
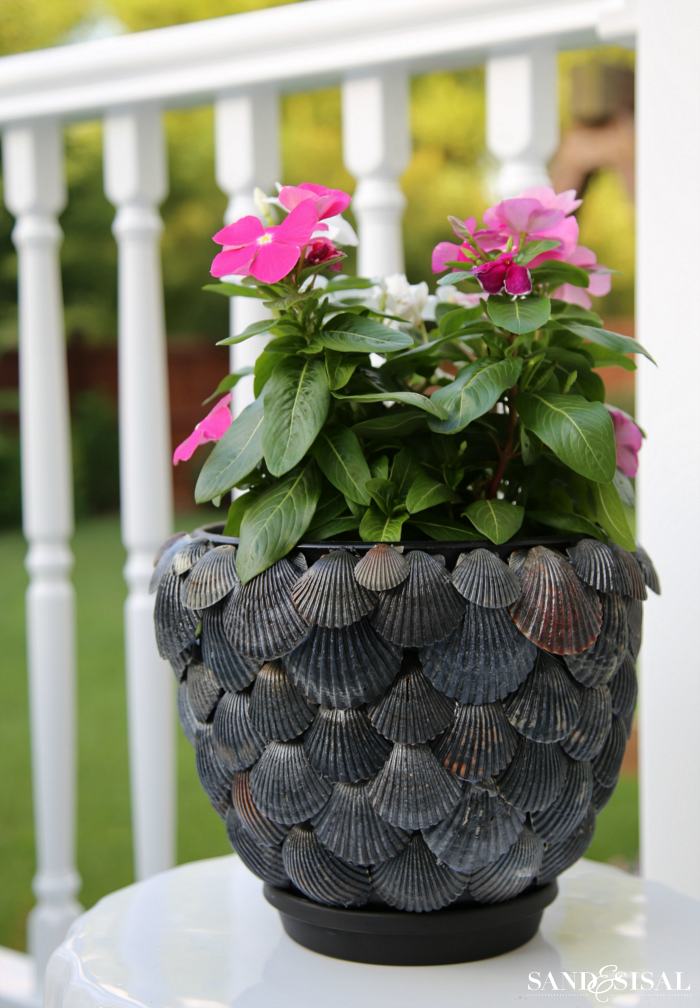
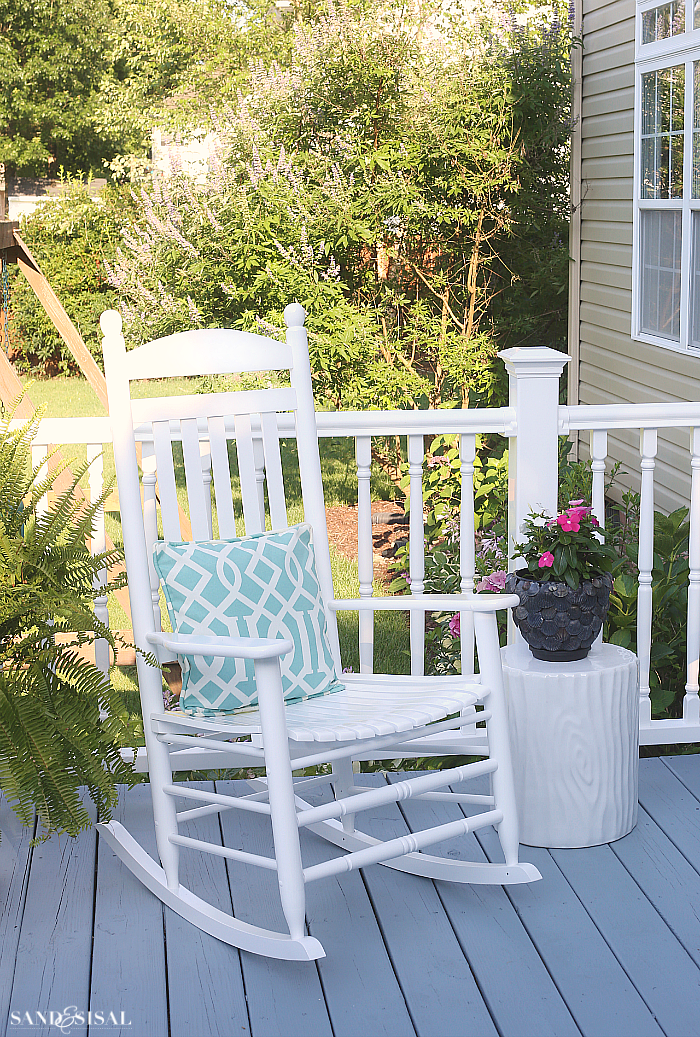
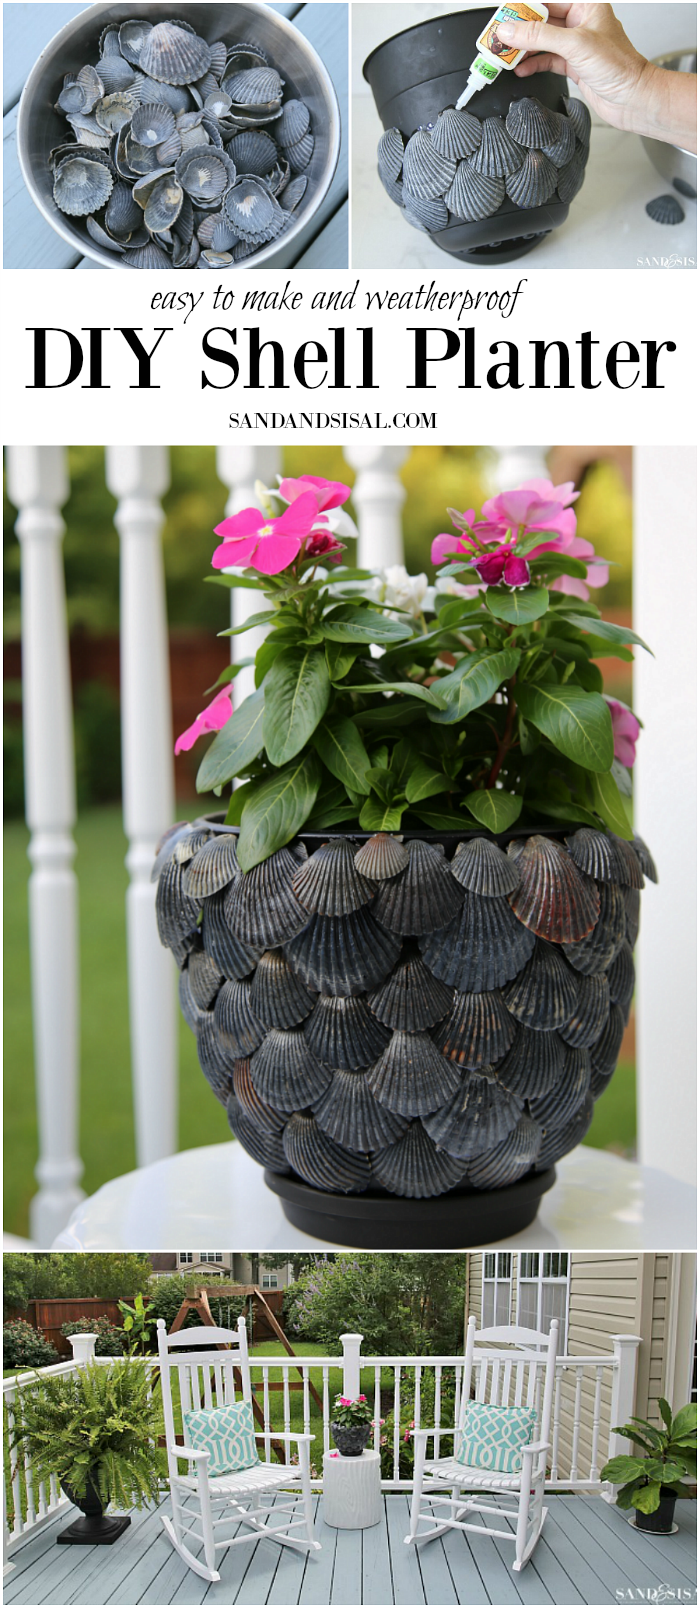
Collecting shells is a bit of a passion for me and my kids. Currently we have 7-8 gallon ziplock bags full of shells, all of which I’ve separated by color….. hello OCD. Turning the shells into beautiful art and decor is a fun way to utilize your becombing treasures. Our total deck makeover needed some new flower containers so I pulled out a big bag of black scallop shells and made a DIY Shell Planter! This shell craft is easy to make, has beautiful texture, and unlike other tutorials out there, this one is rainproof and will not fall apart in high sunny temperatures. Our weather has been over 100 for 2 weeks now and not one single shell has fallen off!
DIY Shell Planter
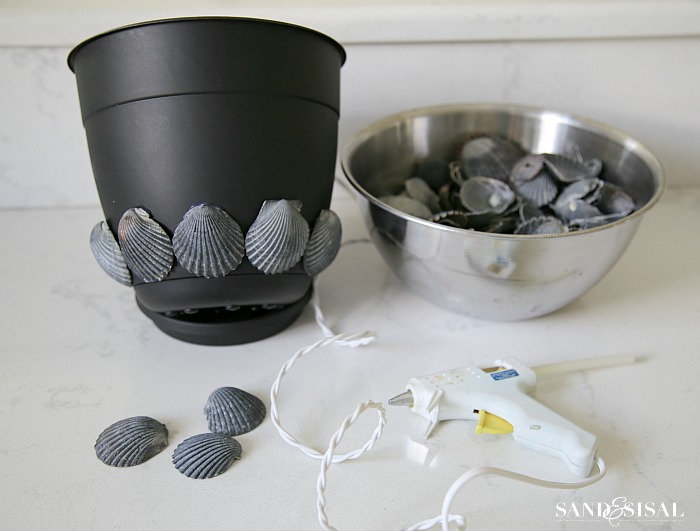
To make a shell planter you will need the following items (Amazon Affiliate links provided for your shopping convenience):
- A plastic planter pot, preferably one that is similar in color to your shells. You can also use a glazed ceramic planter. NOTE- A terracotta pot can be used, but it MUST be sealed inside and out with spray cement sealer, or otherwise the moment it gets wet from rain or you water your plant then the shells will fall off. Plastic and glazed planters do not need sealing.
- Shells of various sizes. Scallop shells work nicely for this project.
- Hot temp glue gun and glue sticks.
- Gorilla Glue Gel
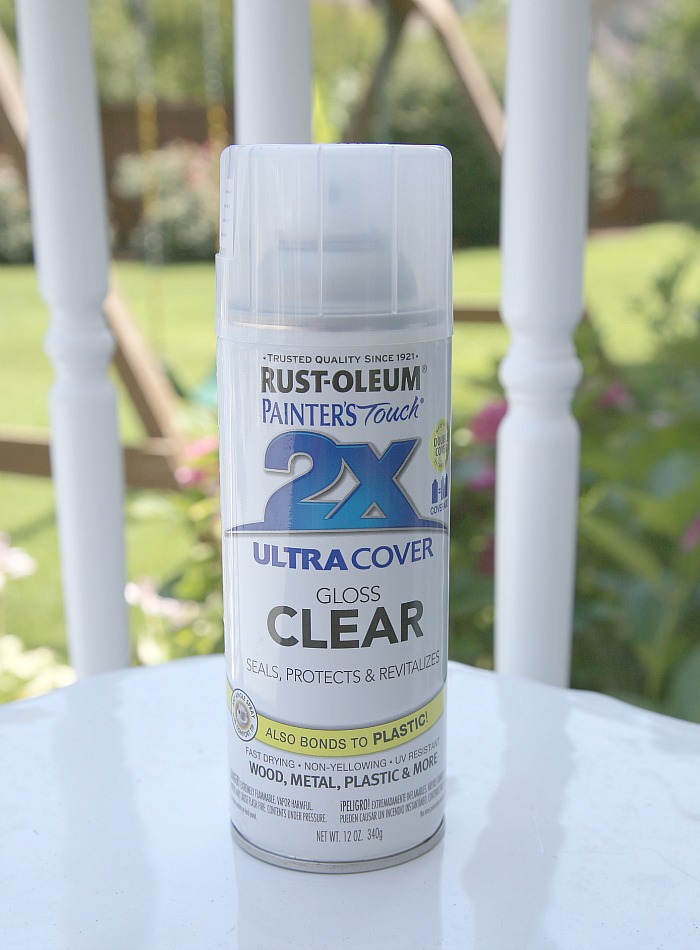
- Clear Gloss Spray
Step 1: Gather all your shells and rinse them under fresh water to make sure they are clean. Then dry the shells with a cloth or set out in the sun to dry.
Step 2: Start at the bottom of the pot. Be sure to leave a bit of room if your pot will sit in a saucer. Line the inside edges of each shell with hot glue and press onto the pot, upside down, holding until the glue sets a bit. The reason why you should glue it upside down is because when it rains, water will run right out. If you glue the shells right side up then rain water will pool inside each shell which leads to sludgy, yucky mold and attracts mosquitos.
Repeat the gluing until you have completed a row all the way around the pot.
Step 3: After completing one row, it is time to super glue the shells. Add a few dabs of super glue (I used Gorilla Glue Gel) to the top edge of each shell (see pic below). The only reason to use hot glue is to temporarily hold the shells in place. If you were to only use hot glue then the shells will melt off on any hot day outside.
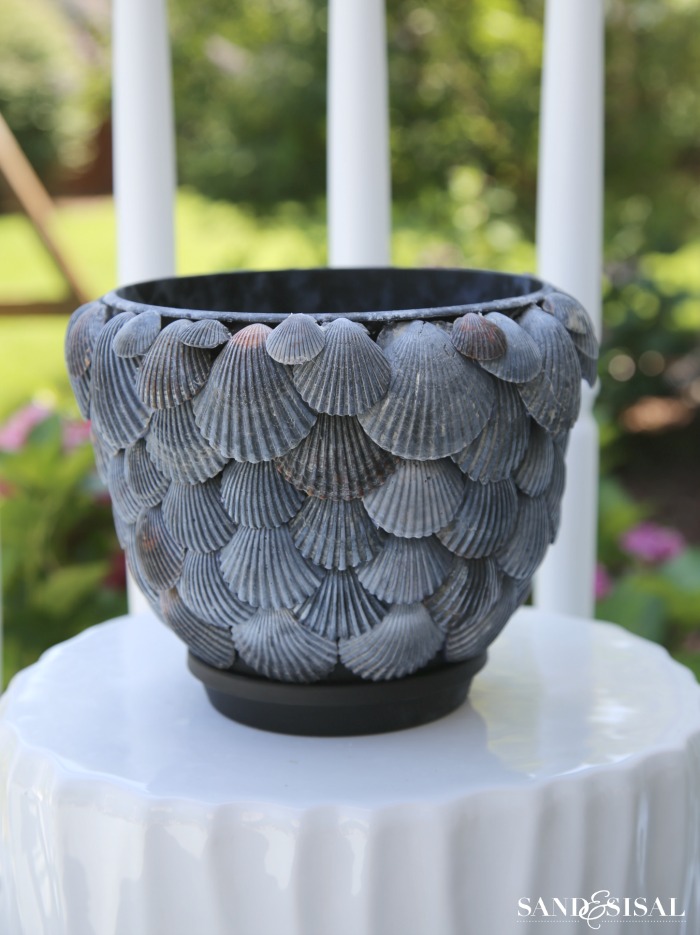
Start hot gluing and super gluing a second row of shells in an overlapping and staggered formation, hiding the plastic pot underneath. Repeat, one row at a time, until the entire pot is covered.
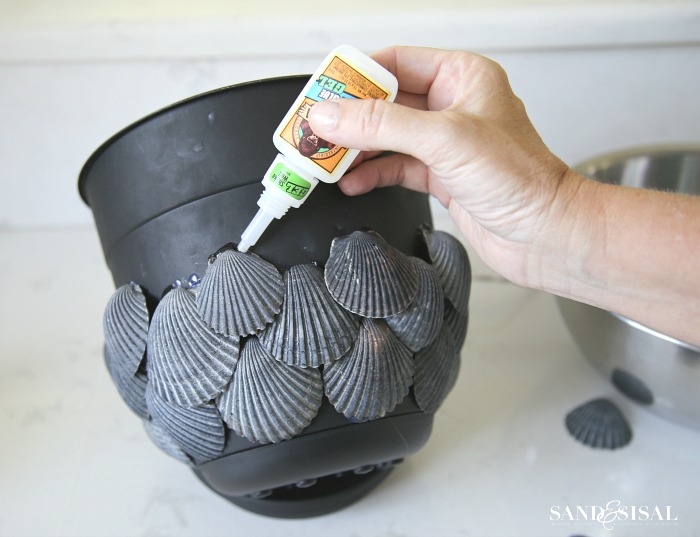
Step 4: You can leave the shell planter as is or give it a special finish with clear sealer.
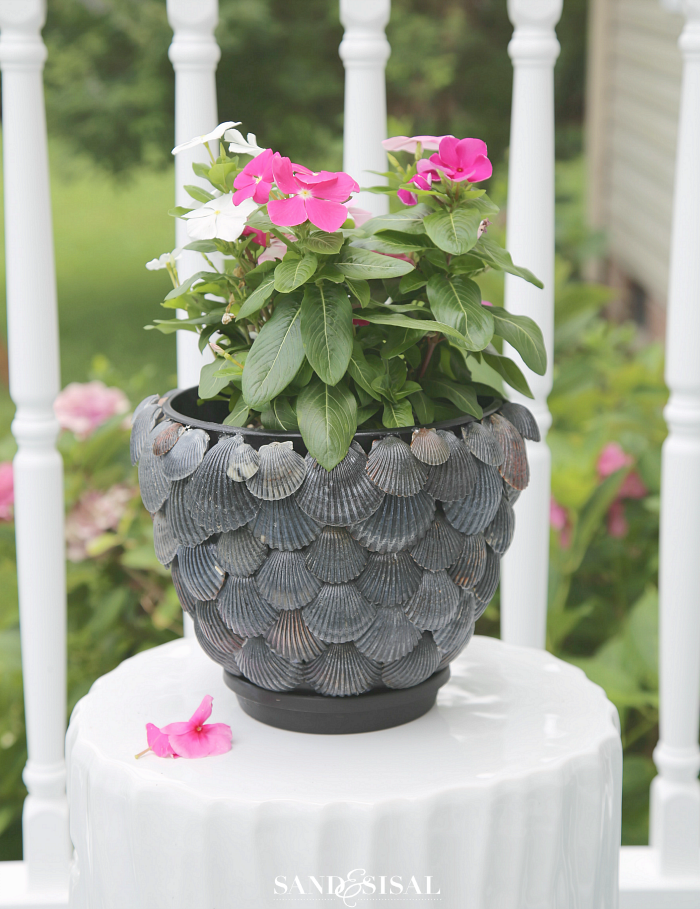
Now this is when the magic happens! To make your shells have that beautiful wet and shiny look, spray your planter with a light coat of Rust-oleum Clear Gloss Spray. The gloss spray took the shells from gray to shiny black and enhanced other colors that are mixed in the shells.
LOVE IT? DON’T FORGET TO PIN IT!
I hope you try making your own shell planter sometime!
Happy Coastal Crafting!
KIM
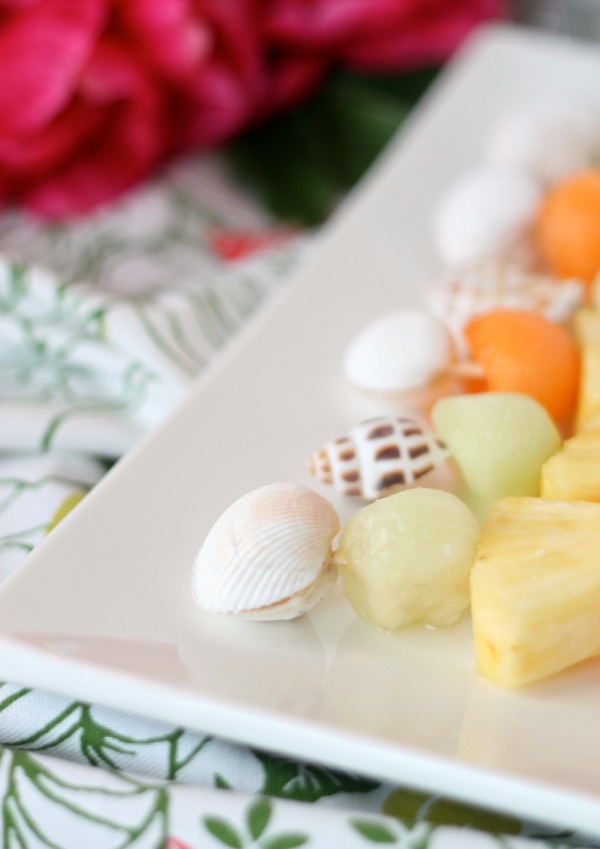
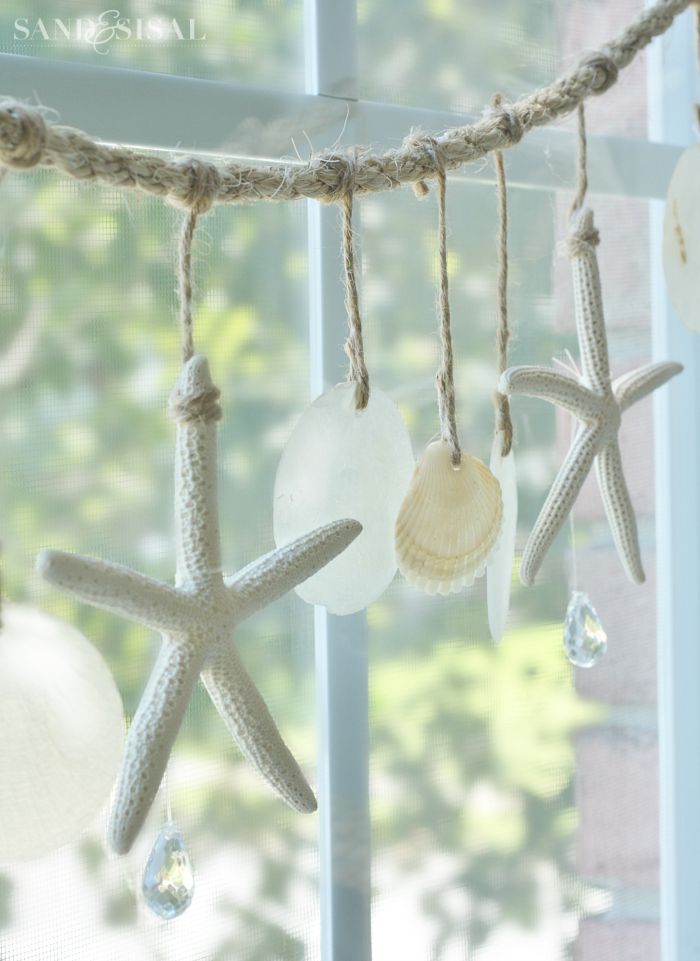
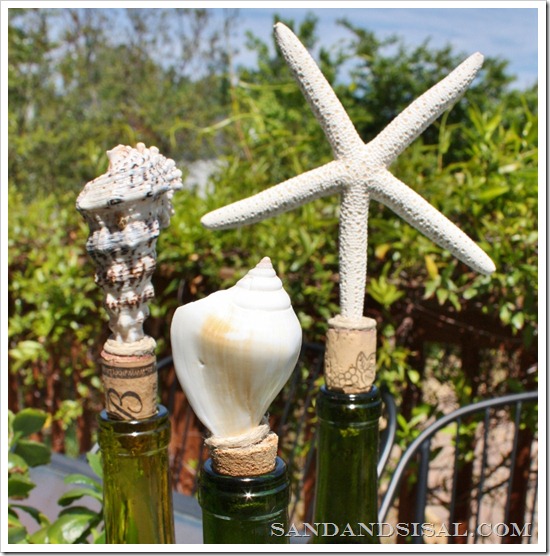
You might also like these posts using shells in decor:
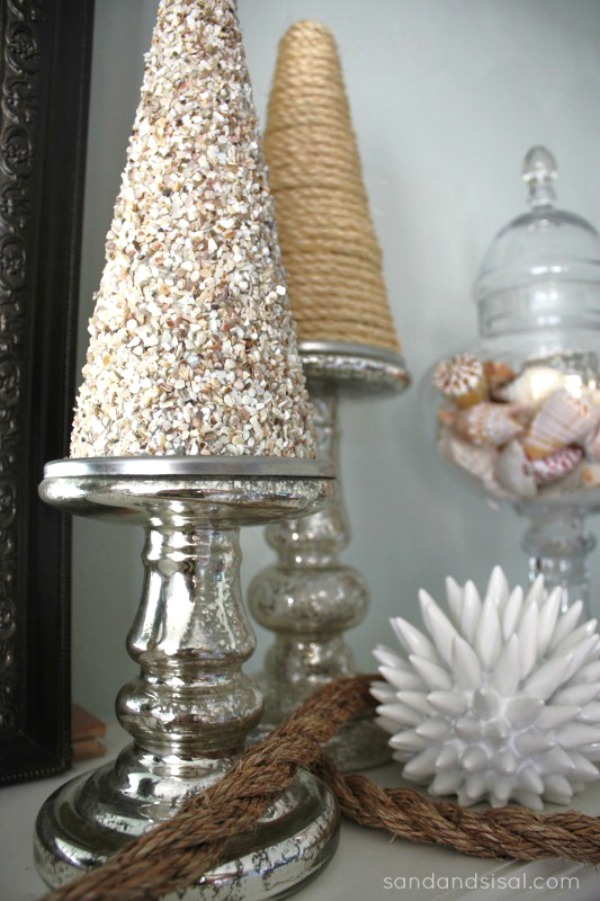
Coastal Shell Craft – Coastal Cones
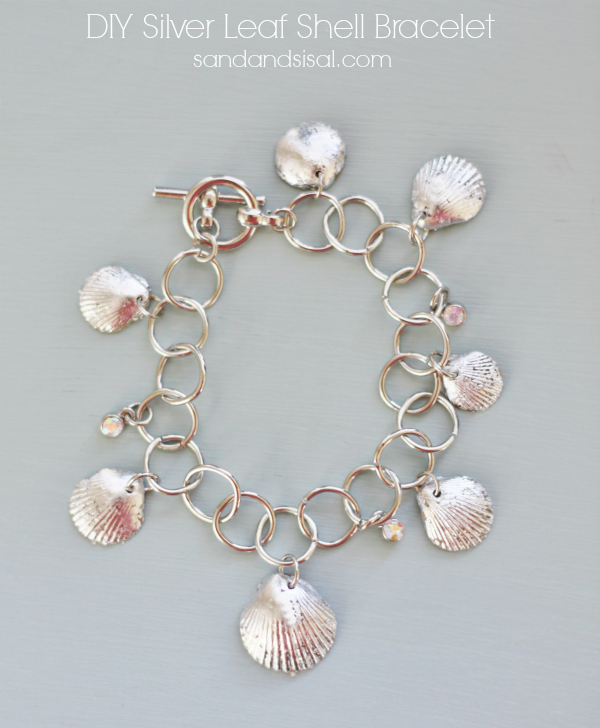
DIY Silver Leaf Shell Bracelet
LOVE this…thank you. Now I have a project for all the shells I have collected at South Padre (Texas). ??
Thank you Sandy!
Great idea! My shell-collecting vacations have produced a LOT of shells that need to do something other than sit in containers. This will be a perfect way to put them to work! Thanks for the tutorial!
Thanks Ruth! I plan to make a white shell planter soon too! 😉
Gorgeous, Kim!!
Thanks Christy!
can I link this on my blog?
please…
Hi Nikko, You may use one photo with a direct link to the blog post. Thanks! ~ KIM
Hi, your artwork is really beautiful and adorable.
Thank you Mehdi!