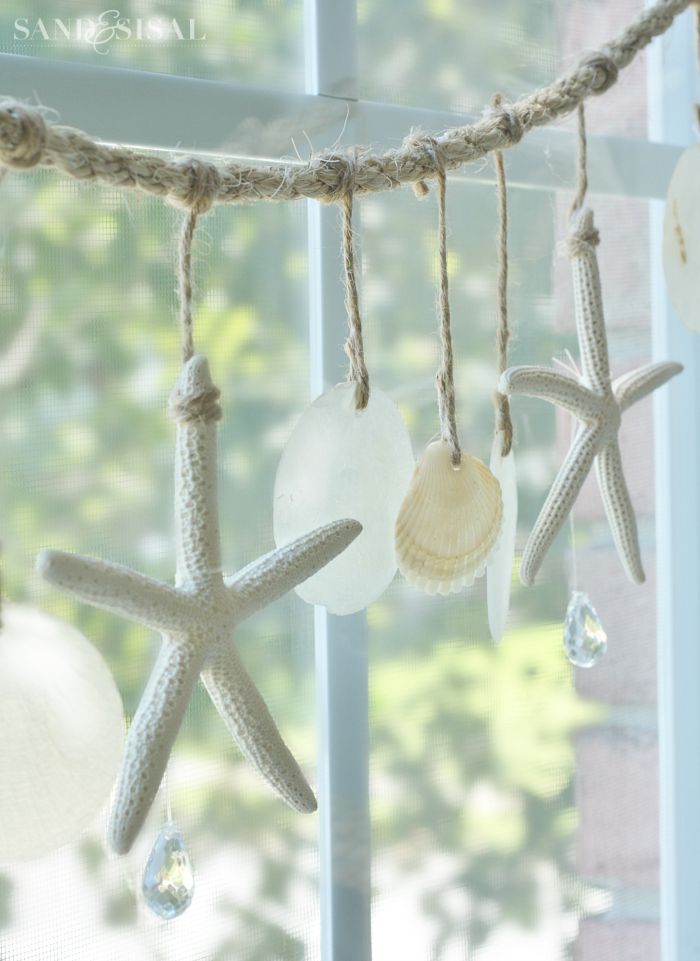
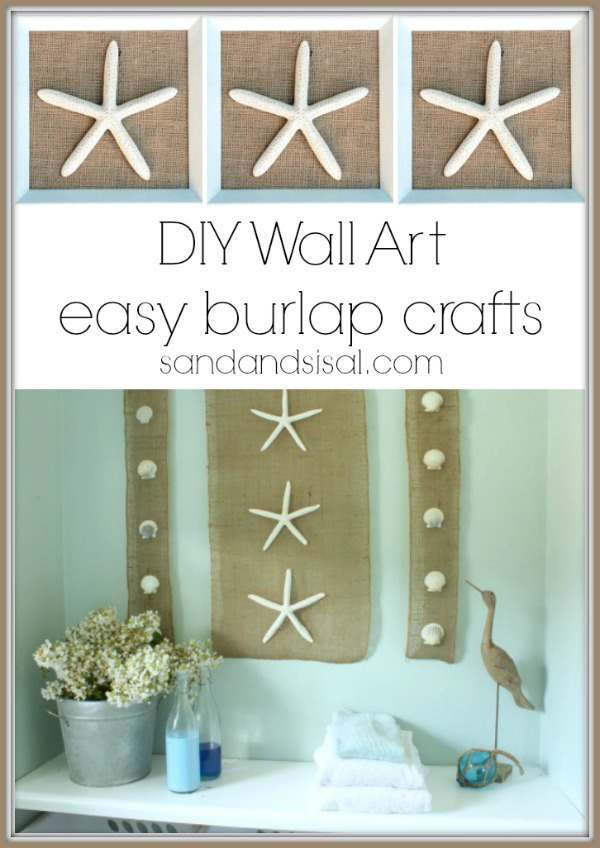
Shell collecting is a small passion that runs in our family. Every summer, gallon bags are filled to the brim with these little treasures that have washed up along the shorelines. We have so many that it has become a bit ridiculous and I’ve vowed to put them to good use. I’ve made shell wall art, starfish burlap banners, sand dollar ceiling medalion art, so why not make something more 3D and kinetic? Let’s make Sea Chimes (a.k.a. Shell Wind Chimes)!
I recently shared my review and giveaway of a gorgeous book full of coastal inspired decor tutorials called The Nautical Home by Anna Örnberg. In her book she gives instructions on how to make Sea Chimes. I was inspired by this simple craft and knew I already had everything on hand, so I’m going to share with you today how to make sea shell wind chimes for yourself. 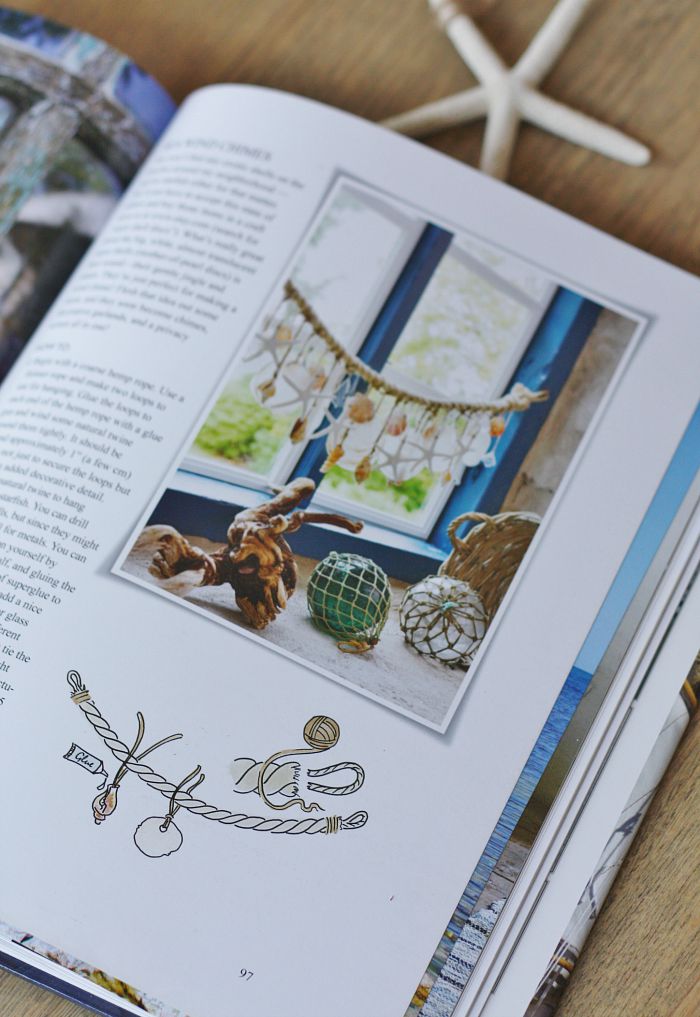
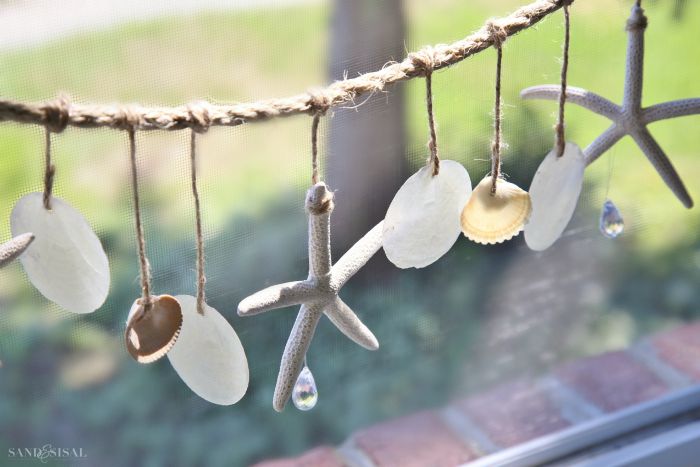
Throughout the year I stock up on capiz shells and starfish purchased from Amazon.com. I purchased 200 capiz shell discs years ago and I still have barely made a dent in using that many! Capiz is so beautiful. If you aren’t familiar with Capiz shells, they are wafer thin, translucent, and have the most lovely pearly iridescence. They glow in sunlight and for this project they are what will make the pretty sounds in your shell wind chimes.
This project has no exact requirements. You can make your wind chimes as fancy and full as you want, or as minimal as you desire. Feel free to add more shells or cascading layers of capiz. Use what you have. Be creative and have fun!
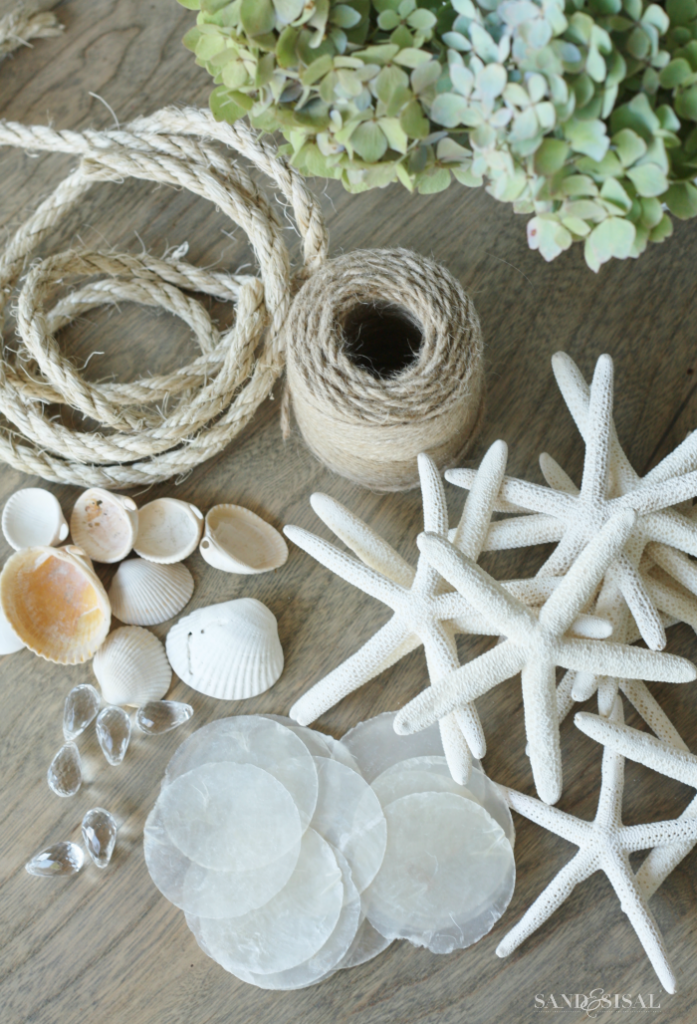
To make Shell Wind Chimes I suggest the following items:
(Amazon affiliate links provided for your shopping convenience)
- Capiz Sea Shells – 2 1/2″
- White Pencil Starfish 4″ – 5″
- Sea Shells
- Clear Acrylic Crystals
- Sisal Rope
- Jute Twine
- Fishing line
- Mini Glue Gun
- Mini Glue Sticks
- Drill and drill bits
- Scissors
Step 1) Decide how long you want your rope to be. I measured the width of my window (36″) and added 4-6 inches to allow for draping. Cut the sisal rope with sharp scissors.
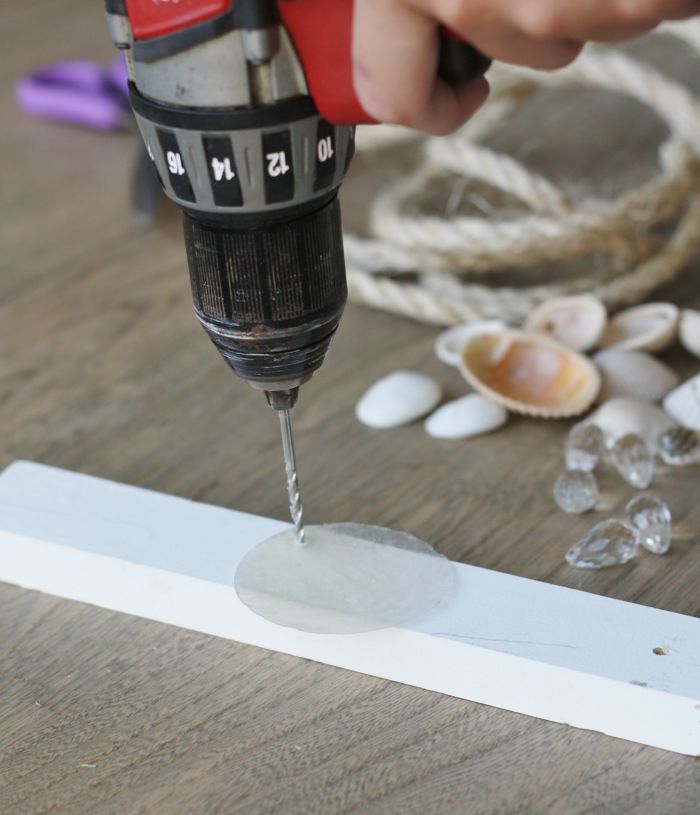
Step 2) Once you have cut the rope, you will need to drill holes into the capiz shells and sea shells (if they don’t already have a natural hole in them). Use scrap piece of wood under the shells. The capiz shells are very easy to drill through, but the sea shells will take a bit more effort.
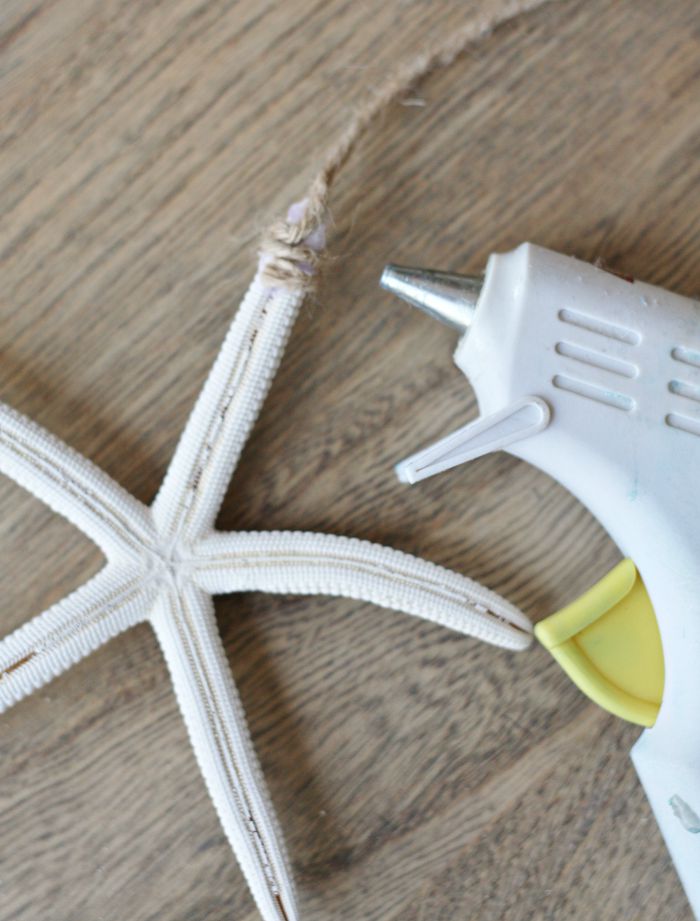
Step 3) Stretch out the rope and decide how many starfish you will need and how far you want them to hang below the rope. I used 5 starfish. Cut lengths of twine and apply a dab of hot glue onto the back side of a starfish leg. Wrap the twine around the starfish and hold until the hot glue is set.
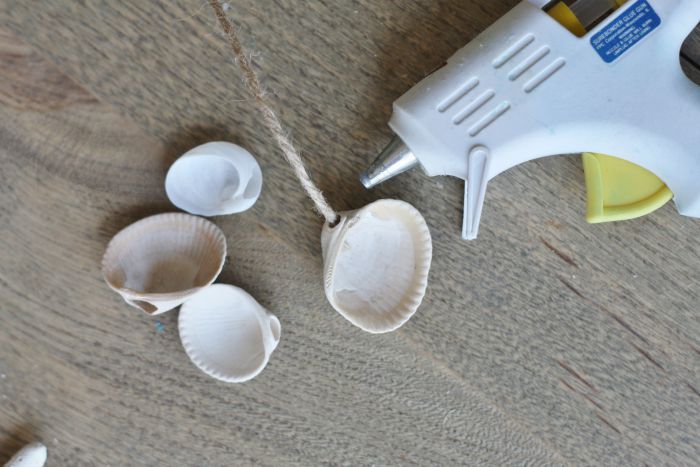
Step 4) Because my shells had holes in them naturally, I inserted a length of twine into the hole, tied a knot so it wouldn’t slip out, and then secured it the knot with hot glue.
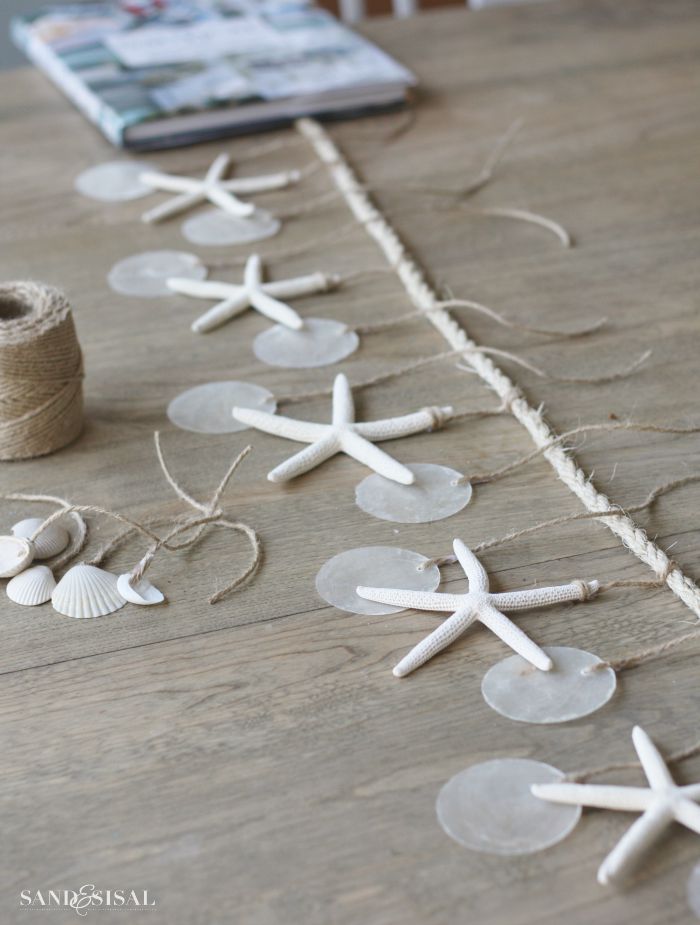
Step 5) Lay out a pattern of how you want your shells to hang from the rope. Remember to slightly overlap the shells and starfish with the capiz shells so that they are touching. This will create the pretty clinking sounds when the wind blows.
Step 6) Tie all the lengths of twine to the rope and secure with additional hot glue.
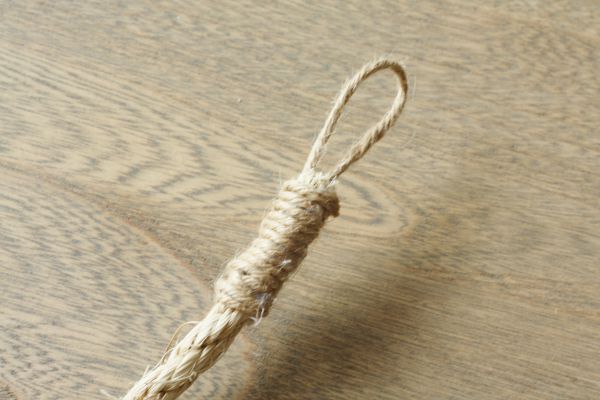
Step 7) Make a loop with the twine and hot glue one to each end of the rope. Wrap more rope around for extra security and a nice, finished appearance.
Step 8) Thread clear fishing line through the crystals and tie them onto the starfish. They add a pretty sparkle to your sea chimes!
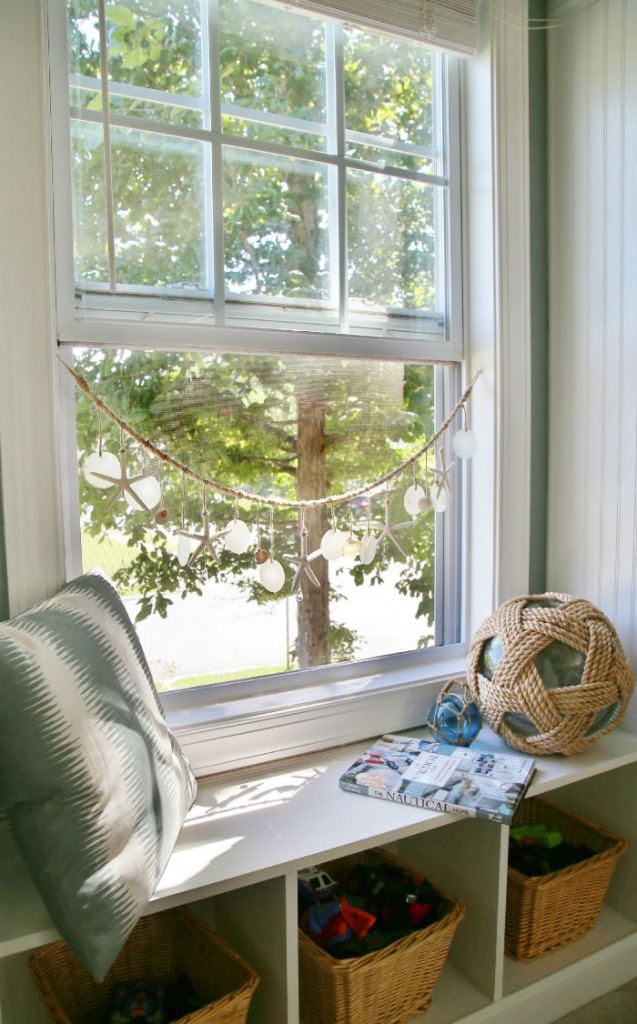
Voila! You can use 3M Command Hooks to hang the chimes or tap in clear thumbtacks to the window frame. Hang in a window and enjoy the sunlight shining through the irridescent capiz and the clinking and tinking sounds of your pretty shell window chimes.
Be on the look out this week for how I use 2 strands of the shell wind chimes in different ways in my home!
Happy Crafting!
KIM
You might also enjoy these projects:


Kim, This is so cute! I also have a large collection of shells that I need to create projects with.
xx,
Sherry
Awesome! I am so doing this for my daughter’s bedroom at the beach. I’m not super crafty talented, but I think even I could do this. Thanks for sharing specific directions. All best–
Joanne @ Sea Glass Cottage
kim i love this…makes me smile and i can almost hear the tinkling xx
What a great use of shells! This is a very pretty decoration for the window. Thanks for sharing this beachy craft.
Love this! It’s so pretty. 🙂
Thank you Jeanne!
I love all of these!
Thanks!;)
Very pretty and just right for the season. I love the use of the twine!
Thank you Mary!
This is just too cute! I like yours better than the one shown in the book.
What a kind thing to say! Thanks so much Roxanne!
LOvely projest, but please, please use caution when drilling shells!!!!!! The dust is toxic should be drilled under water, with a mask and outdoors if at all possible.