If any of you all have shopped for curtains then you quickly realize how expensive they can be, especially if you need long lengths! Sewing your own window treatments is always an option, unfortunately, fabric can be quite pricey too. Finding affordable 96 inch or longer curtains is difficult but I’m excited to show you an alternative that looks amazing using tablecloths! DIY Tablecloth Curtains can give you a designer look but for so much less and they are so easy to make and install with no sewing required!
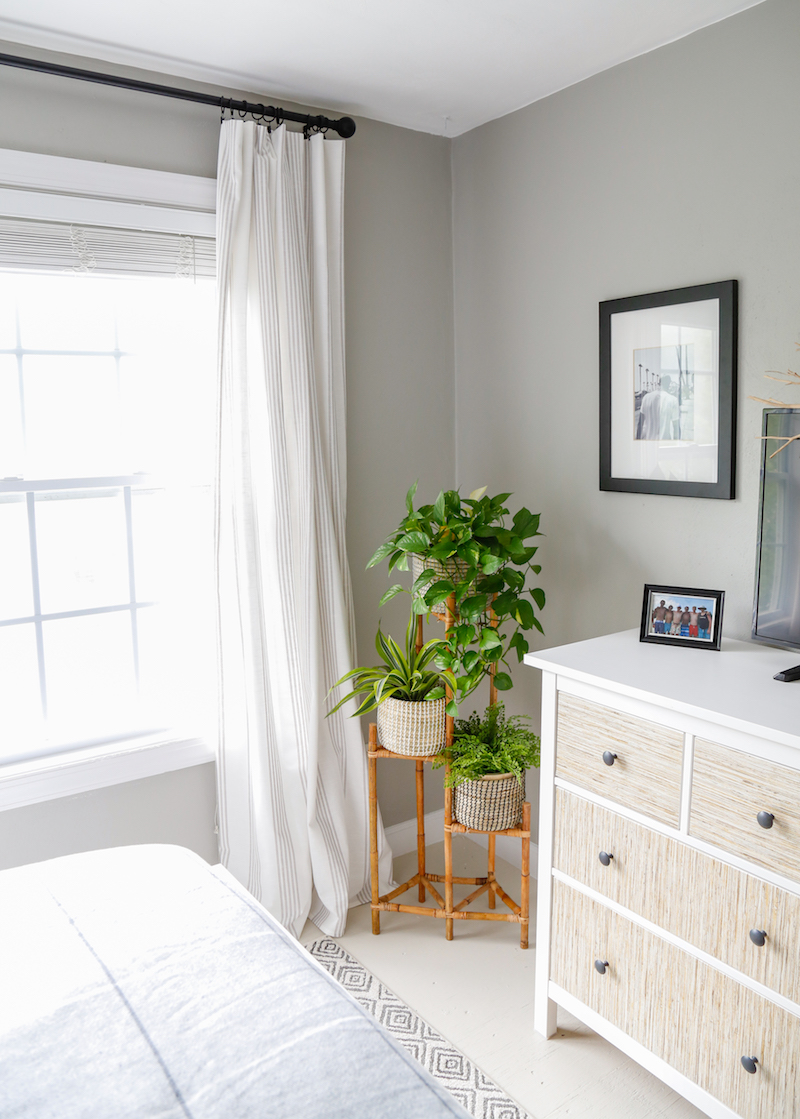
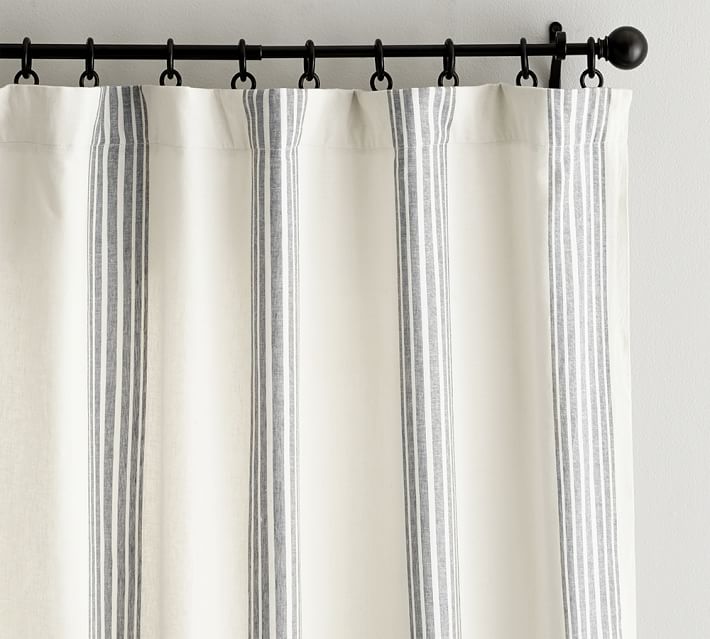
I have been making many of my own window treatments for years and these are some of the easiest ever! The curtains I originally wanted for my son’s bedroom were from Pottery Barn, but the price was way out of my budget, even on sale. They were asking $139 per panel for a 96″ length and $159 for the 108″ length.
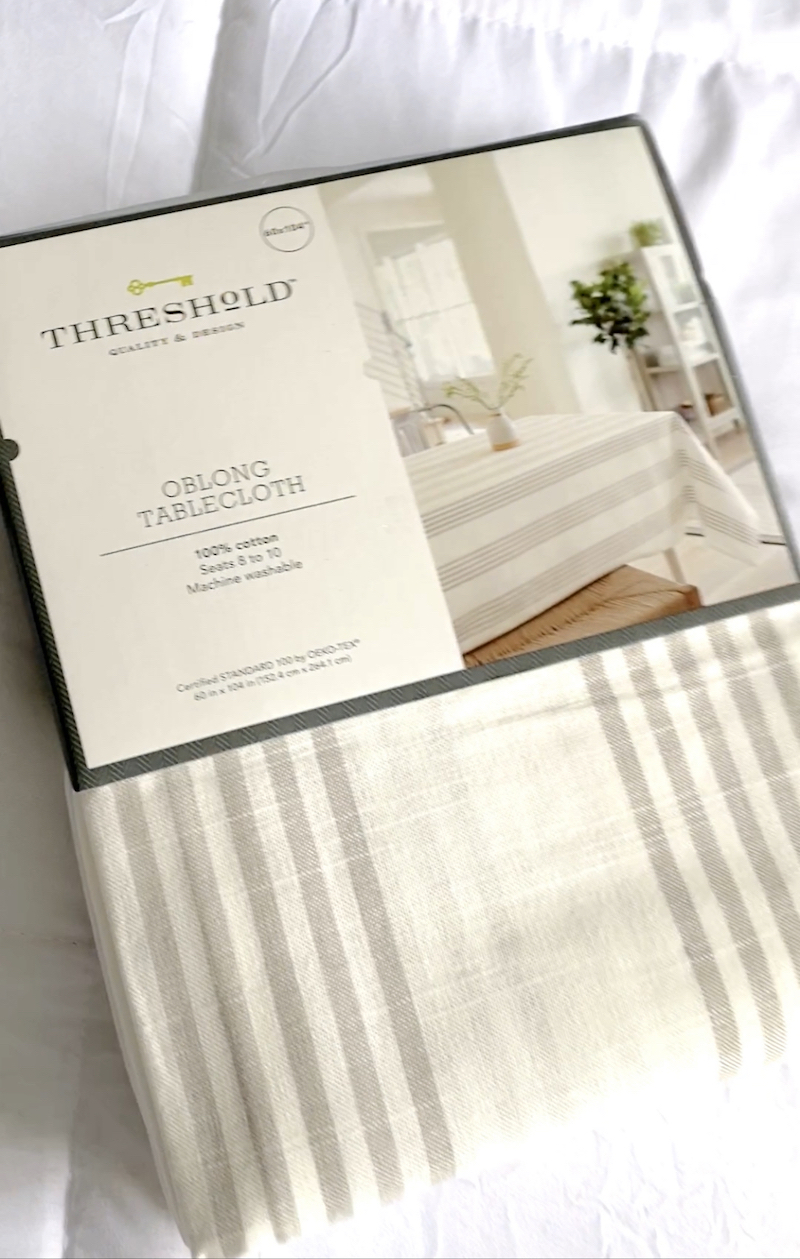
But then I saw these tablecloths at Target! I purchased them on sale for $16 each. $16 is much more affordable than $139, don’t you agree?
The fabric was almost an exact match to the Pottery Barn curtains. They came in several lengths as do most tablecloths and I chose the 104″ length. That length will work in rooms that have up to 9 foot ceilings! If you notice, the width of the tablecloth is 60″ wide too, which is 10 inches wider than most curtain panels. So this meant that these DIY Tablecloth Curtains would be nice and full looking.
(PS- Don’t ask me why the package is labeled as oblong, they are most definitely rectangular.)
Ok, let’s make some DIY Tablecloth Curtains! There is a full video tutorial included below.
DIY Tablecloth Curtains
You will need the following items (affiliate sources provided for your shopping convenience)
- 2 rectangular tablecloths (104″ x 60″ length for 8-9 foot high ceilings)
- curtain rod
- curtain rod finials
- curtain rod rings with clips
- measuring tape
Click on any of the slideshow pics below to be taken to the direct store source.
CLICK PLAY TO WATCH VIDEO TUTORIAL
Step 1: Install the curtain rod as directed by the manufacturer. Many people make the common mistake of installing curtain rods directly above the window frame. Here is a design tip for you: install curtain rods 2-3″ below the ceiling or below the crown molding instead. This placement draws the eye upward and makes the room and windows look taller and grander. And make sure that the length of the curtain rod extends at least 4-6+inches past the window frame on each side. This helps prevent the curtains from obstructing the view and natural light while in an open position.
Step 2: Measure the distance from the curtain rod to the floor and record it down. This is the length you want the curtains to hang.
Step 3: Iron the tablecloth and lay it print side down on a bed or floor. Measure the recorded length along the tablecloth and fold over any extra fabric not needed.
Step 4: Clip the curtain rod rings along the fold, evenly spaced out.
Step 5: Hang the curtains on the rod (with the extra folded fabric hidden behind), attach finials and enjoy your beautiful DIY Tablecloth Curtains!
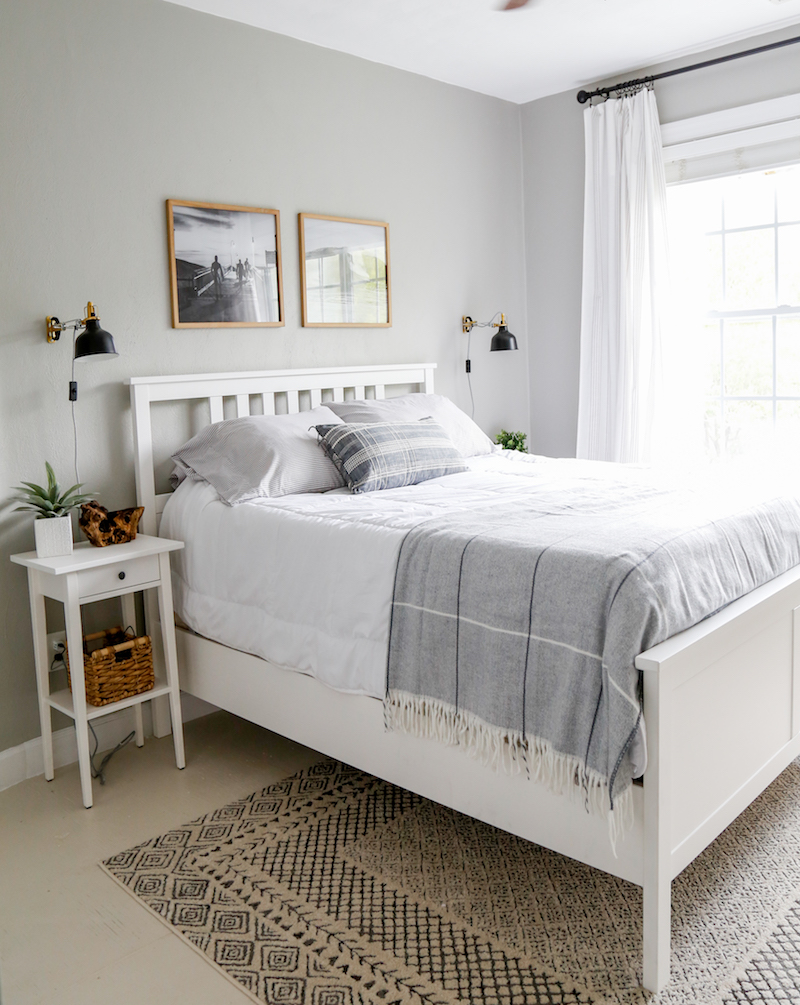
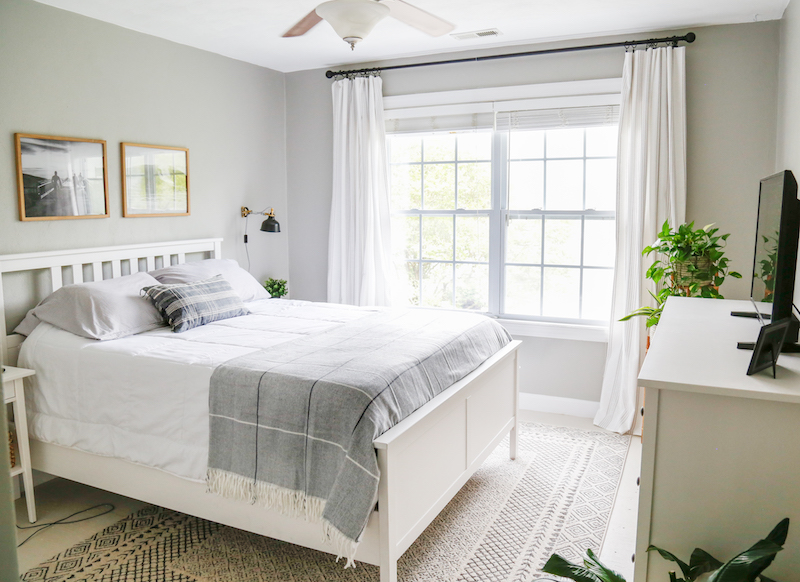
You can find links to all the products seen in this room including paint colors HERE.
If you are wondering where to find quality tablecloths then HomeGoods, Marshalls, TJMaxx and Target will be your best bet.
Happy Decorating!
KIM
You might also like these window treatment posts:
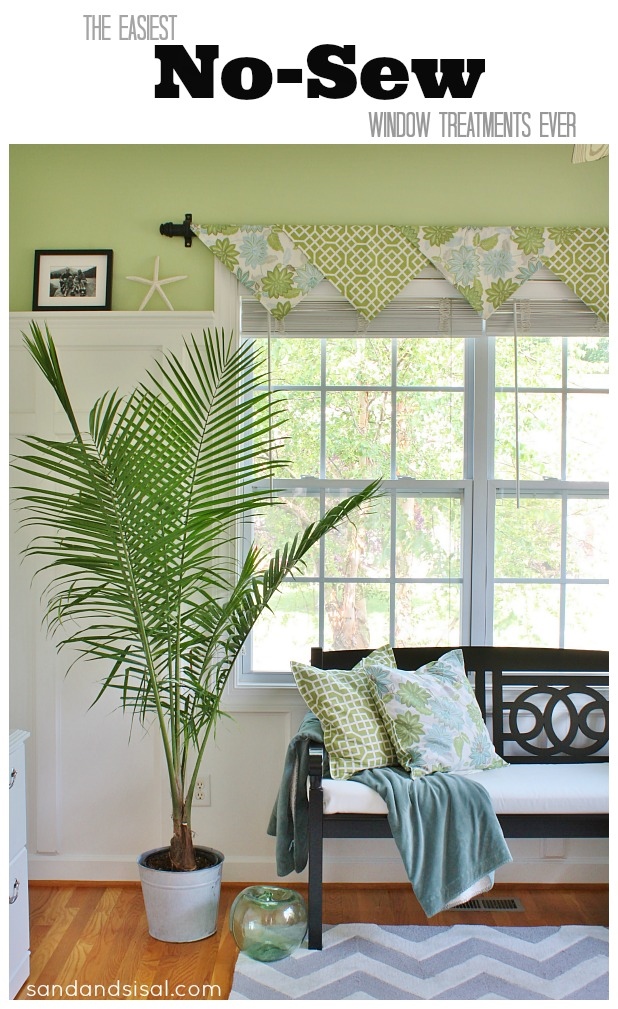
The Easiest No-Sew Window Treatments Ever
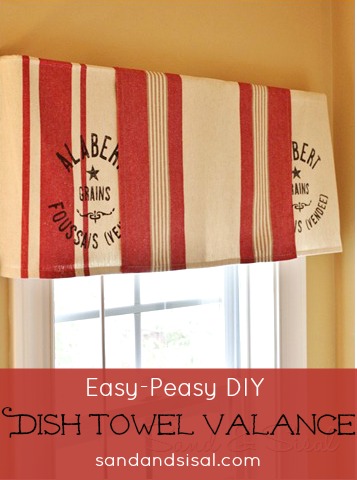
A Few Ways to Fake Window Treatments
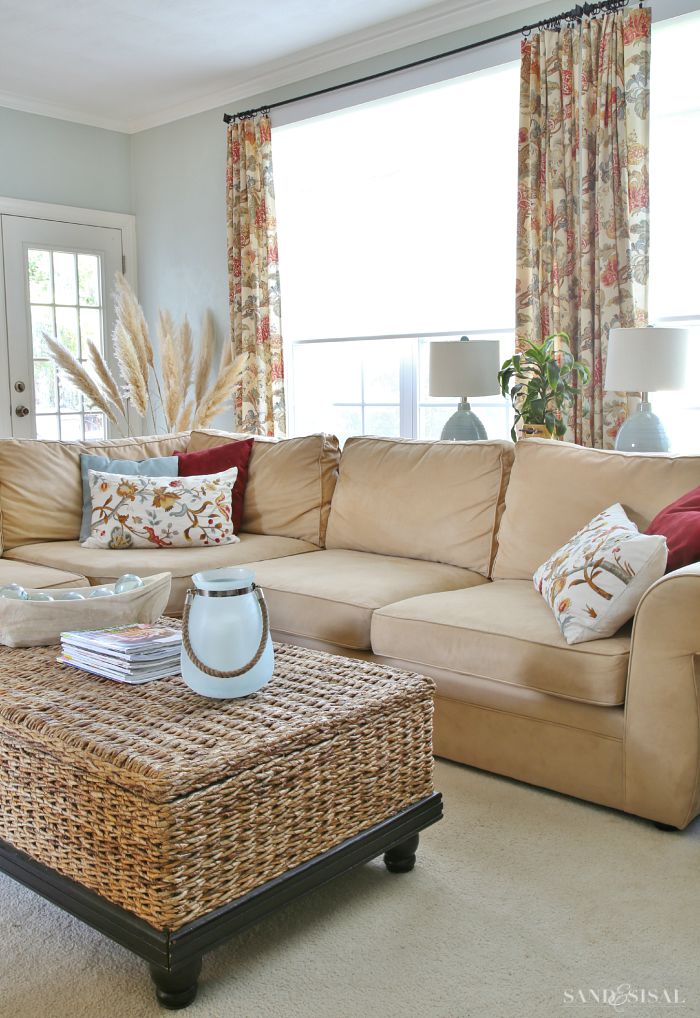
High-Tech Family Room Window Treatments

This looks amazing. I used checked tablecloths years ago for a room and they were perfect.
Thank you Marty! I haven’t used tablecloths in eons too and honestly forgot how easy they were to use! Have a lovely weekend! ~ KIM
I never ever would have thought of making curtains out of table cloths but this makes so much sense and looks so good! That room is absolutely beautiful!
Kadie ♥ The Great Canadian Housewife | A Story About A Girl
Thank you Kadie! I’ve made curtains out of bed sheets and drop cloths in the past but tablecloths are so much prettier and easy to work with. Thanks for stopping by the blog! ~ KIM
Great idea, Kim! I guess you could also buy an extra panel and make pillows for the bed…(Euro shams, lumbar, etc.). Love the look of the room!
Thank you so much Sue! Yes, that would be a smart idea to buy another panel for pillow covers. Thanks for the recommendation!
Wow Kim. This is so smart I just had to comment. I truly never thought to use tablecloths, but it is so perfect! I love the look of these. Yes, curtains are TERRIBLY expensive – I always dread needing to buy new ones for a room I change. I also always LOVE when someone makes a PB look for SO much less. It always makes me happy. Thanks for sharing all your smart ideas and showing us your beautiful house!
Love, love, love the curtains. Your whole color scheme is my particular favorite. Where did you get the plaid blanket at the end of the bed?
Love, love, love the curtains. Where did you get the blue plaid blanket at the end of your bed? I love the whole color theme and it matches my own personal style.
I used a pair of pillow cases for my sisters window.
I’ve been searching for affordable curtains for my windows – you have helped me think of another option. I never had considered tablecloths although had thought about sheets. I may be shopping at Target soon, although I’ve been avoiding any major stores since March. Anyway – love the idea. thanks for sharing!
Thanks Kim,
I have been looking for fabric for a dust ruffle for my queen size bed and the fabric is so expensive. I have used sheets in the past and hadn’t thought of that. Thanks for the reminder. Now I can search for tablecloths and sheets. Let the shopping begin.
Thanks Kim,
I have been looking for fabric for a dust ruffle for my queen size bed and the fabric is so expensive. I have used sheets in the past and hadn’t thought of that. Thanks for the reminder. Now I can search for tablecloths and sheets. Let the shopping begin.
The clips look hidden on the close up picture, how did you attach them to hide the clip part?
Hi Denia! I think you might be looking at the wrong photo. The 2nd large photo on the blog post is of the very expensive Pottery Barn curtains which I wanted and I explain, but I found table cloths which were an almost identical match. Is that what you were referring to?
If not then in all the other photos you will see that the clips aren’t hidden by purpose, that is just the way the curtains look when pulled back. The clips when spaced out will naturally remain toward the back and the folds of the fabric will protrude outward, if that makes sense.
Hope that helps some!
Best,
KIM