MIDNIGHT BLUE FUSION MINERAL PAINT DRESSER MAKEOVER
Oh my the controversy! To paint good wood furniture or not is the question that draws DIY enthusiasts into their separate corners. I have stripped and refinished furniture and also painted furniture and frankly, all my choices have turned out fabulous in my humble opinion. My husband is in the “never paint wood furniture” camp so every project is potentially an internal family battle. Giving our master bedroom dresser a makeover was no exception.
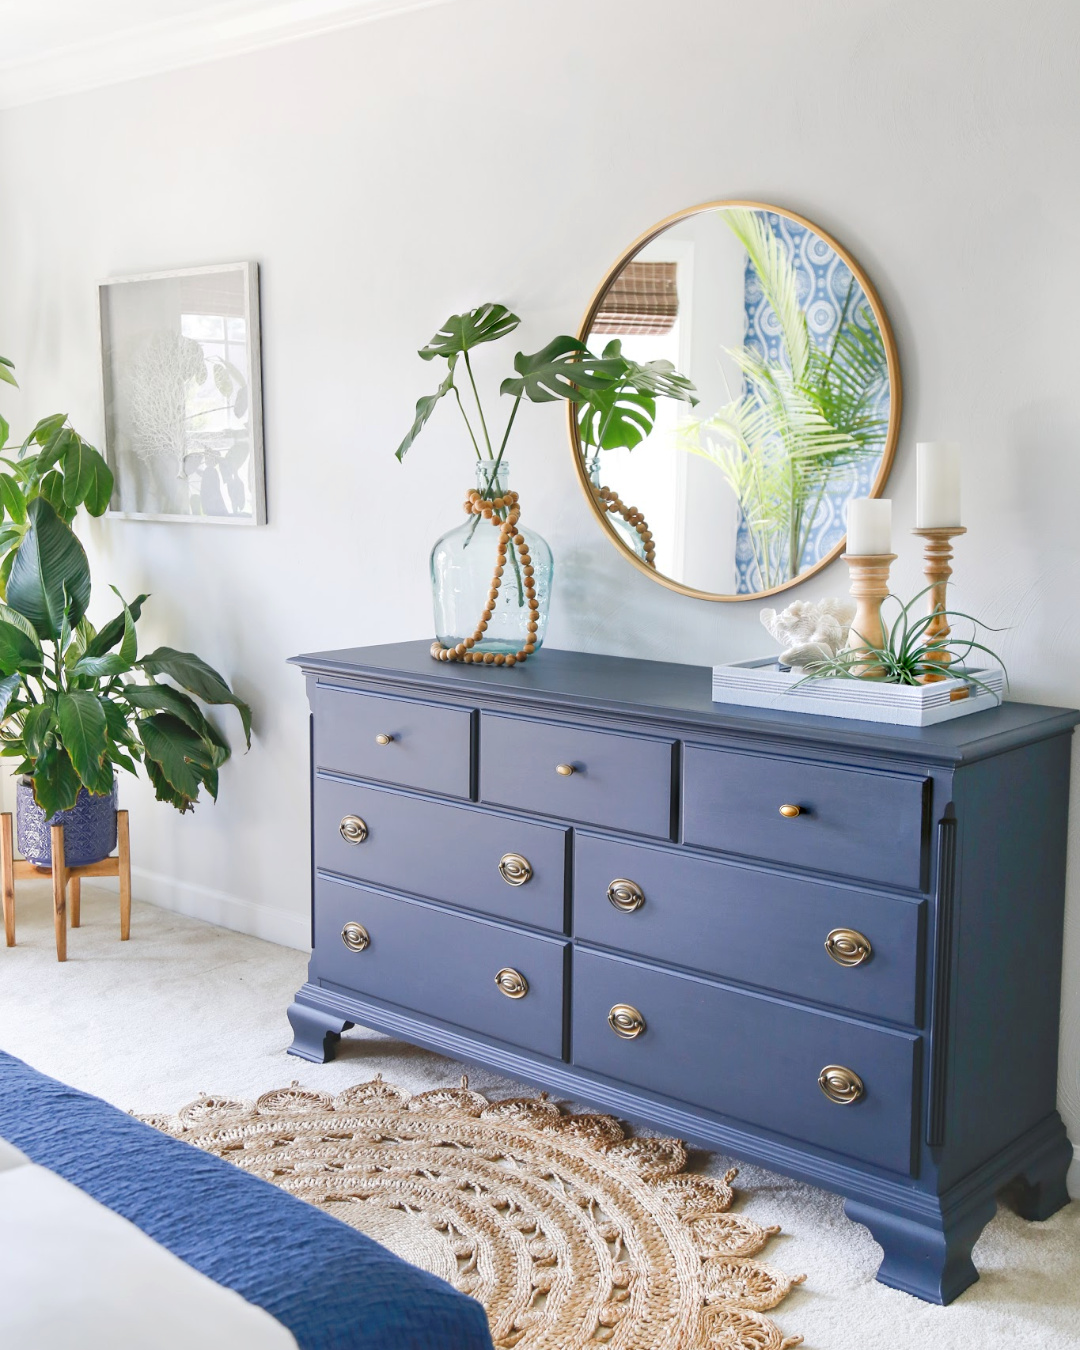
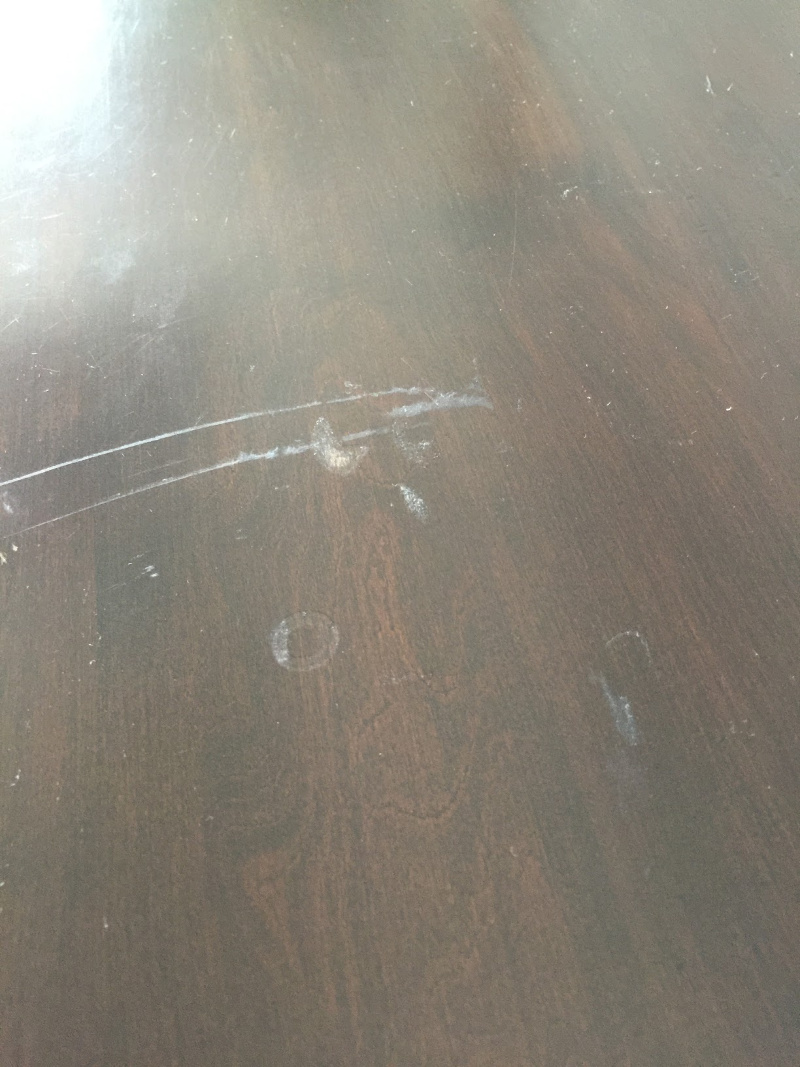
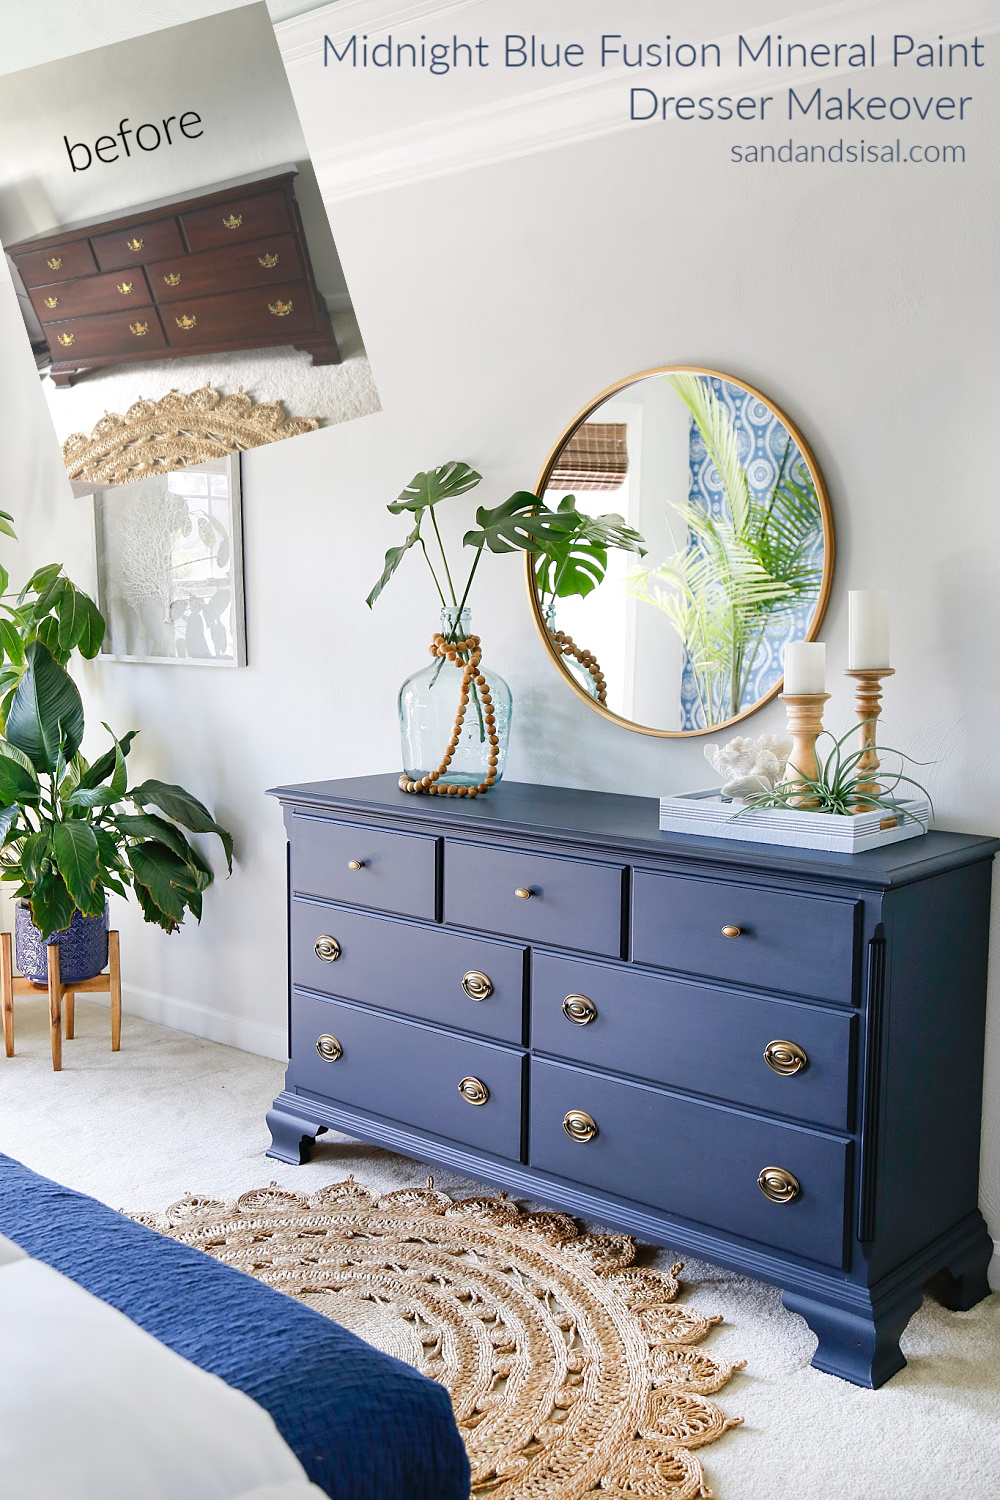
Our 20 year old cherry dresser had seen better days. The finish on the top of the dresser was scratched and marred in several areas. It is a quality piece of furniture that coordinated with the rest of our traditional red mahogany bedroom suite. Our bedroom was probably the one room in our home that didn’t reflect the coastal design of the rest of the house. As I’ve slowly been updating the bedroom, deciding what to do with the dresser was a problem. We couldn’t afford a new dresser so selling it was an option. I considered stripping it bare, but that task seemed daunting and I simply didn’t have the energy. Being the very impatient person I am, this makeover had to be fast and easy! 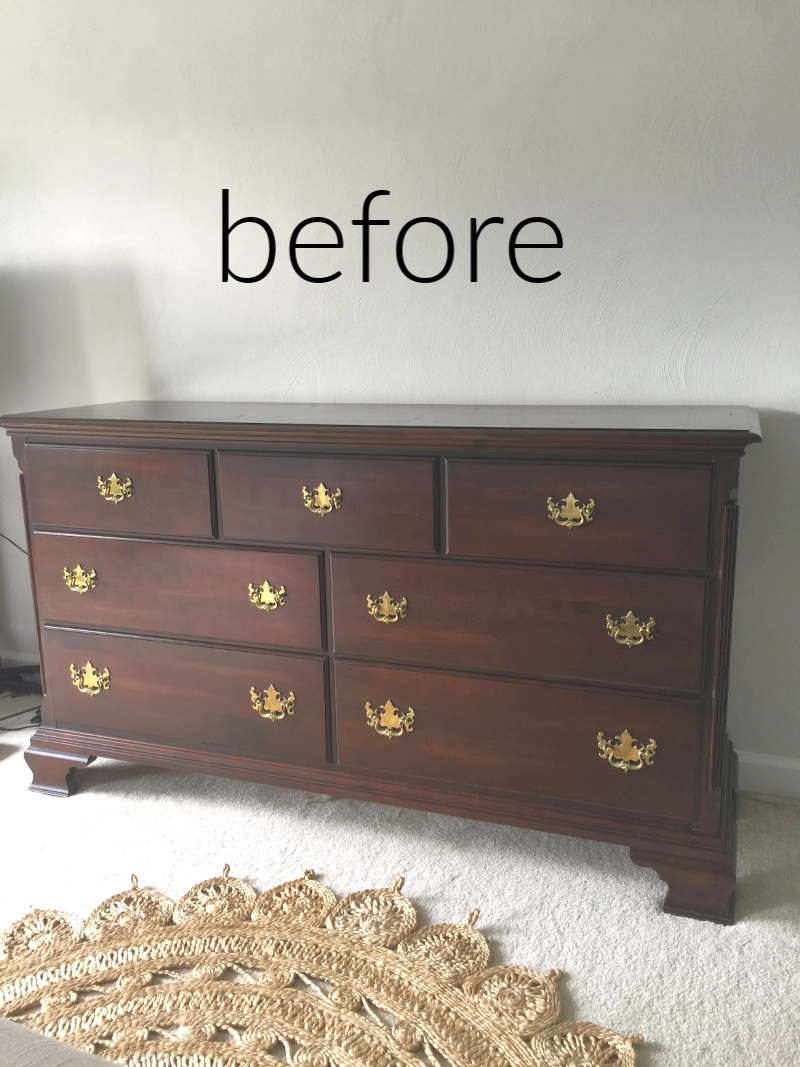
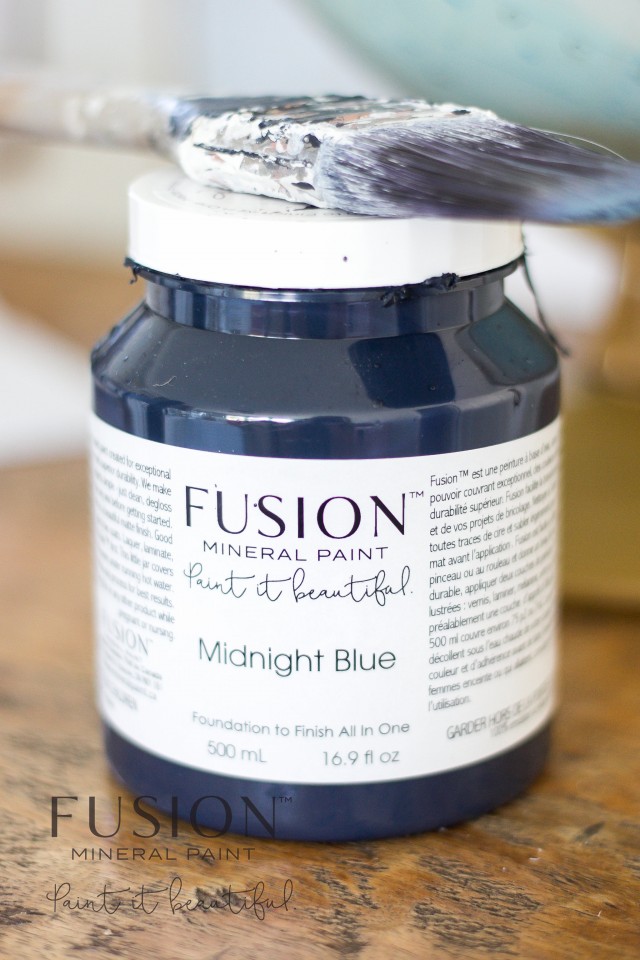
Painting was the next option. I have used so many different brands of chalk type paints over the years and I thought I knew my favorites. My sister suggested trying out Fusion Mineral Paint this time. Many DIY bloggers give Fusion high reviews so I figured why not try it. Oh… my…. goodness, I see what all the raving was about! (PS- this is not a sponsored post, I just am so happy with this paint and wanted to share my first experience with it).
Why I like Fusion Mineral Paint:
- Non-toxic, 100% acrylic, odorless, zero VOC’s
- Minimal prep work needed in most cases
- Wonderful leveling qualities
- Very nice coverage (a little goes a very long way)
- Smooth, silky matte finish
- No top coat or waxing needed
- Waterproof, can be used outdoors even
Navy Blue Dresser Makeover Tutorial
This tutorial almost seems silly because the whole project was so easy and fast! But I’ll walk you through the steps I took to refinish the cherry dresser. Every piece of furniture is different so if you are unsure as to how much prep you will need for your piece then check out this handy prep guide for Fusion paint as seen below.
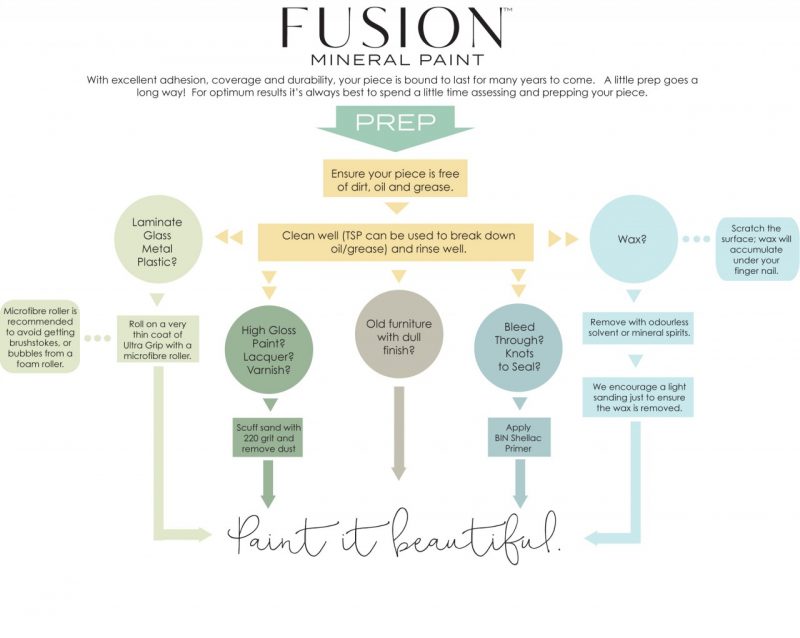
I used the following items- (affiliate links provided for your shopping convenience):
- TSP cleaner and a lint free rag
- sanding sponge (120 or 180 grit)
- screw driver to remove hardware
- tarp to protect floors
- wood filler (if moving hardware placement)
- flat synthetic bristle paint brushes (2 and 3 inch)
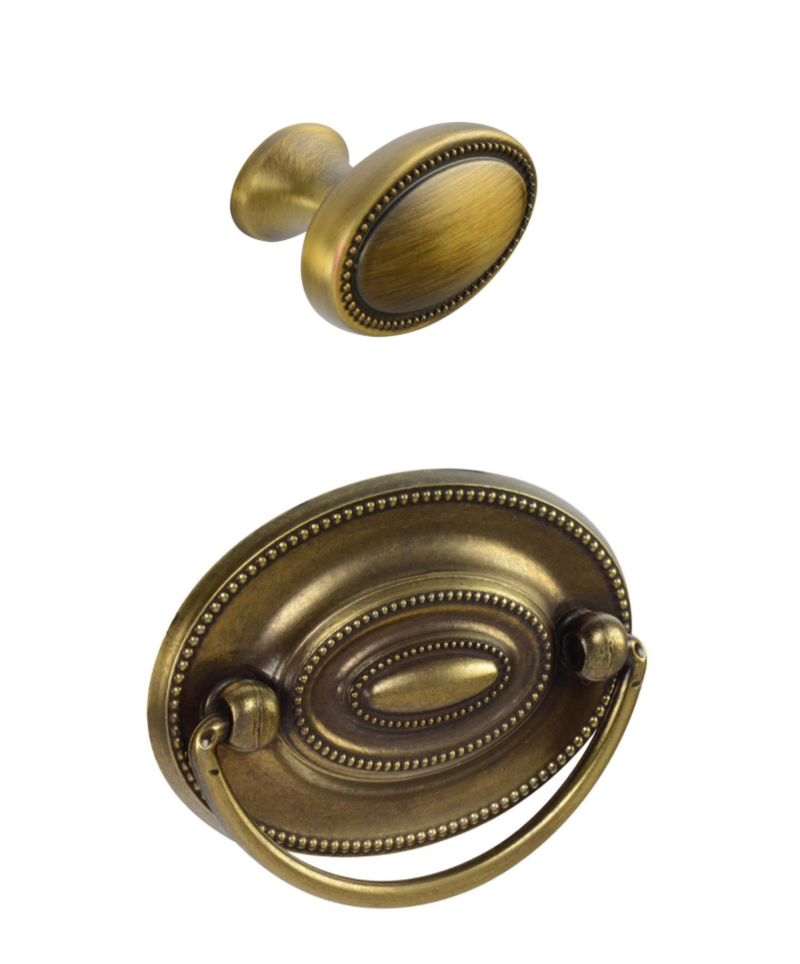
- Hepplewhite drawer pulls
- Fusion Mineral Paint- Midnight Blue (get it on Amazon HERE or find a local retailer HERE)
Step 1: Clean the entire dresser well to remove all dirt, oil and dust. TSP cleaner can be used to remove any residue of grease or oil and dirt. Rinse well with a wet cloth and dry completely.
Step 2: Remove hardware.
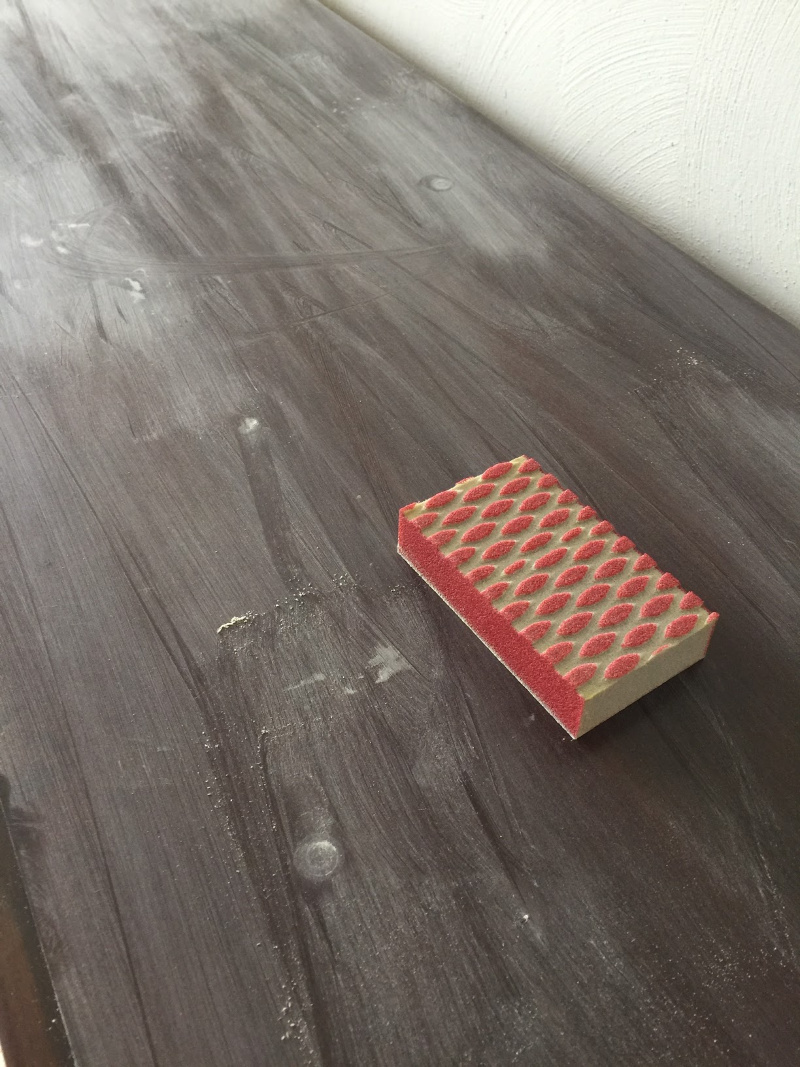
Step 3: Lightly sand the surface with a sanding sponge. The top of my piece had several blemishes and needed a bit more sanding than the rest of the dresser. This sanding is very light and shouldn’t take you more than a few minutes. The object is to dull out any shiny surfaces and smooth out scratches or damaged areas.
Step 4: Wipe off any trace of sanding dust with a damp cloth and dry well with a lint free cloth. And old cotton t-shirt works well.
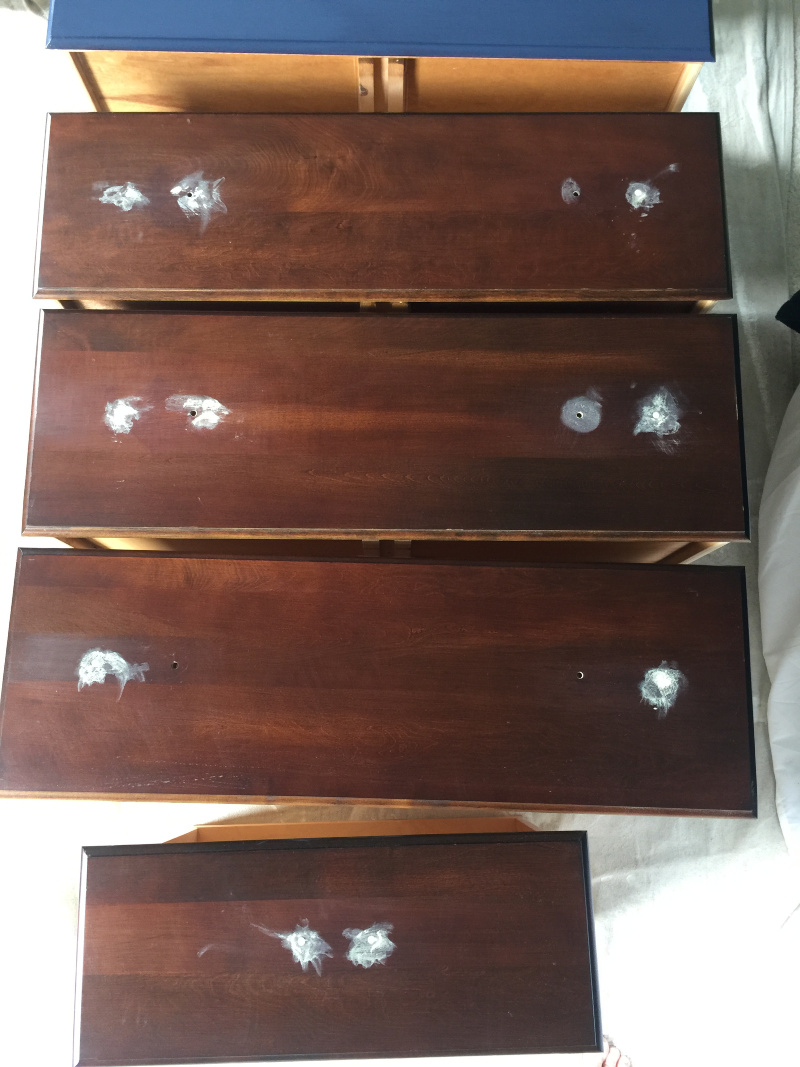
Step 5: (Optional) -The existing holes in the drawer fronts would not accommodate the new hardware I had chosen, so filling some holes was necessary. Fill any screw holes with wood filler and and after it drys, sand lightly to a smooth finish. Because wood filler has a tendency to shrink as it dries, I prefer to over fill the holes just slightly and then sand to a flat surface. The object is to make those filled holes disappear completely!
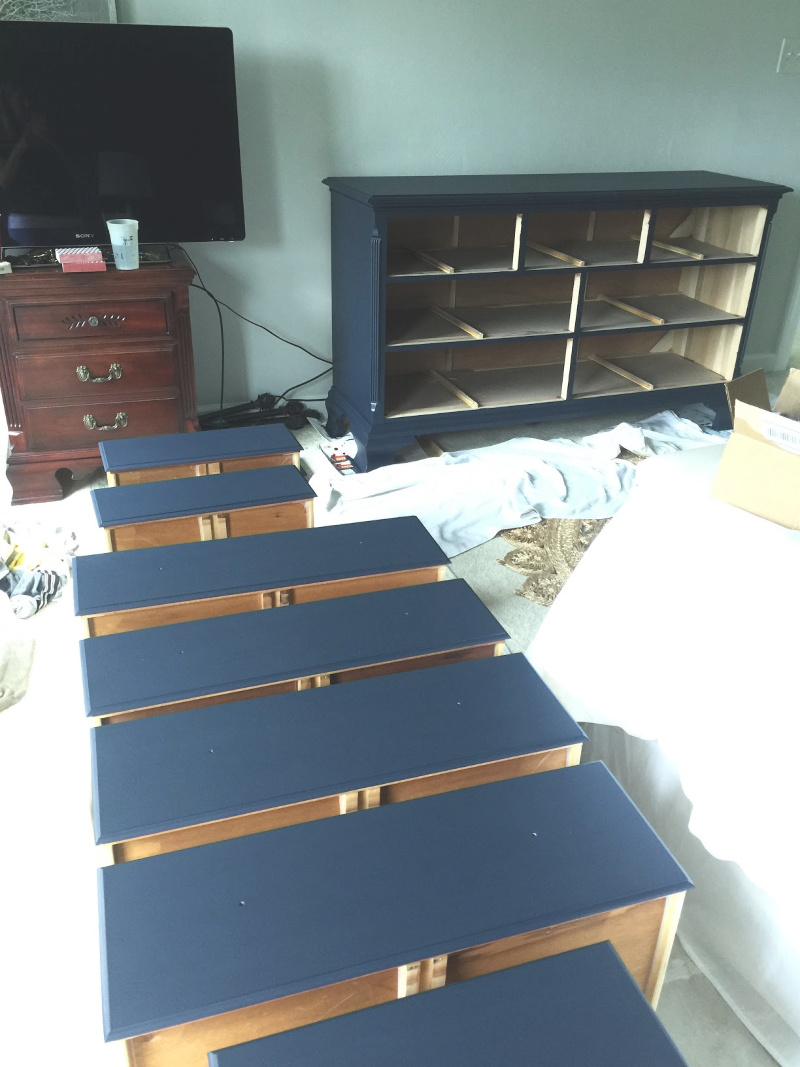
Step 6: Start painting! I wish I had taken more photos of this process but once you start it is hard to stop. Stir your pot of Fusion Mineral paint well. Dip your brush tip into the pot of paint. Understand that a little goes a very long way. The first coat should be a thin, light coat of paint. Do NOT over dip! You want a small amount of paint on your brush. Paint shouldn’t be dripping off your brush all over the place.
With any piece I personally like to start with the top first. It gives me the most satisfaction. Holding the brush at a 45 degree angle, apply the paint to the top of the dresser starting at one and use long sweeping strokes that go with the grain of the wood from one end to the other. Work quickly and do not over work the paint. Over working the paint simply means brushing back in forth in the same area too long which results in “drag” or pulling up of the paint layer, creating differences in sheen and visual brush strokes.
Allow the first coat to dry approximately 30+ minutes and then start on your second coat. If you later discover any drips you can smooth them out with a super fine sanding sponge (300 grit). The paint will dry to a matte finish but not a chalky looking matte. It is a very silky looking matte, almost like an eggshell finish, which is gorgeous. No top coat is needed. You can put items on it after 24-48 hours but the total cure time for any acrylic is actually 21 days. I have found that waiting a few days to a week is best if you plan on putting anything really heavy on the piece like a TV.
Step 7: Install hardware. Hardware can completely change the look of a piece. I absolutely love the hardware I chose. These brushed bronze knobs and Hepplewhite drawer pulls give the dresser and updated yet classic appearance.
That is all there is to it! Painting with the Fusion mineral paint was such a breeze. We all love how the dresser turned out and even hubby approves!
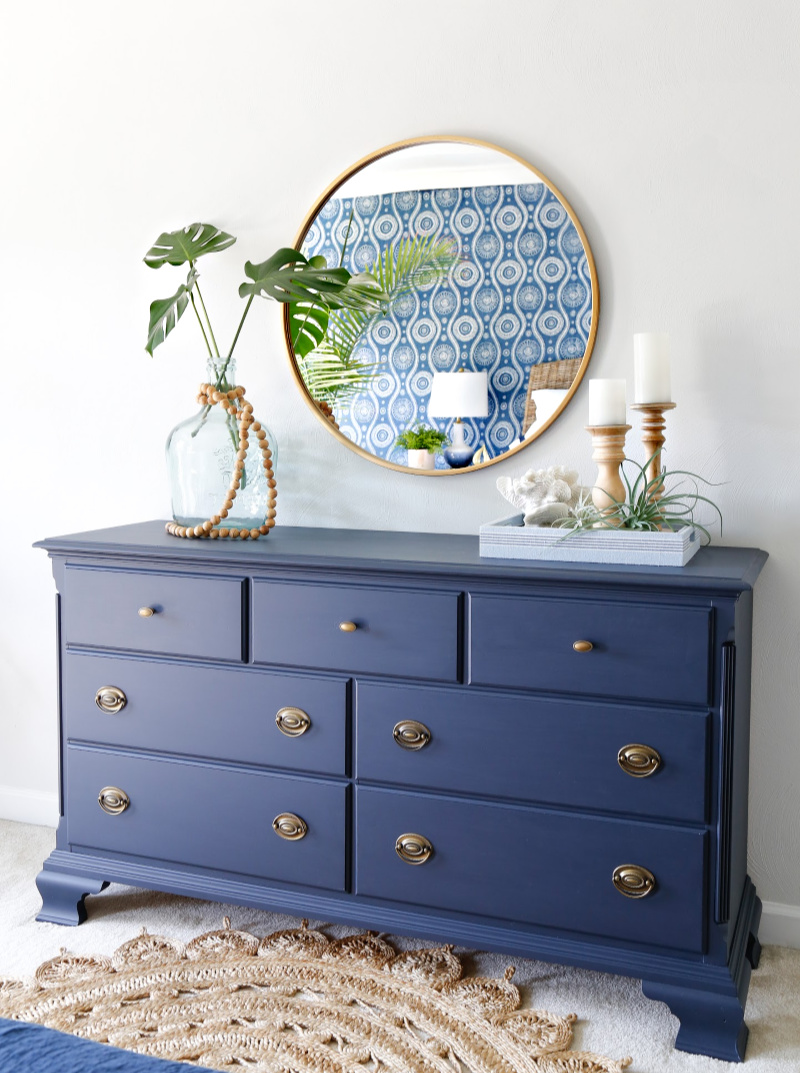
The fun part was getting to style the dresser after it was finished.
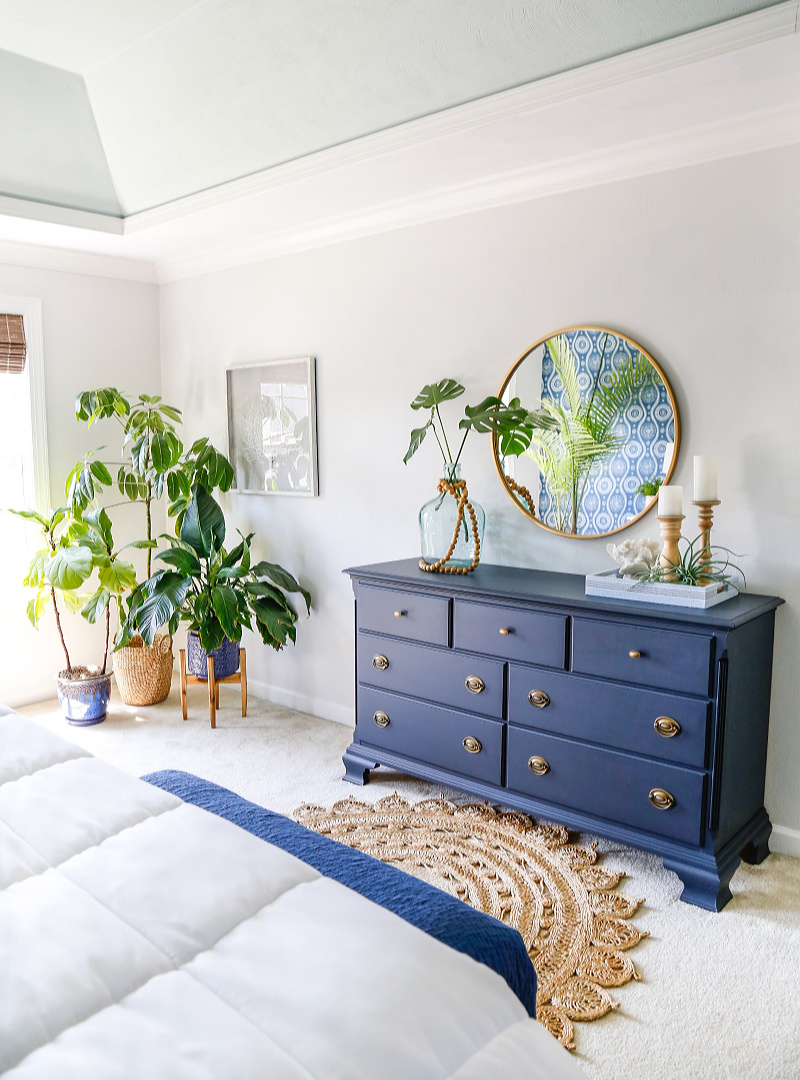
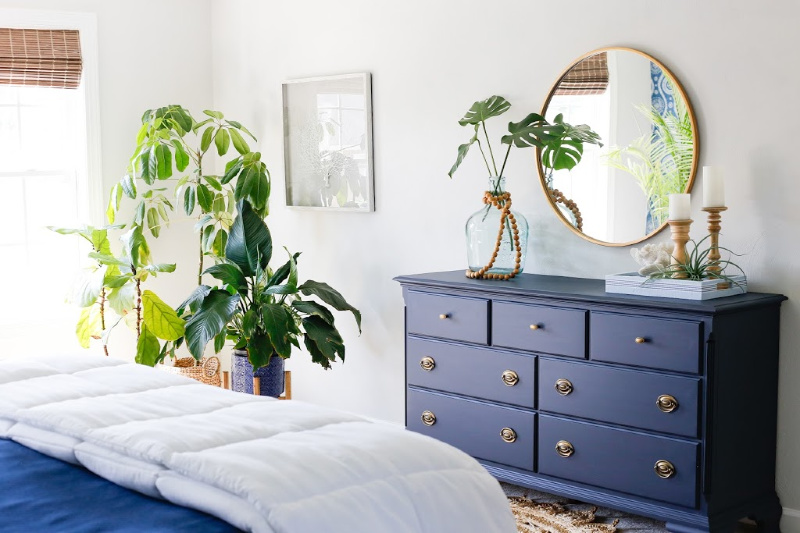
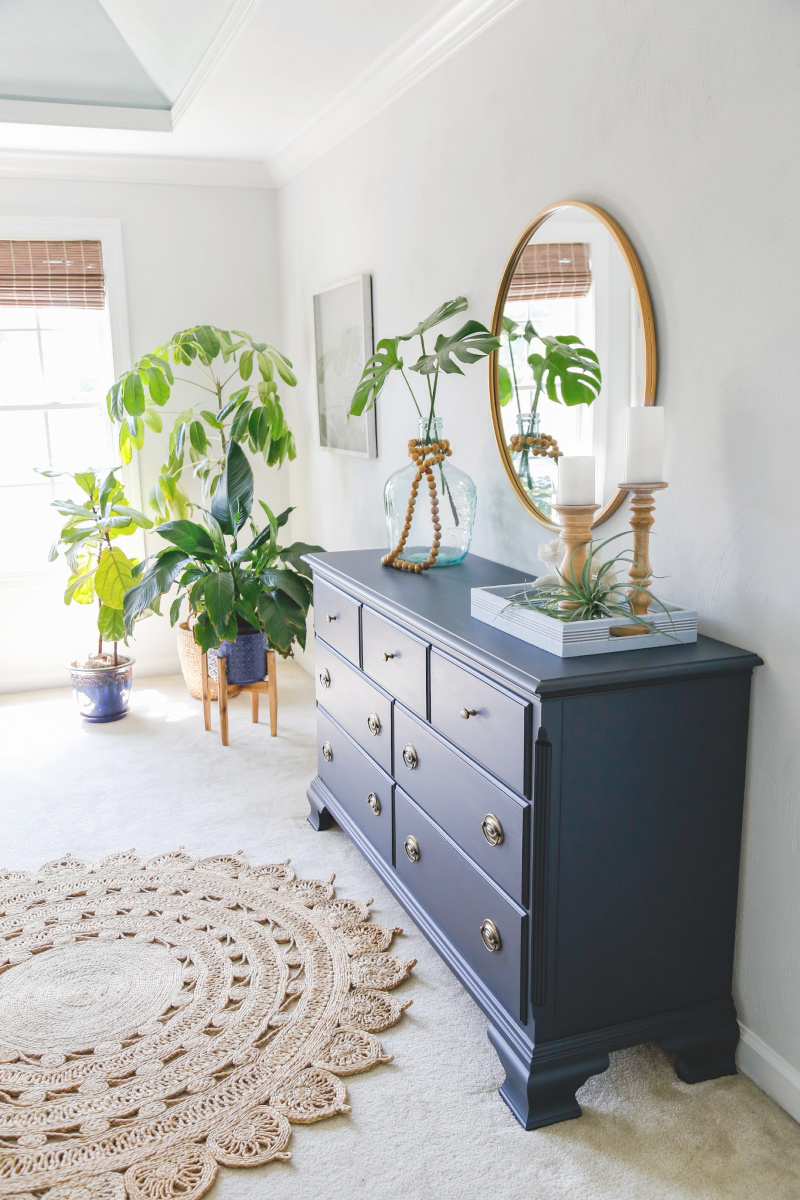
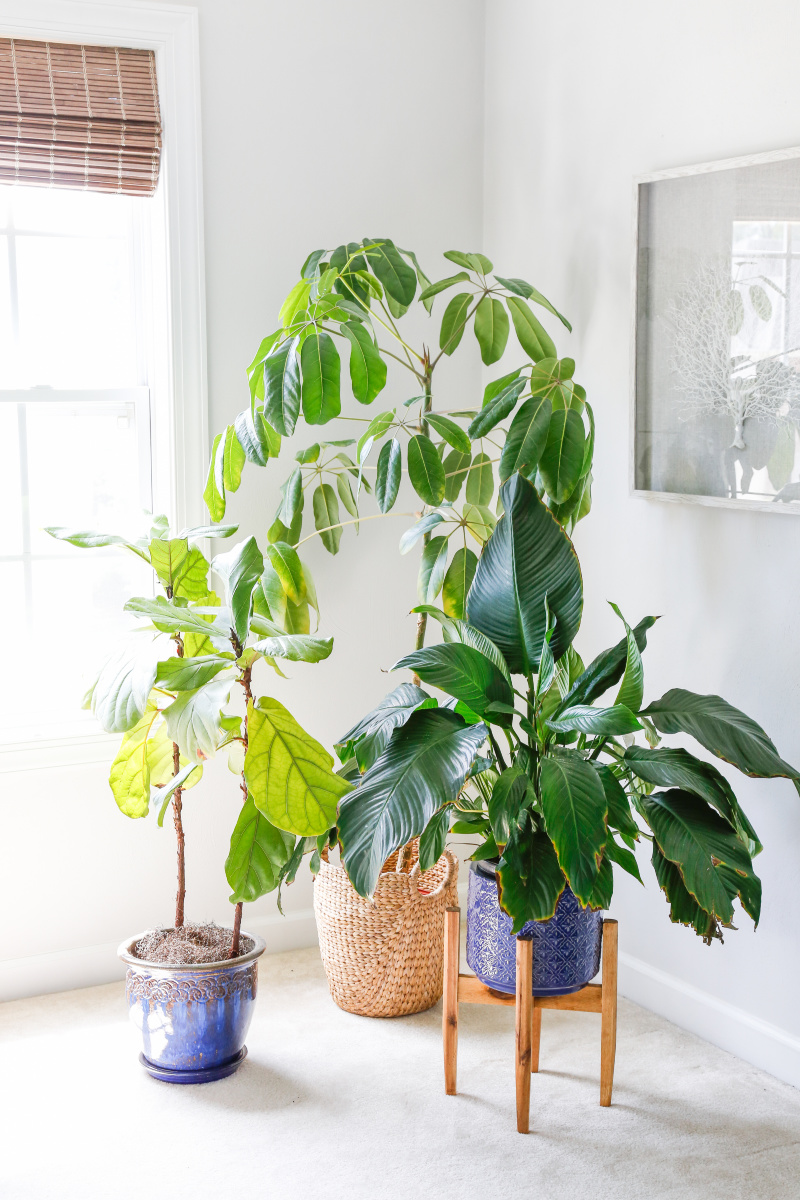
The whole room is starting to come together finally! There is still one wall that I have not show you all…. because it is a wreck. But that will have to wait for another day. I brought up some more tropical plants from downstairs into our bedroom. The kids think our room is turning into a greenhouse! Ha! Well, the plants are wonderful for air purification, especially if you have carpeted floors.
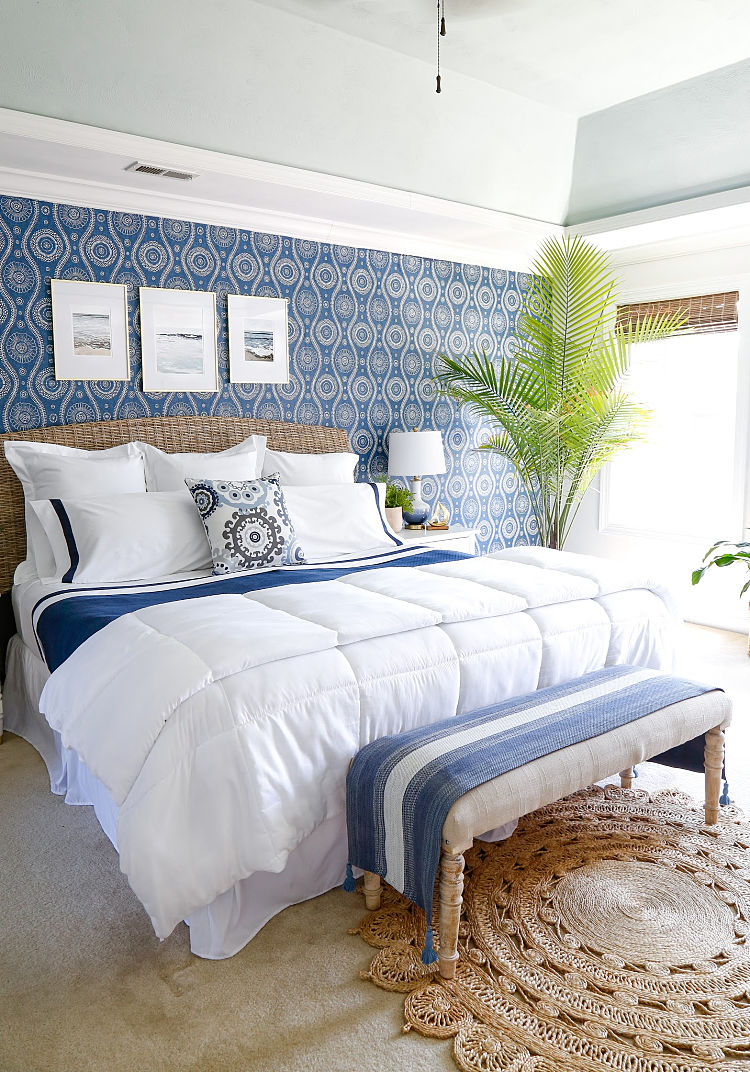
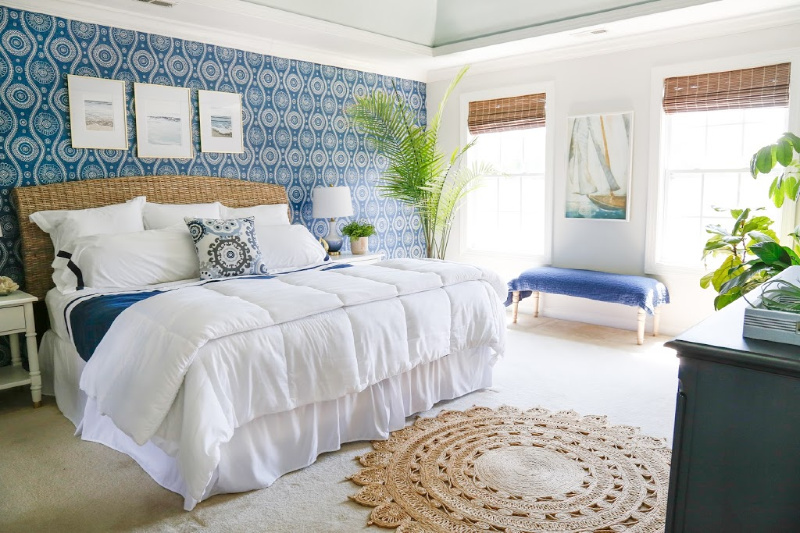
Here is the other side of the coastal bedroom that received its makeover recently. Click HERE to see the entire makeover and the BEFORE pics.
LOVE IT? DON’T FORGET TO PIN IT!
So let me know what you think! Have you ever worked with Fusion Mineral Paint? I’d love to hear your experiences!
Happy Painting!
KIM
You might also like these related posts:
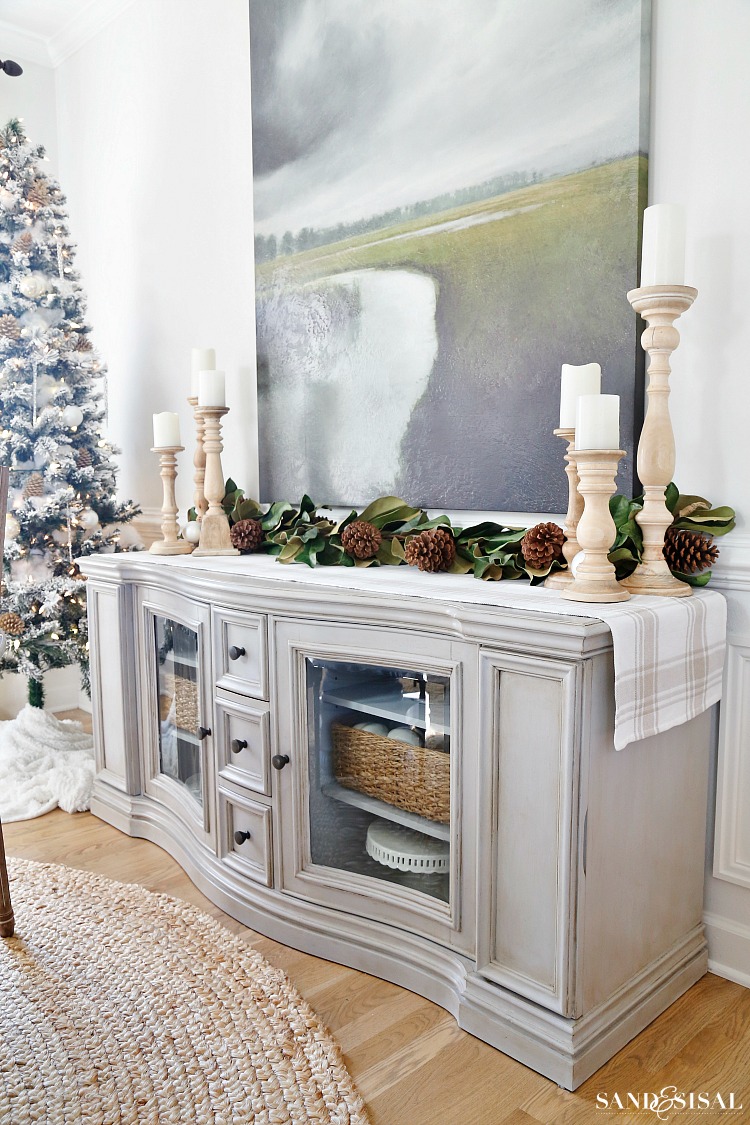
Chalk Paint & Dark Wax Buffet Makeover
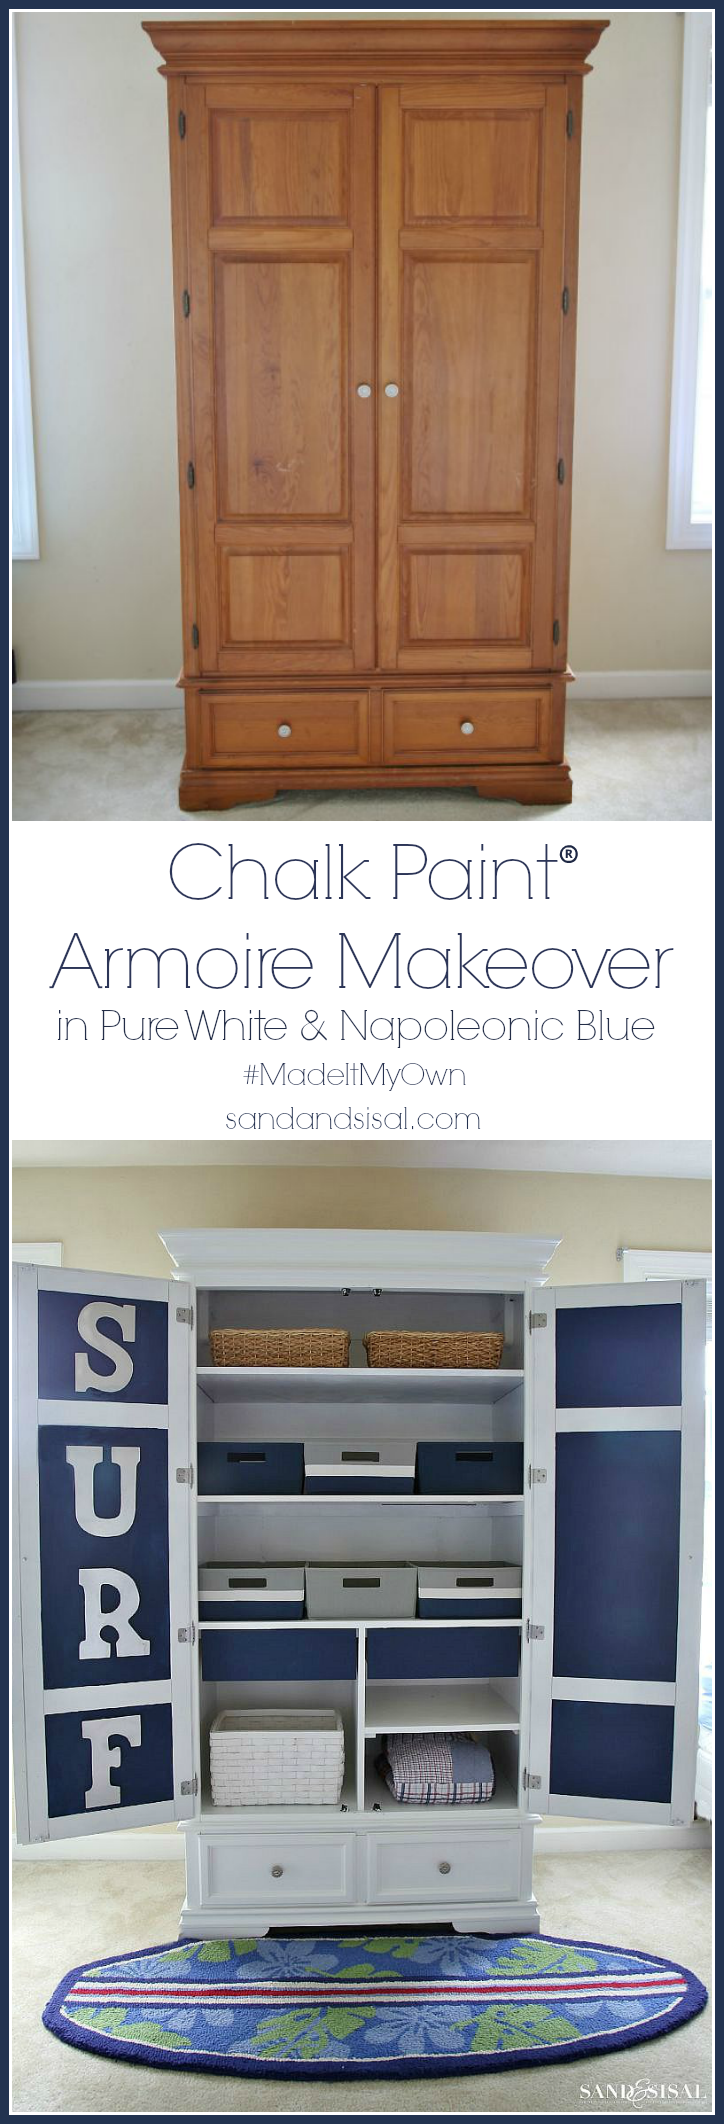
How to Paint Laminate Furniture
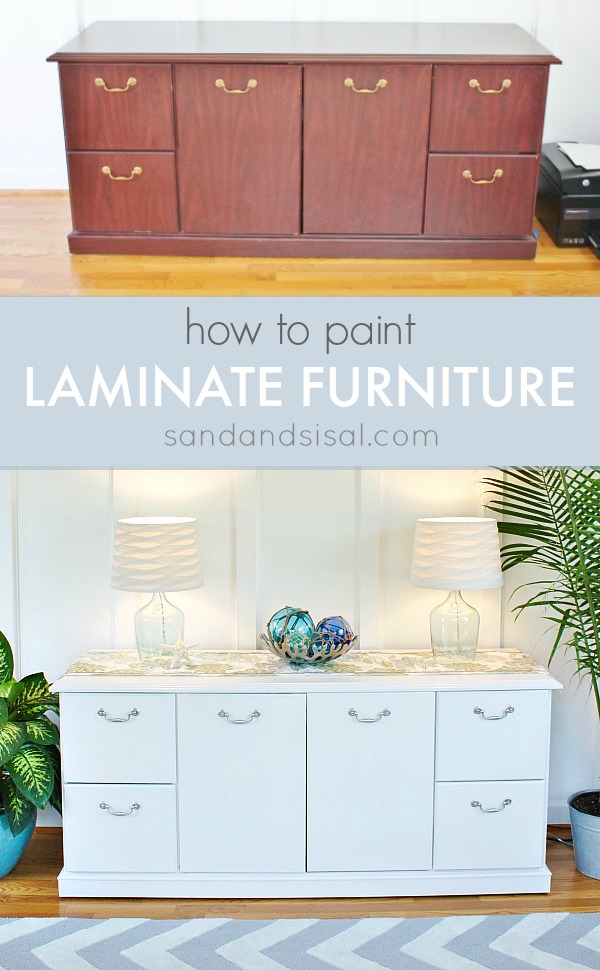
Chalk Paint Dresser Makeover – How to Use Clear & Dark Wax
Just beautiful. I love your coastal blue wallpaper.
Thank you so much Jacki! It was a bold choice (and a pain to hang) but I’m loving it! Thanks for stopping by the blog!
Best,
KIM
You did a great job on your dresser and I really like the midnight blue colour. Question…what type of brush did you use? I want to redo an old dresser as well (very similar looking to yours), but, I’m so overwhelmed by the thought of making a mistake and so unsure of paints and brushes. I’m Canadian, so I don’t even know if Fusion paint is available here. Anyways..my biggest question is about the brush. Thankyou!
Thanks so much Colleen! I thought I had included a link to the brushes I like using in the supply list, but I must have accidentally deleted it. Ooops! I like using flat, synthetic bristled brushes. I used a 3 inch and a 2 inch brush. The synthetic bristles create a really nice smooth finish and the 3 inch covers an area quickly. Here are the ones I used from Amazon: https://amzn.to/2U5wIBV . The Fusion paint is sold all over the world. I included a link to where you can find it online or locally in the supply list. Hope that helps! ~ KIM
hello! 1st time I stop by your blog and I love it! your home is beautiful and you did an amazing job with the dresser – I am sending my sideboard to be refinished, it is also a cherry wood that no longer fits in with the rest of my home – im excited! I wish I had the nerve to do it myself, but I would end up ruining it and regretting it – question for you – where do you shop for hardware? for hinges and pulls etc
thank you!
Thank you Blanca! I shop for hardware at Amazon mostly, and other times, Lowes and Home Depot. I have all the hardware that I used linked in the blog post.
Hope that helps!
KIM
I am often called crazy for wanting to paint wood furniture or cabinets. Nice to know I’m not alone. The dresser looks awesome. Love the hardware, such an improvement. I’ve been trying various types of chalk paint, and I have yet to be completely satisfied. I’ll definitely try the Fusion brand and see if I like it.
Thank you so much Tracy! I think you will really like the paint. It is easier to work with than any other brands I’ve tried. Thanks for stopping by the blog! Have a great week~ KIM
It looks fabulous! So updates! It’s like a new piece of furniture! I’m so going to do this to my dresser! I’ve painted our bed and nightstands white but they are on a dark blue accent wall. The rest of the room is white. I didn’t want to do a white dresser on a white wall so I love the idea of painting it (and the mirror) a dark blue! Should I try to match the blue on my wall, you think? It’s van duzen blue by BM.
Hi Sheila!
I love Van Duzen blue. It’s such a beautiful color. You should look at the Fusion website and see if they have something close to that color. I think you will love trying this paint. I wish I had used it earlier! Thanks for stopping by the blog!
Best,
KIM
I absolutely love this! I’m only in the don’t-paint category when it’s solid wood furniture. When it’s a laminate, game on. I think the bedroom furniture we have is made of the same material and it definitely has the same hardware – I’ve been looking for a way to make it over and make it ours (we got it from my in-laws ages ago) and I think this just might be it!
Thanks so much Kristin! This dresser is actually solid cherry so painting it was a tough choice. I told myself that I could always strip it bare in the future if I change my mind (which you know I do often! heehehe). The paint is so easy to use, I think you’ll love it!
Hi – i have used Fusion alot, but after sanding you always have to do another coat or else use a topcoat because sanding dulls the finish.. I never see anything said about this. Even distressing it will leave dull spots but no one talks about having to use topcoat if you sand at all.
So basically the last coat you cannot sand it unless you use a topcoat. Right?
Im doing Midnight Blue on A dresser & do not want to use Tough coat after so I’m just not how I can distress in spots without leaving a dull spot. Or does wet distressing not cause a dull spot?
If you can help with my questions that would be great! I cant find this info anywhere.
Hi Michelle!
You have some amazingly good questions! I’d love to know the answers to those too but unfortunately I have no idea. I didn’t distress this piece at all. Maybe try experimenting on a scrap piece of wood and see how the effects of distressing both wet and dry result. I haven’t put any top coat on my dresser but I am considering a a simply wipe on poly. If you go to the Fusion FB page or the website, I bet there is someone with more knowledge that could answer you questions better than me.
Wish I could be of more help!
KIM
Hi – i have used Fusion alot, but after sanding you always have to do another coat or else use a topcoat because sanding dulls the finish.. I never see anything said about this. Even distressing it will leave dull spots but no one talks about having to use topcoat if you sand at all.
So basically the last coat you cannot sand it unless you use a topcoat. Right?
Im doing Midnight Blue on A dresser & do not want to use Tough coat after so I’m just not sure how I can distress in spots without leaving a dull spot. Or does wet distressing not cause a dull spot?
If you can help with my questions that would be great! I cant find this info anywhere.
Once again, my favorite blog has given me inspiration! I am working on my 2020 Project List and changing or replacing my bedroom dresser is on there….just not a lot of details. Bingo! Love the color and have been wanting to try Fusion paint for a while now. My go to is Annie Sloan’s chalk paint, but have been hearing so much about Fusion. With your directions in hand, this project is now on the top of my list! I also want to replace the hardware as it is very mission style and not what I’m leaning toward these days. May I ask where you got your hardware?
Thank you again for always being an inspiration! ❤️
Never mind about the hardware – don’t know how I missed your links the first read! 😏
Thank you so much Carol! I was exclusively an ASCP girl too. I do still love it but Fusion is pretty amazing also. I think you will be pleasantly surprised with the paint! Good luck on your dresser too! Send me some pics when you’re done. I’d love to see them! Happy New Year ~ KIM
Thank you for the excellent post. I have been planning to paint my mahogany china cabinet with Fusion Paint in Midnight Blue for months. I think I feel confident now to tackle my project, hopefully next week. By the way, Fusion Paint is a Canadian company and is available here.
Oooo that sounds like a beautiful project to tackle! I think you will love the paint. Feel free to send me some before & after pics! I’d love to see them. Happy New Year Joanne! ~ KIM
Just got the paint and ordered the hardware! Can you tell me where you got the mirror?
Hi Maris! The mirror was from Hobby Lobby. I got it when they were having a half off sale so it ended up being $60. Good luck on your project! Have a great week! ~ KIM
Love this post, thank you! Question:How much does a pint cover? I am thinking of painting a cradenza and 2 small book cases. Just wondering how much paint to buy, esp case the color seems to be selling out.
Thank you Traci! I still have 1/3 of the jar left. A little goes a long way. For the job you are describing you might need 2 jars though. Have a lovely weekend! ~ KIM
I love this dresser, especially against the light grey wall! Do you happen to know the wall color?
Love this dresser, especially with the wall color! Do you happen to know what color is used on the walls?
Hey Kim! Could you use this type of paint on unfinished wood, like a piece you would get from Ikea or do you recommend something different?
Hi Shan! Yes you can! It is self priming, so all you need to do after the first coat is give it a light sanding (220 grit) because the grain of the raw wood will now be raised. Then apply a second coat and you’re good to go!
Hi! I love your midnight blue dresser makeover. Can you give my the dimensions of your dresser? I’m trying to figure out if one jar of the paint will cover my dresser. Thanks so much!
Hi Suzanne!
My dresser is probably 5 feet long. It’s quite large. I didn’t use the whole paint pot at all and I did a few coats too. I’m planning on using the rest of my paint pot for my sons’ bathroom vanity. A little, goes a long way. Fusion Mineral Paint is now my go-to for furniture. (I have zero sponsorship with them by the way…. I’m just so very impressed).
Hope that helps!
KIM
I know this is an older post, but it was so helpful to me as I painted a dresser. I had a question regarding your mirror. I’ve been trying to find one that isn’t $100s of dollars. The ones that are more reasonable (150 and under) are sold out. Your mirror looks to be 36″ do you remember where you got it? Thanks!
Hi Laura! Sure thing! The mirror was from Hobby Lobby. They carry it in gold and in black. I bought it on a 50% sale so I think I paid $60.Hope that helps! ~ KIM
I loved the color of your dresser redo so I ordered the Fusion Midnight Blue paint and got to work! The paint looked dark in the jar but I know that this can happen. I am so very disappointed with my finished product because it does not look at all like the color of the dresser in your picture. It is nearly black, which was not the look that I wanted at all. People should be aware!!
Hi Shani,
I’m sorry you were disappointed with the results. The color will look brighter or darker for sure depending upon the amount of natural sunlight you have in the room. My bedroom is south facing and receives a ton of direct sunlight, so the blue looks brighter. We just painted an accent wall in my son’s bedroom in this color and it looks very dark navy because it is on the north side of our home and receives very little natural light.
Fusion does have several shades of blues that you might be happier with. Here’s the link to see them all: https://fusionmineralpaint.com/colours/
Have a beautiful week,
KIM
Hello – I have a similar bedroom set — dresser, nightstands, tall dresser in the cherry finish. I’d like to paint them but I’d like some of the old finish to show through – I guess distressing is the correct word for it? Would that work if I painted the furniture a dark gray and then sanded / scuffed some of the edges? Or this process something I need to do with the chalk paint and wax? FYI – I’ve never painted furniture before so I’m a newbie….
Hi Michelle!
I think Chalk Paint would work better for what you would like your end results to look like. Here is a link to one of my tutorials of a mahogany buffet table that I painted with chalk paint and wax. I have several “first-timer” tutorials linked in that post also and a video too. If you type Chalk Paint in the search bar on the blog, then all the tutorials will pop up that you can choose from. Let me know if you have any other questions, I’m happy to help.
Best,
KIM
Love how your dresser turned out. I’m wondering if you ever did put a poly topcoat on and if not, how has the finish held up since it’s been two years now?
Hi Cleo!
I actually never put on a poly top coat and it all still looks good. It doesn’t have any scratches or chips yet. I still might put one on though just to be safe long term. This is my husband’s dresser, and he certainly isn’t delicate with it. Ha! Hope that helps!
Thanks for stopping by the blog! I appreciate it!
KIM