Over the past few years, flocked Christmas trees have become very popular. I have been seriously coveting all the gorgeous white fluffy snow flocked trees but not the pricetag that is usually attached! We already own several artificial trees and I knew my husband would freak if I bought another one so it was time to figure out how to get the snow flocked looked on my own. Y’all, I am so excited to share with you How to Flock a Christmas Tree! This is an easy DIY project but I’ll warn you, wow it’s a messy one! So put on some raggedy old clothes (and shoes) and let’s get a flockin’!
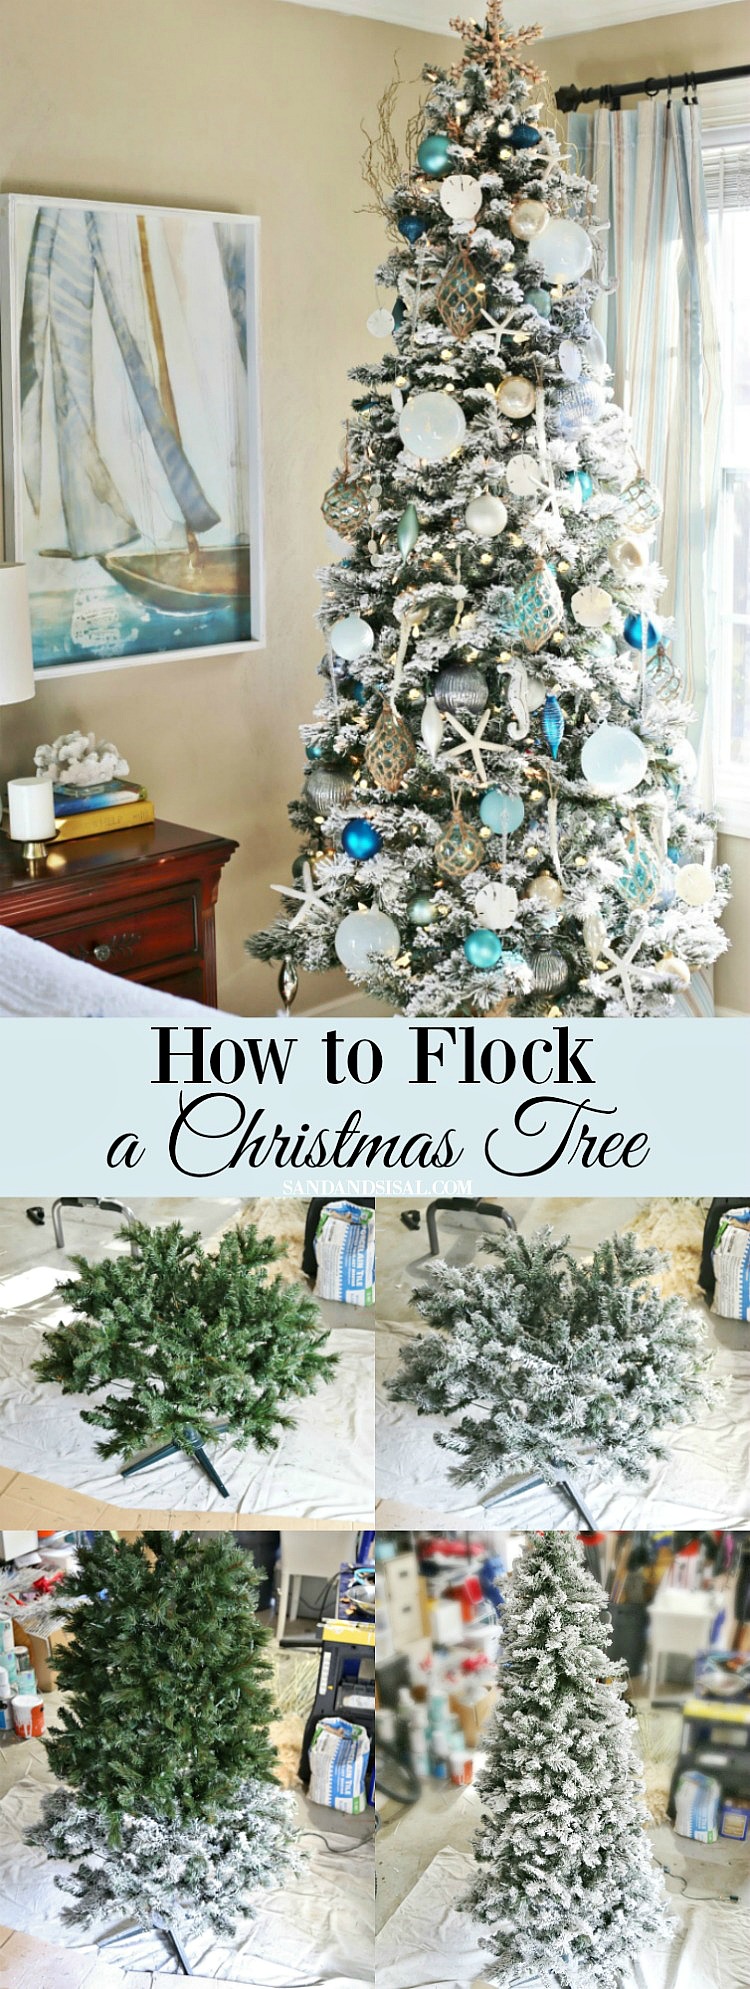
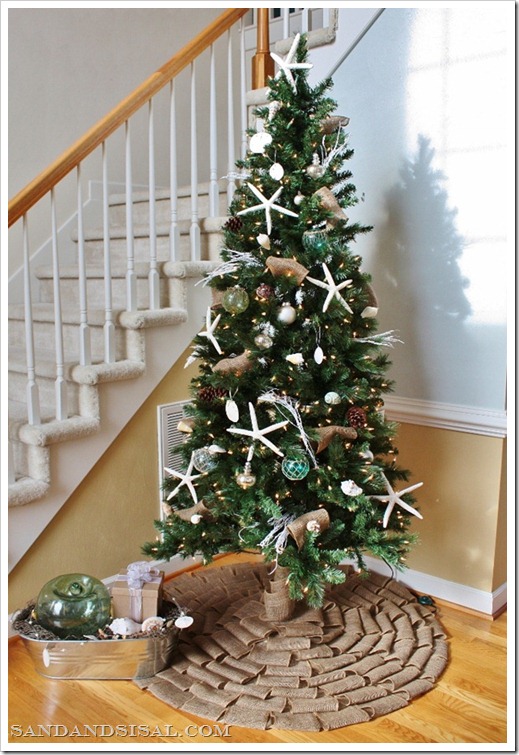
The tree that I chose to flock was a slim 7′ pre-lit tree. It is quite old and not all of the light strands work. I’ve never really liked it, because it wasn’t very full and lower quality. To be honest I thought of donating it but why not give flocking a try. Below is a pic of my 1st ever coastal Christmas tree from 2011. Back then I thought it was AMAZING. Oh my, hee,hee. Guess we try to up our game each year.
How to Flock a Christmas Tree
Here are the items you need to flock a Christmas Tree (affliate links provided for your shopping convenience):
- Snow Flock Powder
- wire mesh strainer
- spray bottle filled with water
- Tarp or plastic covering to protect floor
- face respirator & eye protection
- Kitchen gloves
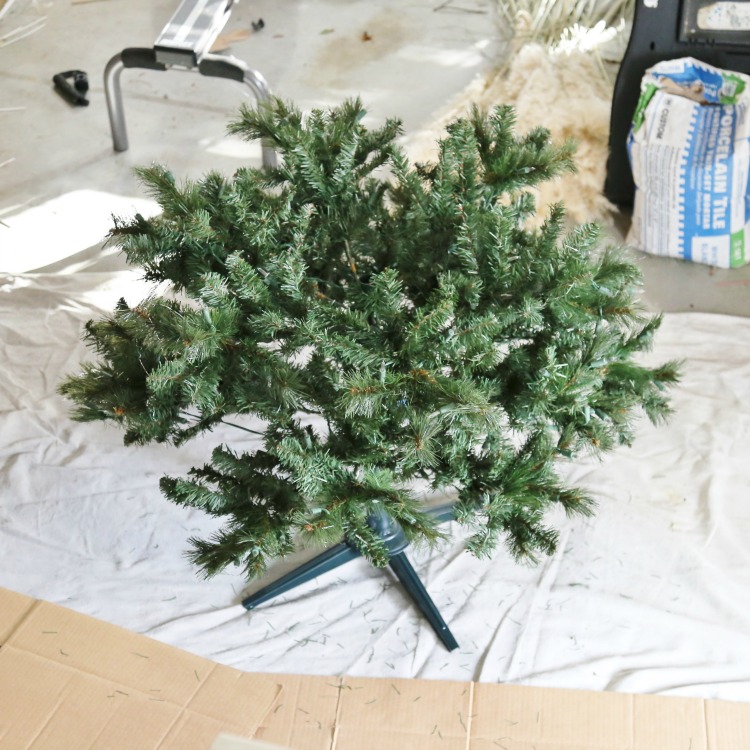
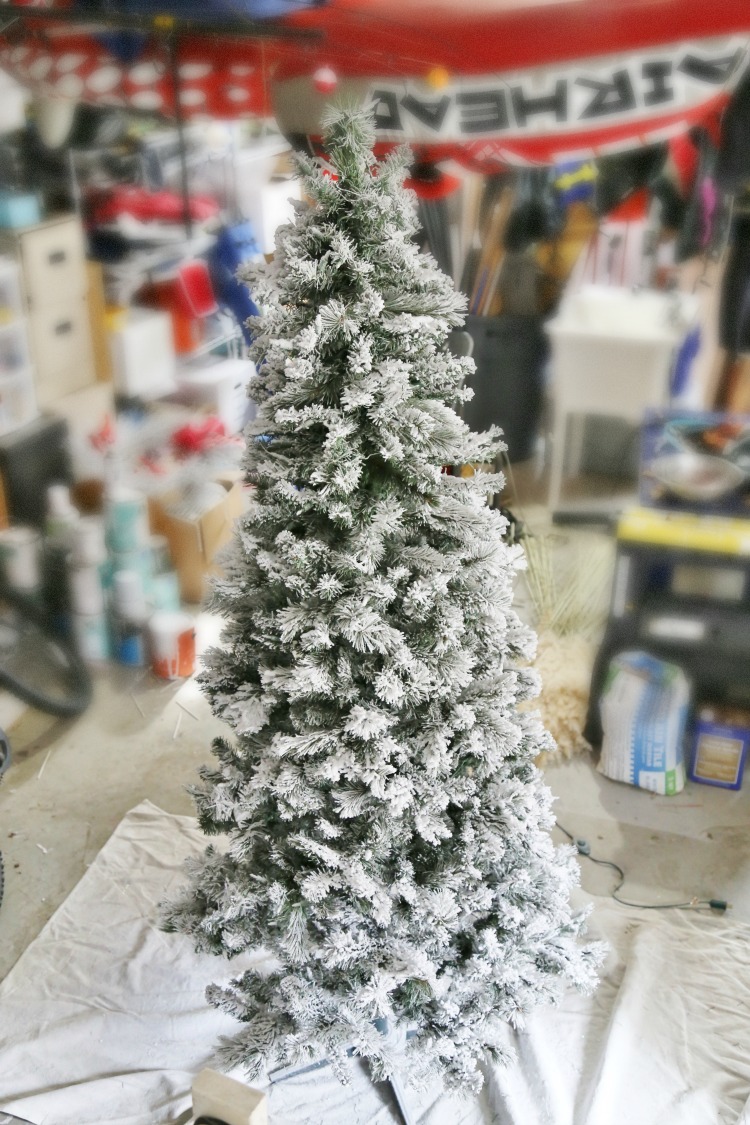
If you can, try to do this project outside. You want to have little to no wind. Our weather has been too windy so I had to resort to flocking my tree in my garage, so please excuse my horribly messy garage. Do not flock your tree inside your house! The flocking powder is very sticky when it gets wet. It has an adhesive in it. So lay out cardboard, a tarp, or some plastic painter’s dropcloth.
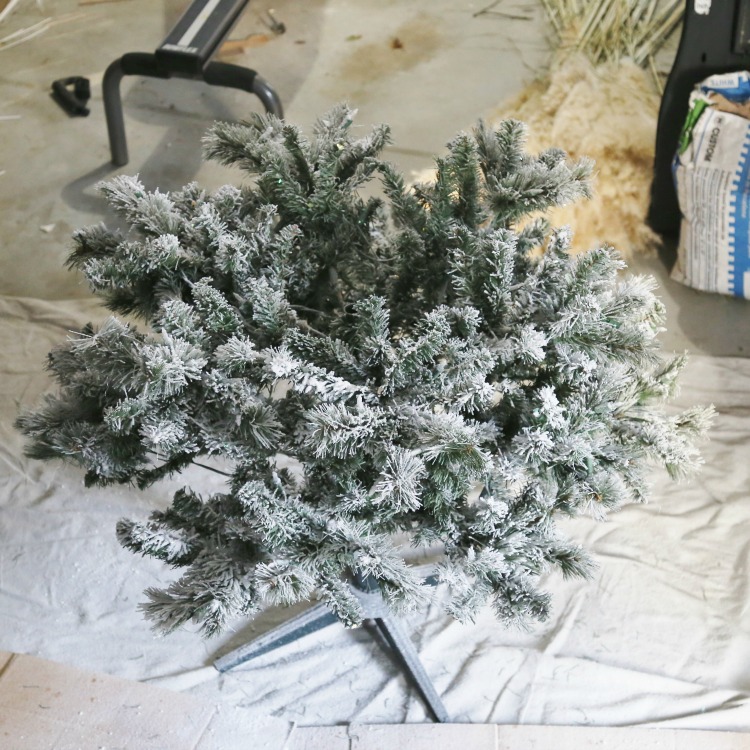
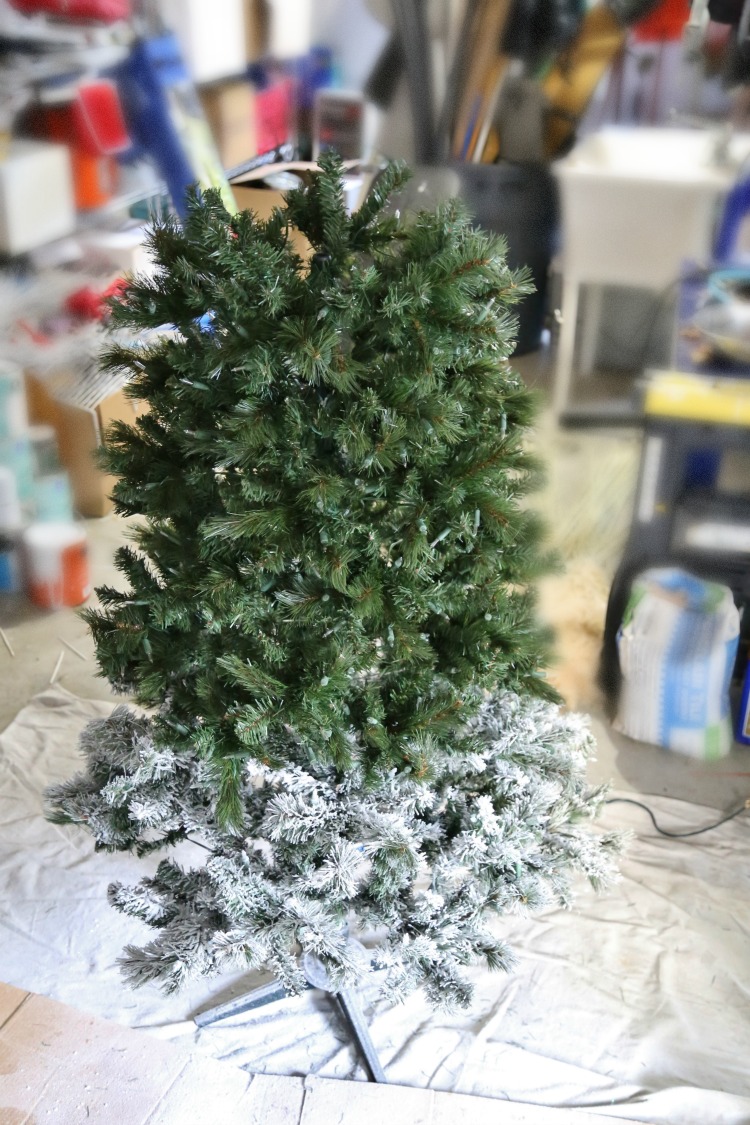
I ordered 5 lbs of the snow flock powder. It was more than ample for flocking my tree. I only used half of the powder. The flocking powder comes with nicely detailed instructions on how to use it. Be sure to read all the instructions carefully before you start. You do not need to remove your lights if your tree is prelit. My tree comes in 3 sections. I recommend flocking each section separately, starting with the base section. Put the base into the stand and fluff the branches as you would normally.
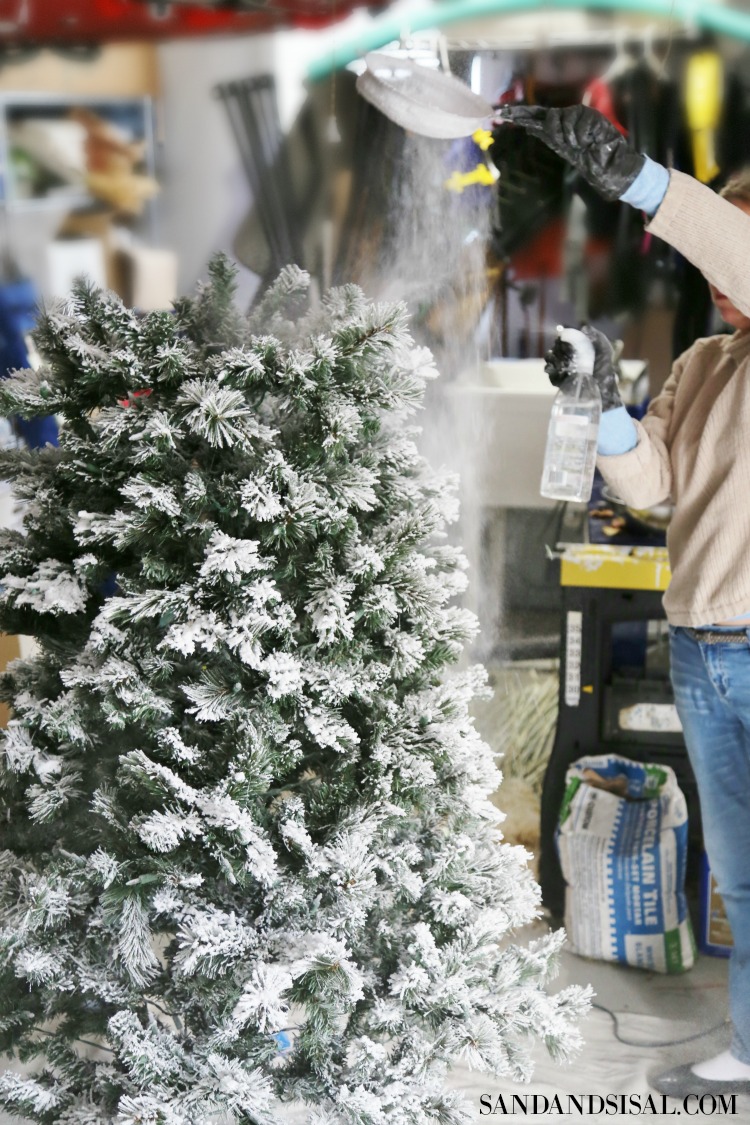
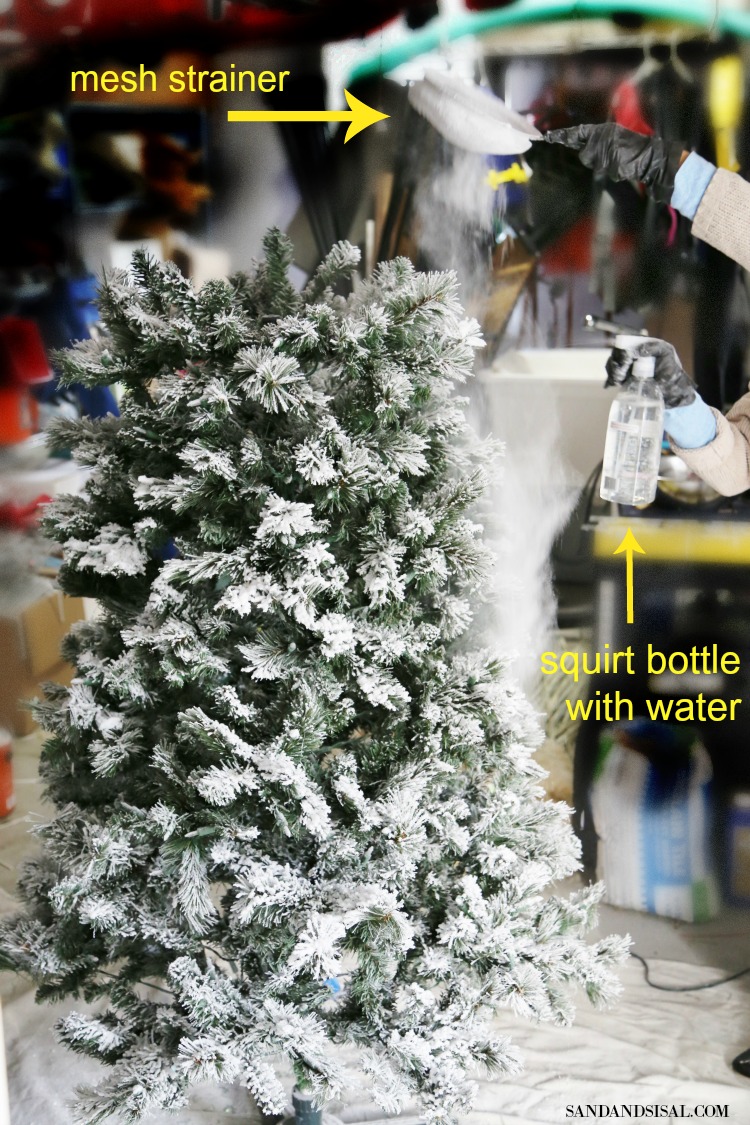
Time to start flocking! Start by giving the branches a light misting with the water filled spray bottle. Do not soak the branches but make sure they are lightly misted. Put on kitchen gloves a scoop a cup or two into the mesh strainer. Hold the spray bottle in one hand and the strainer in the other. Start sifting the powder through the strainer and spray the falling powder with the water as it is falling, aiming towards the branches. It takes a bit of coordination. Having a friend spray while you sift is helpful, but not necessary. Make sure to avoid accidentally spraying the bottom of the strainer!
I dusted a light application all around and then repeated the process until I achieved the desired amount of snow flocking. After I had the bottom section the way I liked it, I gave the branches an all over misting with water. This sets the snow flock in place. Allow it to dry for 15 minutes and then move onto the next section of your tree, fluffing and misting before you flock, following the same procedure.
Once you start you will quicky realize how messy it is and why zero wind is important. It is recommended to wear your safety eyewear and face respirator. Be aware, if you use a cloth tarp then plan on throwing it out afterwards.
By the time you get to the top of the tree you will need a ladder.
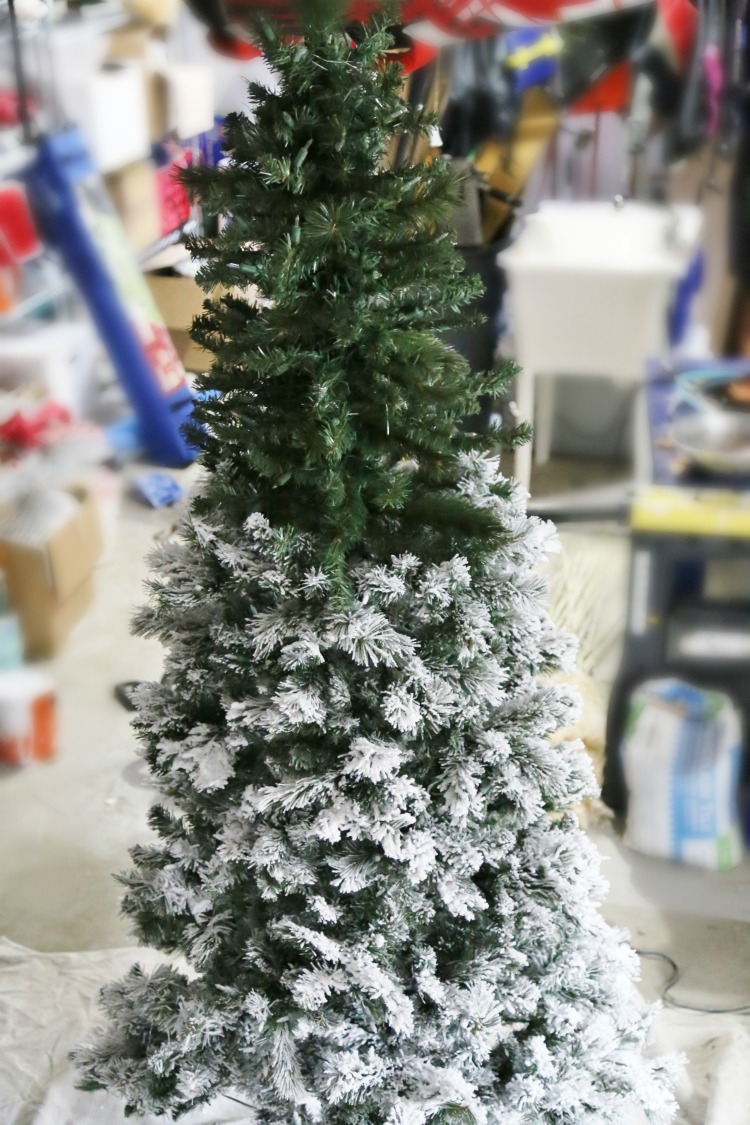
When the tree is finished, give the entire tree another misting of water to lock all the snow flock in place. I let my tree dry overnight in the garage. By morning it was dry and the snow flock was hard to the touch. There were a few branches where I went a little overboard with the flocking and still felt powdery so I sprayed those areas with more water and within an hour it was hard and set.
The flocking stayed on the tree quite well as I disassemble it and moved the tree up into our bedroom. Doesn’t the flocking look beautiful? The lights have such a pretty and soft glow with the dusting of flocking on them.

The improvement is a night and day difference! I never would have guessed this was the same whimpy looking tree as before. The sea glass and glass float ornaments coordinate so beautifully with the snow laden trees.
Nighttime is magical! Click here to see our Coastal Christmas Bedroom Tour.
With a little effort (and a bit of a mess) you can create a winter wonderland inside your home! Next on my list I think I’ll be flocking our faux garland and wreaths! I hope you enjoyed learning how to flock a Christmas tree and try it out for yourself!
Merry Christmas!
KIM
You might also like these posts:
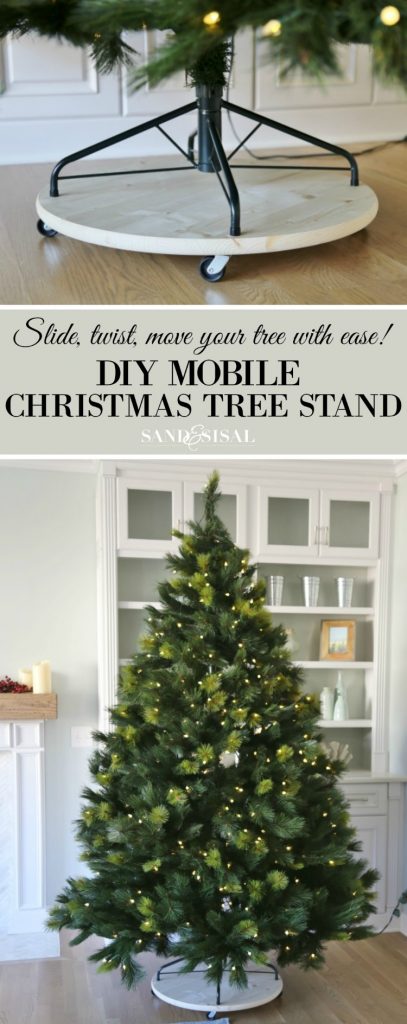
DIY Mobile Christmas Tree Stand




the tree looks amazing. may have to try this one year. your bedroom is so pretty. Merry Christmas kim!
Thank you Laura! Merry Christmas to you too!
Beautiful! I think I will try it.
Thanks Kim!
Wow that is awesome. Both my husband and I would love to try this on our old trees up in the garage. We have huge garlands that go outside and have flocking on them but the flocking is wearing away so this post is very timely. Now to find flocking in Canada. Also being in Canada at -40 we would have to do the trees in September and then pack them away so by the sounds of your project it would be durable for a few years and then possibly a touch-up would be in order. Thanks Kim love the tree and the room. Good luck in sneaking more of your style into the bedroom – Nancy PS Merry Christmas all!
Thanks Nancy! I bought the flocking from Amazon.com so I’m sure they will ship to Canada. I’m not sure though if this flocking would last outdoors. I haven’t tested that but I’m suspecting it would wash away. Wishing you a merry Christmas too! ~ KIM
LOL no worries about washing away as all we get is snow and freezing temperatures. When it is winter it is winter! One day we will try it out and let you know. Take care Nancy
Wow! I always have a fresh tree but you just convinced me to look for a thriftier fake one! Love this sooo much!
I just flocked my tree! It’s absolutely gorgeous!! Thanks for the great tutorial.
Yay! So glad you tried it! Happy New Year!
Beautiful! Is this permanent? I’m in search of more of a permanent flocking idea. Thank you!
Hi Priscila! Oh yes, this is a permanent application. Some heavy areas will flake off a bit when you disassemble it, etc. but overall it is quite permanent. I have so much left over that if I need to add more, it’s easy enough. Have a great week! ~ KIM
Did you store the flocked tree like you previously did before flocking?
Hi Haley! Yes I did but I tried to take extra care when putting it away. I just set it up in my dining room (post coming in a couple days). Once I set it up again I gave it an overall misting of water and allowed it to dry before decorating. That really helped cut down on the dusty mess. Thanks for stopping by!