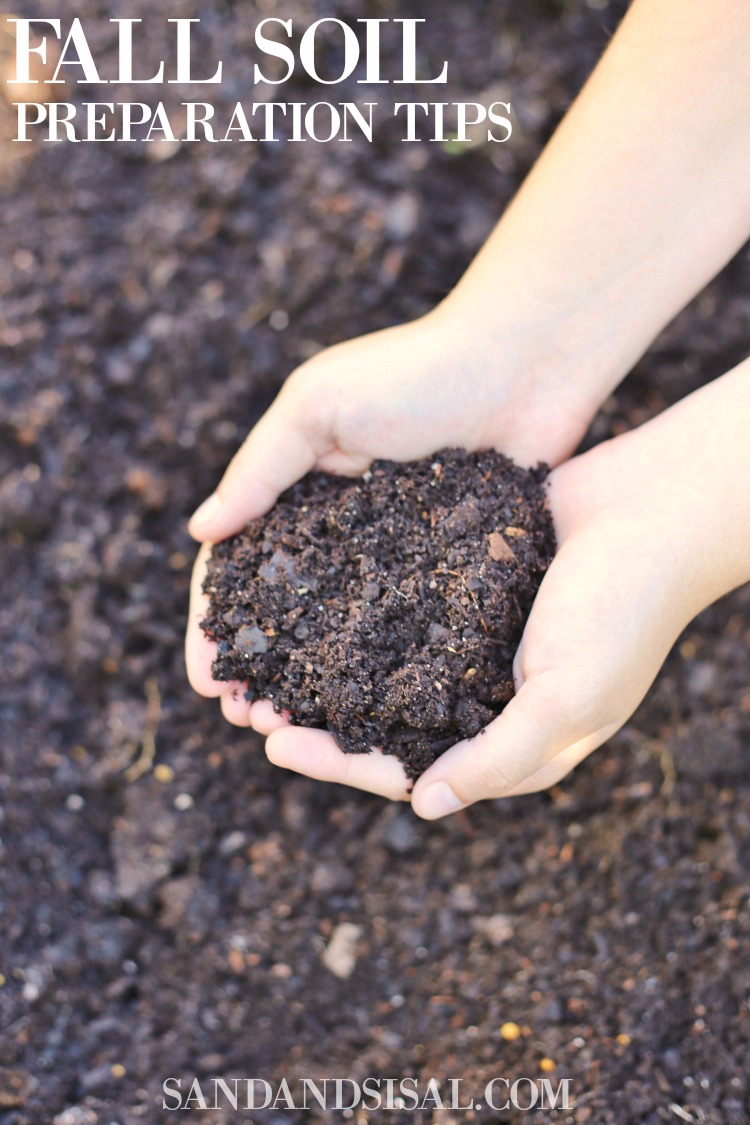
This spring I had the best of intentions on plowing through an unused section of our yard and starting a new and larger kitchen garden. Somehow life got in the way and suddenly it is fall. How could I possibly start a garden now? Guess what? FALL is the perfect time to prepare soil for spring gardens. I’m excited to share some fall soil preparation tips that will give your garden a successful head start in the spring.
How to Prepare Fall Soil for Spring Gardens
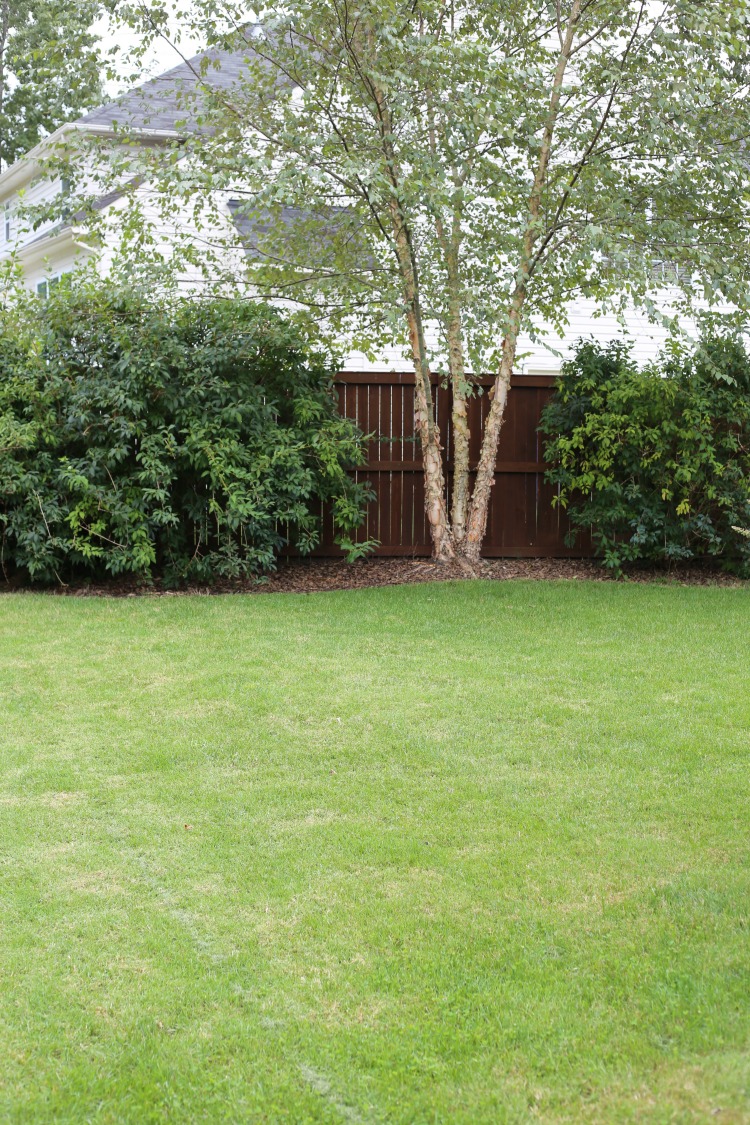
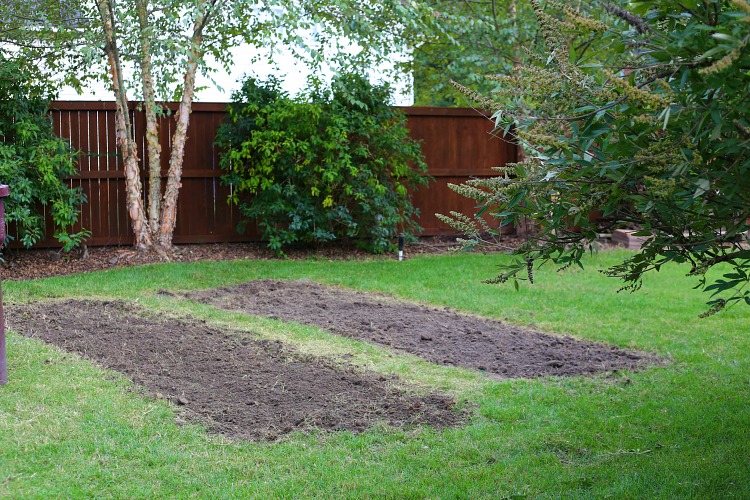
This is a glimse of our side yard. It is a large and unused area that receives 6+ hours of sunlight every day and is ideal for a new kitchen garden which is out of our home’s views from windows. Let’s be honest. Most veggie gardens aren’t exactly the most visually appealing, compared to flower gardens, manicured landscaping, etc.
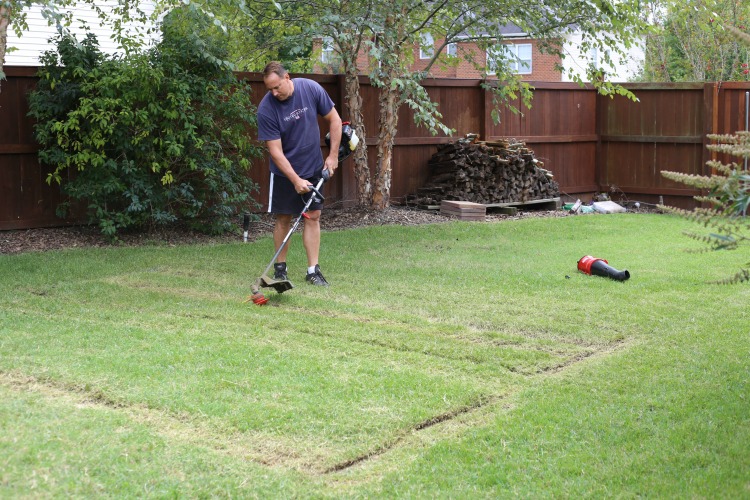
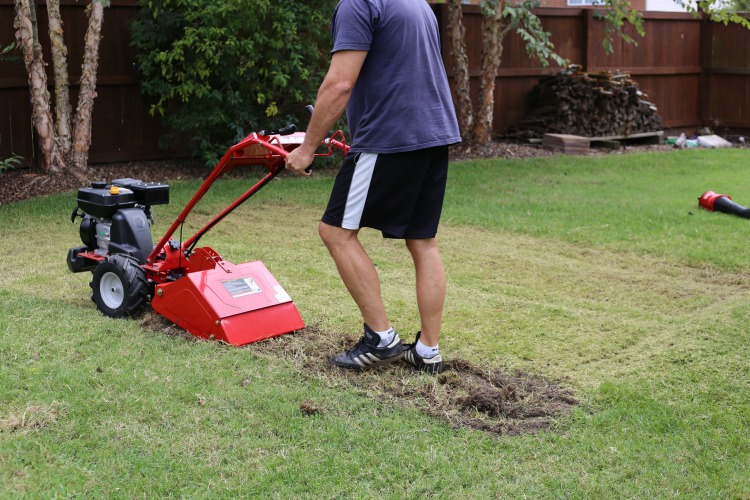
Growing our own produce is imporant to our family and a skill that I think is necessary to pass along to our 4 children. Kitchen gardens do not need to be large. To begin the process of creating a new garden, hubs marked out where the new garden beds would be with spray paint and then attacked the area with his trimmer to remove any excess grass.
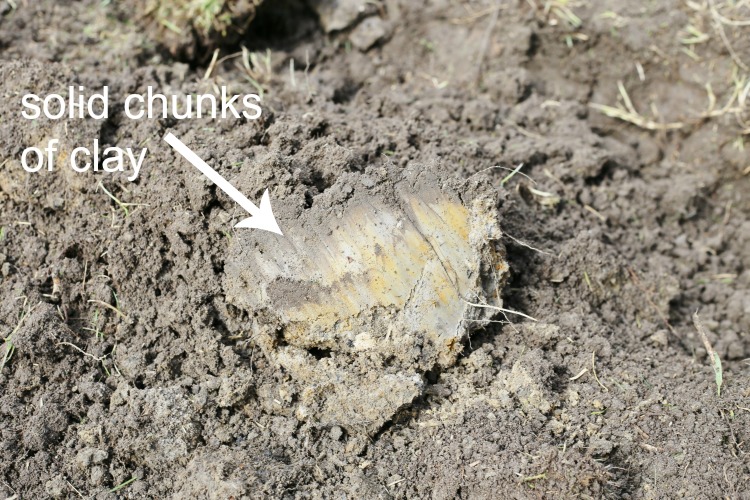
You need to understand that starting a new garden bed in our area (southeast coastal Virginia) is normally a very labor intensive project. Our soil is mostly made up of pure clay. And when I say clay, I mean huge chunks of solid, thick, sticky clay that you could sculpt a vase out of, literally. That chunk of clay below is over half a foot wide.
Amending Clay Soil
Amending clay soil (or any soil for that matter) in the fall is imperative because it allows for any organic material to be broken down over the winter improving the condition and nutrients of the soil overall. By spring the soil will be biologically active and at optimal condition to receive new plantings. When you prepare soil in the fall you are also saving yourself time and energy in the spring when most of us are overloaded with spring lawn and gardening clean up and chores.
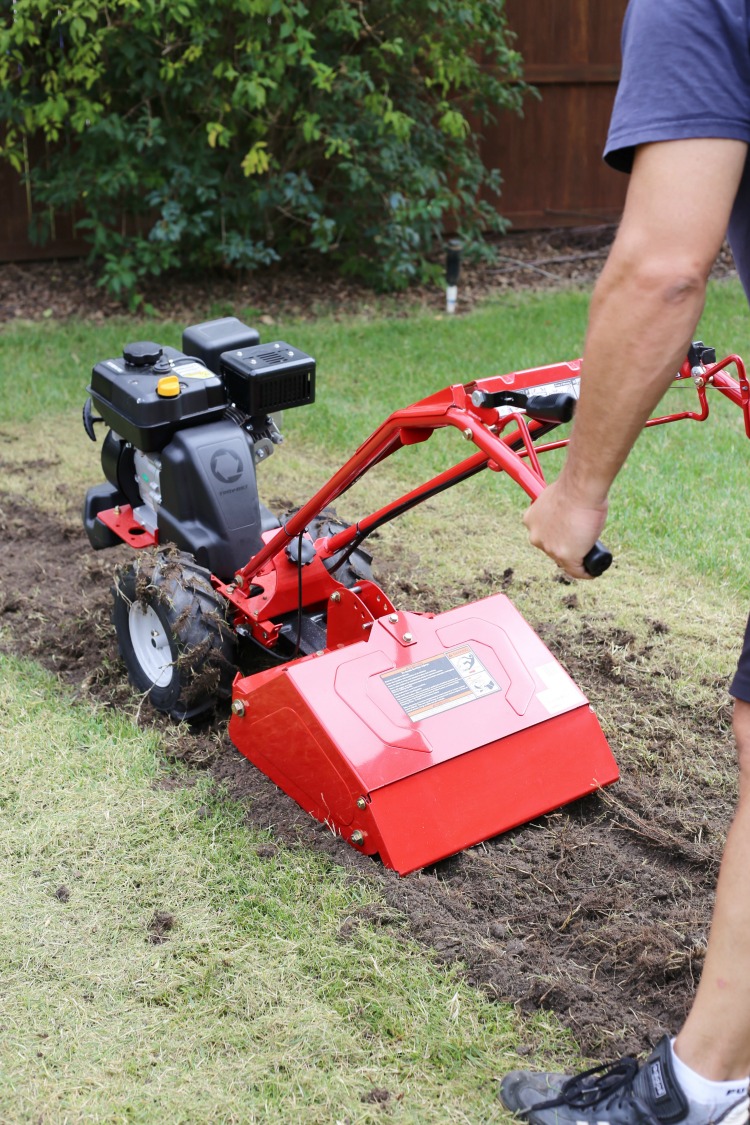
Tackling a large and new garden with our soil conditions would almost seem futile if it were not for my Troy-bilt Bronco™ Axis™ Vertical Tine Garden Tiller. As a brand ambassador for Troy-bilt for the past two years, I’ve been blessed to try out many yard and garden tools and equipment. We’ve owned a few small tillers and if you have ever used a tiller then you already know how labor intensive the job of breaking up new soil is. The Bronco™ Axis™ Vertical Tine Garden Tiller is like a dream come true. This machine pulverizes our hard clay soil and turns it into loose, arreated soil in just a few passes.
The tiller works like no other on the market. The vertical rotating tines work together like a giant egg beater, spinning in opposing directions, instantly drilling down into the ground and then forward. The tiller has depth settings and we were quickly able to till the earth to our chosen setting of 5 inches deep.
Watch my little video and see how quickly and smoothly the Bronco™ Axis™ Tiller tills the land with little effort on our part.
Isn’t that smooth? There is no bouncing or jumping or back jarring that is normally involved with most tillers. It rips through hard earth in one simple pass and makes creating a new garden bed a breeze.
Fall soil preparation for spring gardens means arrating and opening the soil though either light or deep tilling to incorporate amendments. Tilling relieves soil compaction, allowing oxygen to errate lower depths in the ground and improves drainage. After using a tiller to do an initial stir up of the soil the next step is to add in plenty of organic material like mulched leaves, manuer, peat moss. In addition to the organic materials we also added in some sand to help assist in drainage of our clay soil.
Tilling is easier in the fall while the earth is still warm and maliable. Adding organic matter to the soil in the fall gives the nutrients an entire winter and spring to become biologically active. The decaying process can take several months so adding organic material in the spring is like having a solar lantern that needs its batteries to charge 3 months before it shines bright.
By time spring comes around, all you will need is a light till or simple fork over of the soil right before spring planting and your plants will have optimal earth to grown in. Just a bit of effort now can pay off huge next spring and provide a bumper crop.
For more gardening projects check out my Gardening tab.
Happy Gardening!
Kim
You might also like these gardening posts:
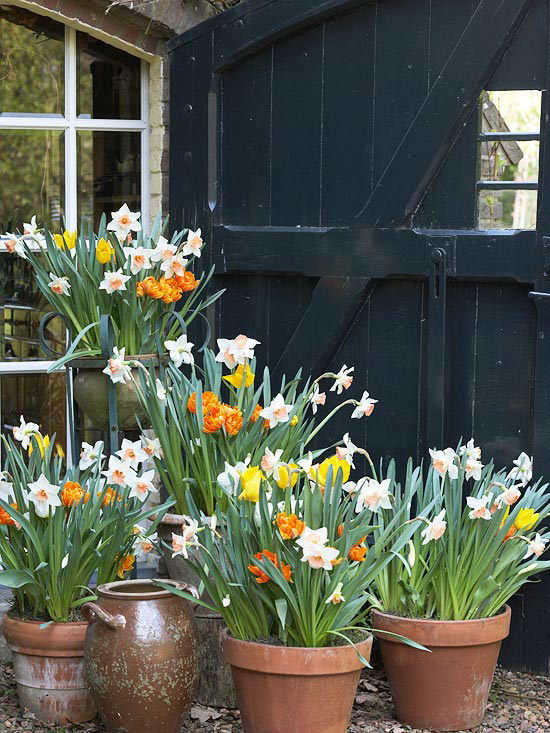
How to Plant Bulbs in Pots in Fall for Spring Blooms
I’ve gardened in the “Land of Adobe” for almost 40 years. I prefer Kellogg’s Amend..it’s organic and chunky enough to stand up to Adobe. I would steer clear of sand. It tends to cling to clay and enforce it’s density (Sand + Clay + Straw = Adobe bricks.) Cordon off the cultivated plot when it starts to rain to keep kids and pets off or the soil will re-compact.