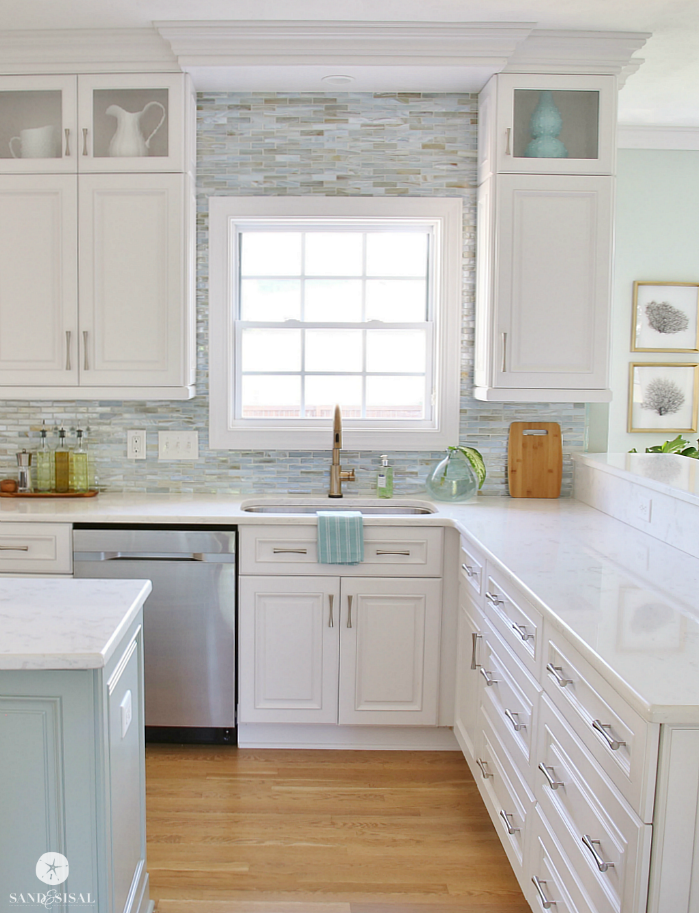
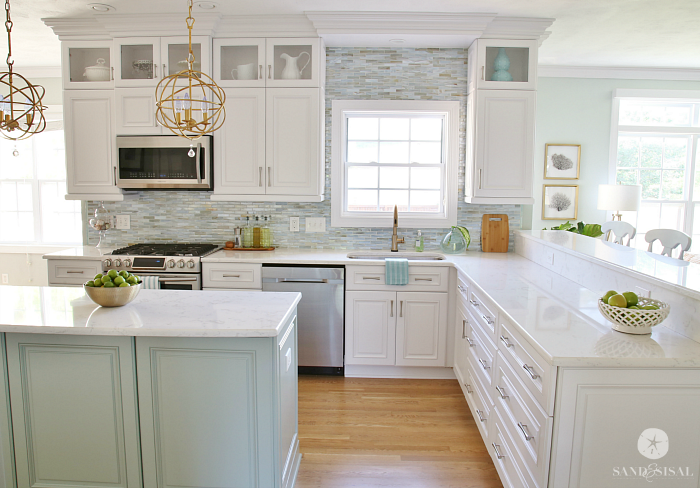
Our coastal kitchen makeover is complete and our favorite part of the kitchen is the coastal backsplash! I found this gorgeous mosaic tile about 6 months ago from Lunada Bay Tile Company and asked Lunada Bay if they wanted to partner with me on our kitchen renovation. They graciously agreed and today I’m happy to show off their tile and our process for Installing a Paper Faced Mosaic Tile Backsplash.
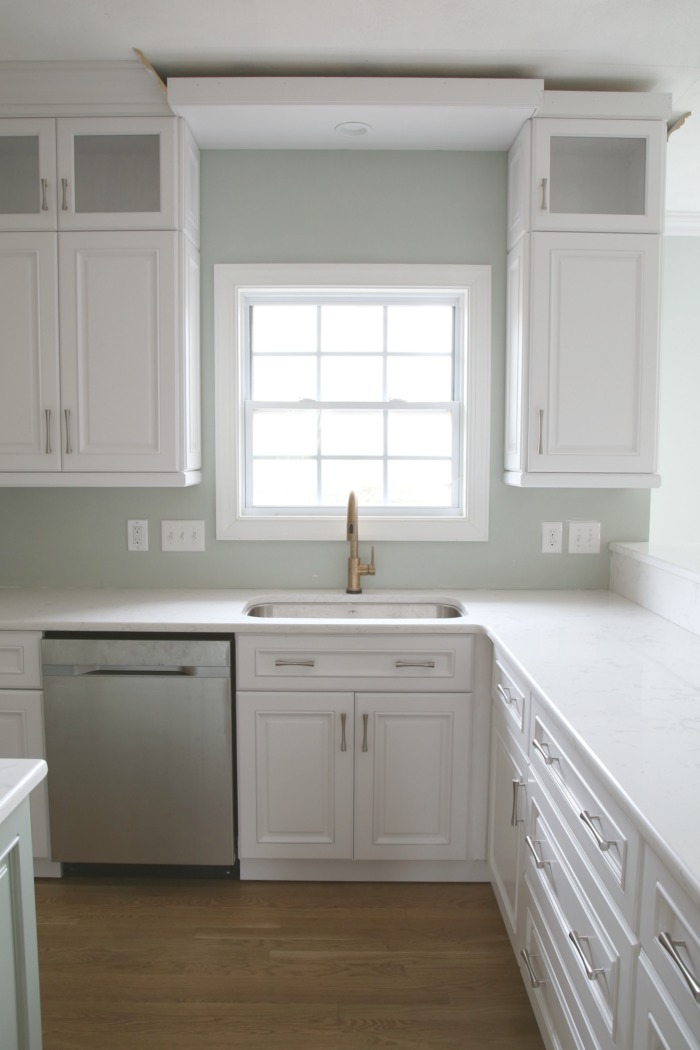
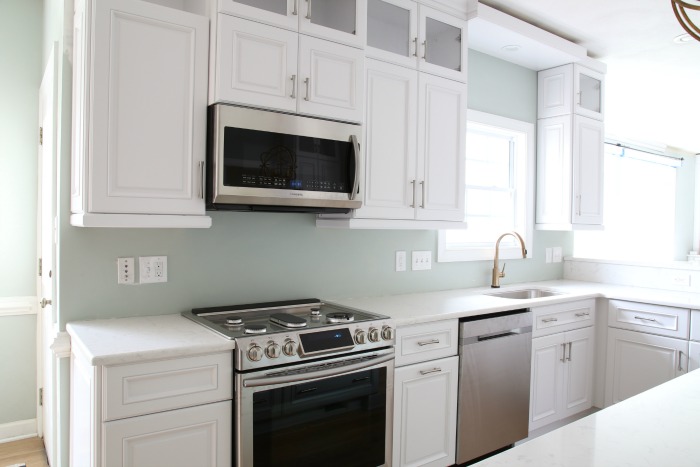
Here is a peek at what our kitchen looked like (almost finished) before the installing the backsplash. The kitchen is still nice but it’s a bit boring, lacking pizazz.
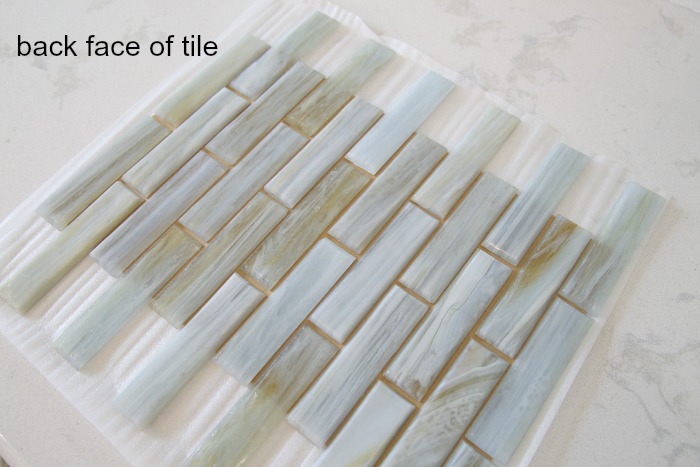
The tile we chose was from Lunada Bay Tile Company, located in California. You have to find a dealer near you who carries Lunada Bay. We have two tile shops in our area that carry it. The specific name of our tile is Agate Lucca Pearl 1×4″ brick. It is a paper faced mosaic of thin glass tiles. Each tile is a beautiful mix of seaglass greens and blues with swirls of gold and finished with a subtle pearlized irridescent glaze. It is gorgeous!
Each sheet of mosaic tile is approximately 12×12″. When preparing to order tile, be sure to bring the exact measurements of the open area that you want to tile. The tile company can help you determine exactly how much you will need. They will often include 10-20% more tile in your order. This is necessary! Don’t order too little!
Installing a Paper Faced Mosaic Tile Backsplash
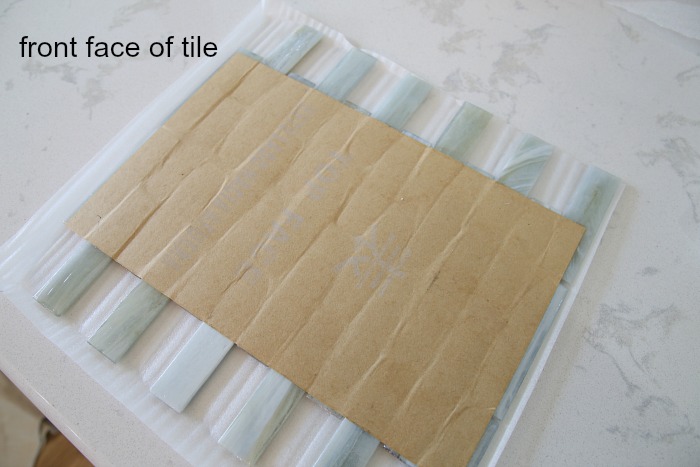
Our glass tiles were paper faced mounted with a water soluble glue. Paper faced tiles allow for the fullest coverage of bonding materials and because they can be translucent, a mesh backing could be visible through the tile.
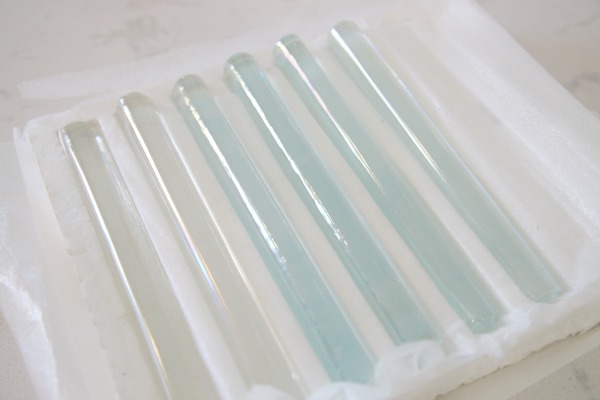
Lunada Bay sent over some clear glass bars with a pearl glaze which we used at both ends of the backsplash, simply to give it a finished look. I painted the backside of the tile bars with my favorite Martha Stewart Glass Paint to make them match the rest of the mosaic tile.
Here are the items you will need for installing a paper faced mosaic tile backsplash:
- quality white thin-set mortar
- small toothed 3/16″ x 5/32″ V-notced trowel
- wet saw
- glass cutting nippers
- polymer-modified grout
- rubber grout float
- spray bottle of water
- bucket of water
- large sponges
- gloves
- protective eyewear
The first step is to mix up your thinset mortar. Be sure to follow the manufacturers instructions exactly. The thinset should be the consistency of peanut butter. Apply the thinset to the wall with a V-notched trowel. Comb the mortar to the wall and place the tiles and then “seat” them, by pushing the tile sheets perpendicular to the combed mortar, wiggling a bit. This helps set the tiles and eliminate trowel lines behind each tile.
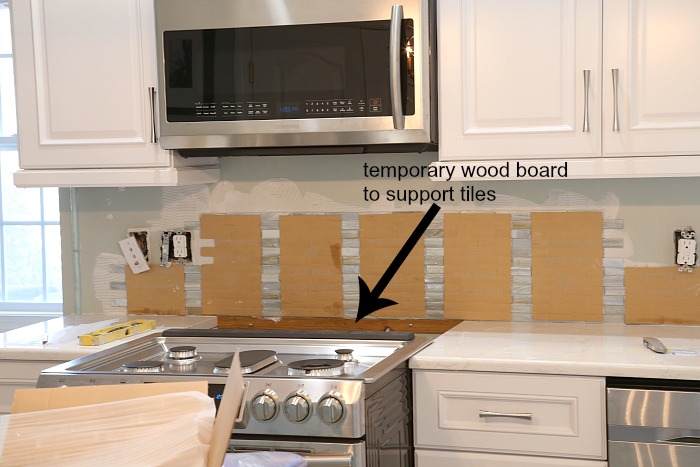
A straight board can be temporarily screwed in the wall area behind the stove to help support the tile sheets above. Work in small sections at at time, only applying enough mortar for one sheet of tile and then move on. Be sure to check that your sheets are lining up correctly.
Tip: Make sure the printing on sheets of tile are all reading in the same direction. This will help ensure proper alignment.
CUTTING TILE: When it is time to cut tile for areas around outlets or at the ends of the backsplash, then use a wet saw with a diamond blade. You can also use special glass cutters or nippers as they are called. Those are available at most big box home improvement stores. A wet saw will give you the most straight cuts. Follow all the instructions and safety recommendations set forth by the tool manufacturers. Your tile should also come with a specific set of recommendations from the tile manufacturer about best practices for cutting the tile.
REMOVING PAPER FACING : After 15-30 minutes, while the thinset is still pliable, you should start to remove the paper facing. I apologize I don’t have a picture of this step. Simply spray the paper faces lightly with a warm water filled spray bottle, dampening the paper. You can also use a wet sponge if you don’t have a spray bottle. The paper should be ready to remove after a few minutes and has turned dark brown. Peel the paper off gently, pulling diagonally. Clean up an remaining soluble glue residue with a damp sponge. Repeat process until all paper is removed and tile is clean. Scrape out any excess thinset mortar that might have oozed up to the surface.
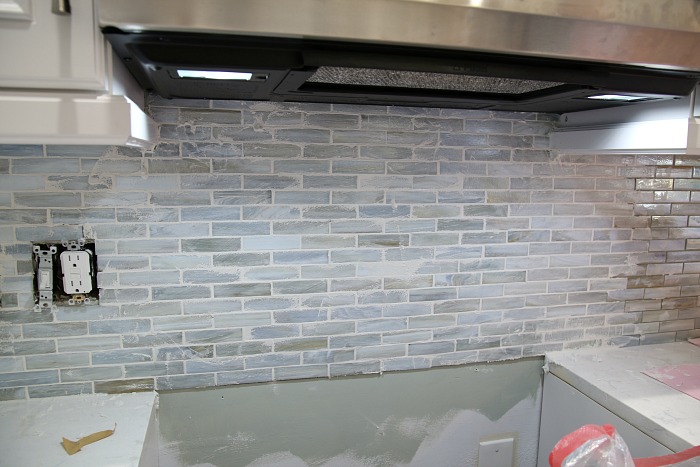
GROUTING THE BACKSPLASH: Grouting can be applied after the mortar is set which is typically after 24-48 hours. Choosing the color of the grout is important. Grout color can drastically change the overall appearance of the tile and backsplash. I chose pure white grout. Some glass tile manufacturers will allow sanded grout, others will not. Again, check what your manufacturer recommends for your specific tile.
Apply the grout with a rubber float, pressing the grout completely into the spaces between the tiles. Scrape of excess with the edge of the rubber float, holding it at a 45 degree angle.
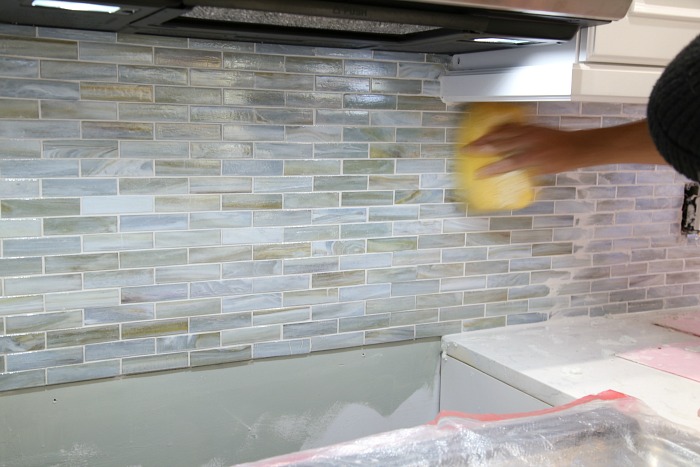
Wait about 10 minutes and lightly shape joints and remove surface residue with a damp sponge. Have a large 5 gallon bucket of fresh water to rinse out your sponge. I like to make one stroke over the tile in a diagonal direction, then I flip over my sponge and wipe in that same direction again. Rinse out your sponge before wiping a new area.
Allow grout to set. If it has a very light residue on the tile then that is fine. Use a soft, clean cloth to then buff off any haze and polish the tile to a glossy shine.
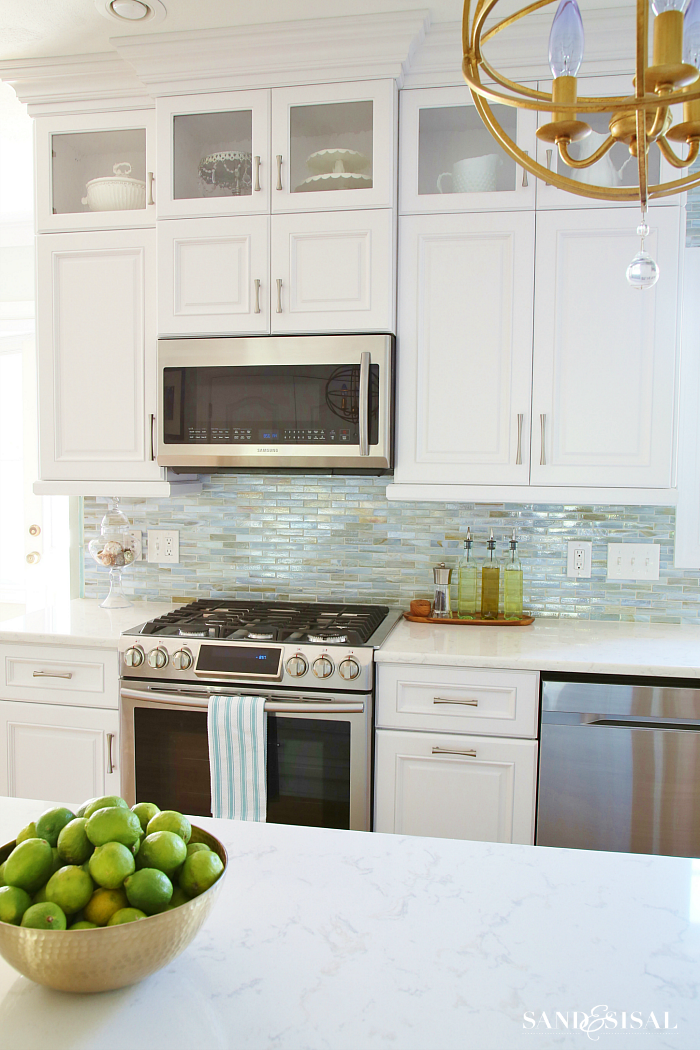
Isn’t is beautiful? The white grout made the blue tones in our mosaic tile beam! Before the tile had a much greener appearance. Like I said, the color of your grout can change the look of your tile. Some grouts have built in sealants and other’s don’t. I think for a backsplash, adding a grout sealer is a smart choice.
Special thanks to Lunada Bay! Their tile has made our coastal kitchen complete! Click here to see our full kitchen makeover.
You might also like these posts:
How to Install a Marble Herringbone Tile Fireplace Surround and Hearth
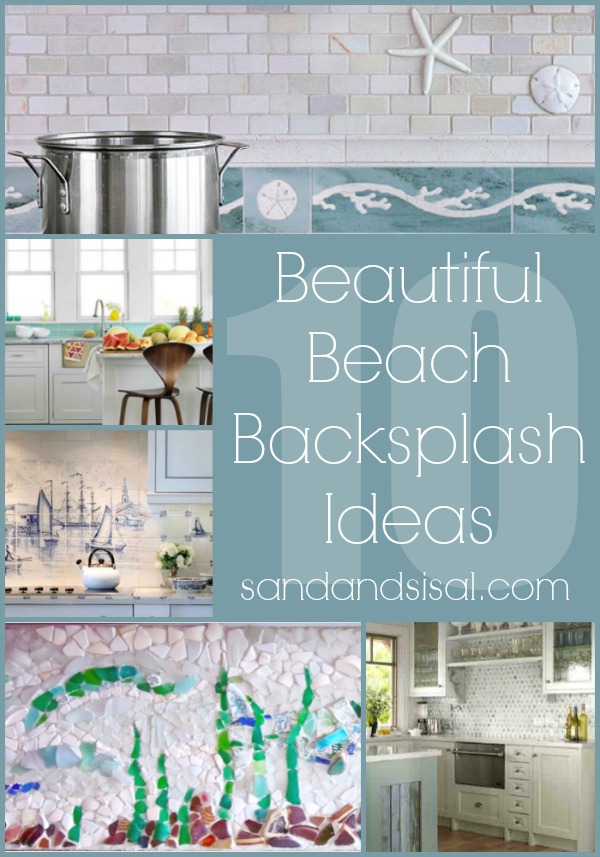
10 Beautiful Beach Backsplash Ideas
Adding a Glass & Stone Mosaic Tile Border
Love this shimmer look tile. Could you share who carries Lunada Bay in VB please. Is it Mosaic? We have worked with them before and they were great.
You kitchen looks a dream after all the headaches (we also had a water main break).
Hi Amy! This is Jon from Classic Tile & Flooring in Santa Monica. We’re a dealer of Lunada Bay Tile and ship nationwide. Feel free to select your color and size from Lunada Bay’s website and email the info to Info@ClassicTileFlooring.com 🙂
Looks beautiful! Very relaxing, but structured. Not sloppy like a lot of old fashioned “hippy tile”.
A lot of smaller tile comes pre-netted so it can just adhere to the wall like a single larger tile. That is – as one unit. Yet when it’s in, it looks as is you worked for eons to put it in. (They will never know – hee-hee!). Wait – they will know, you just published the article!
Thanks for posting this.
Most beautiful tile EVER! I am in love! Your kitchen is my dream kitchen! Stunning and the colors are perfection! I’m so happy for you guys that your house is all put back together and beautiful again! I felt so bad when first posted about the flood. Ugg! 🙁 You sure made some rocking lemonade out of those lemons life gave you! 🙂
This tile is SO pretty! I love the happy sparkle it gave to your beautiful kitchen!
Your renovation is beautiful. I have been trying to find this tile backsplash myself as we are building a small beach house. It is the perfect tile and color. Do you know if there is anywhere in the Florida area that sells this tile? Or anyway that I can get it?
Hi Rhonda! If you click on the Lunada Bay link (below the 3rd pic) then you can visit their site and at the bottom there is a “Contact Us” button. You can type in your info and find out exactly where the nearest showroom is to you! 😉
Thank you. I did do that but received no reply from them. I will try it again though. Thanks so much.
Wow! Great end result!
Hi Kim,
Live your kitchen. We are getting ready to install this same back splash. Love it. Can you tell me if you used a sanded grout?
Hi Kristen! I have been searching my garage for the past half hour trying to find the grout we used. I’m pretty sure it was sanded. Regardless I know that we used exactly what Lunada Bay recommends for the that specific tile. All I remember was that it was quite expensive and I had to get it from the tile store. (Lowes and HD do not carry it in store). If you go onto Lunada Bay’s website they have listed exactly what you need. Hope that helps. Good luck! Send me a pic when you are done!
I love the backsplash choice. We have a brown granite we are trying to work around. In your research did you come across a Luanda Bay color that would work with a darker counter and still give a beachy feel?
i just love the tiles. will have to see if i can order something similar in south africa,
Hi Kim, I have been looking for cabinet pulls and really like how your look. Do you know where you purchased them or what they are called.
Brenda
P.S. Love your kitchen!
Thank you Brenda! They are Sedona Elements and we used 3 different sizes for our cabinets. I once found them online but we purchased them through our custom cabinet builder. If you google the name you might be able to find them. Thanks for the sweet comment! Have a beautiful week! ~KIM
Beautiful! Can you provide to me the wall paint color you used with this?
Thanks Cindy! The kitchen is painted in Comfort Gray by Sherwin Williams.
how long did it take you to do this and how much cost?
Hi Jaime,
The tile installation took 1.5 days. The first day was installation and the second was grouting. The cost completely depends upon the price of the tile, the size of the job. If you hire it out, then ofcourse that will cost. If you do it yourself you need to rent a wet saw for a day (which doesn’t cost much), and purchase all the tools required. Hope that helps a bit.
I didn’t see a warning about using a wet saw on this, but using it will pretty much destroy (and remove) the paper backing of the tile. It helps to place a board OVER the tile you want to use so it doesn’t get soaked by the water. I found the suggestion somewhere online (it was a while ago) and it was genius. No one wants to install 25 individual mosaic tiles because the wet saw made the paper backing fall off. I used a different color and the martini pattern and it’s beautiful.
WoW it’s look beautiful.
Thank you!