The photo shoot was quickly approaching and I was scrambling to find wall art that coordinated with my daughter’s Teen Room Makeover. I searched so many stores and couldn’t find anything I liked or if I did, then the price was out of my budget. After becoming so frustrated it suddenly dawned on me…. let’s just make our own art! But it has to be created quickly and easily. Today I’m so excited to show you how to make 3 different Easy DIY Canvas Wall Art pieces. Hopefully it will inspire you to make your own for your home!
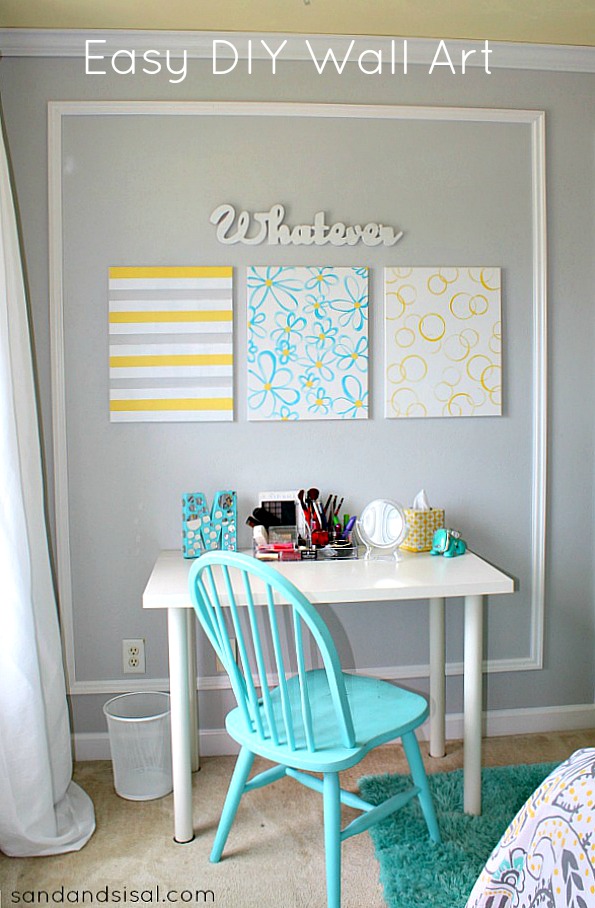
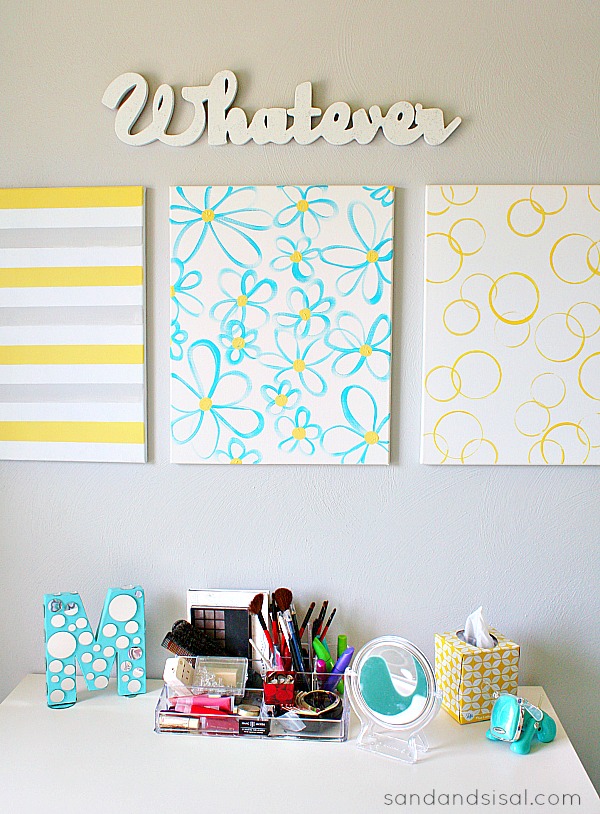
When grouping wall art closely together, it is essential that the colors coordinate in some way or the grouping will look chaotic. I chose 3 colors that were used in the room makeover: Yellow, Gray, and Turquoise and even used the same exact paint that was on the walls.
(Click the link to see and find out how the color palette was inspired and how you can discover your color story for any room).
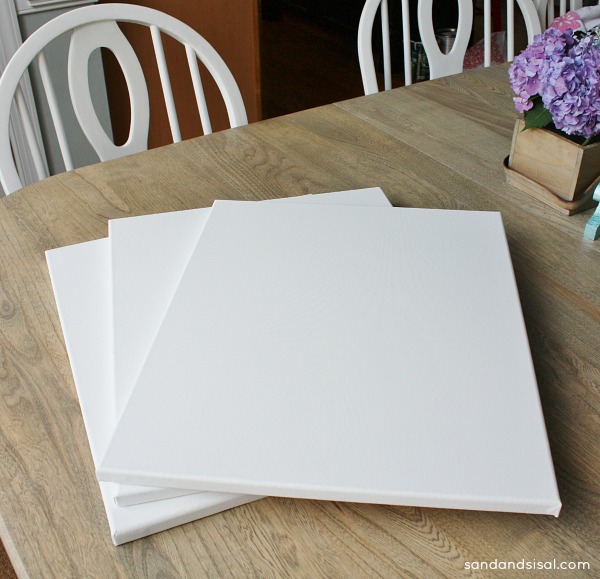
You can pick up stretched canvases in packages or 2 or more easily at any craft store. My canvases are pretty big, 16×20 inches.
Here are some supplies you can use to make these easy wall art canvases (affiliate links):
- 16-Inch-by-20-Inch Stretched Canvas
- Plaid Apple Barrel Acrylic Paint, 2-Ounce
- Sponge pouncer/Dabber
- ScotchBlue Painter’s Tape, Multi-Use
- Plaid:Craft Martha Stewart Basic Brush Set 5/Pkg-
Let’s first start off by making the Yellow & Gray Striped wall art. You can use any color you desire of course. I chose to use yellow craft paint and the gray paint is actually the wall paint that I used in this teen room makeover, which allows this art to coordinate beautifully.
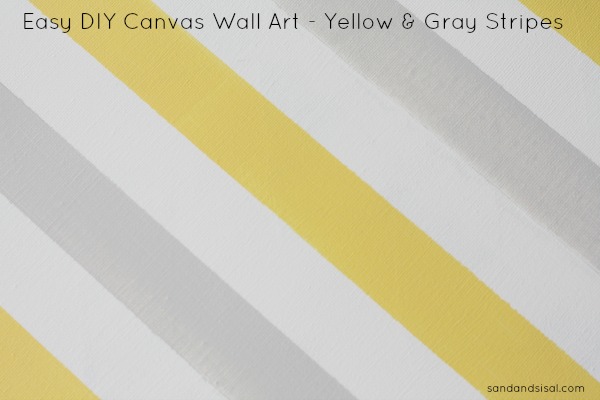
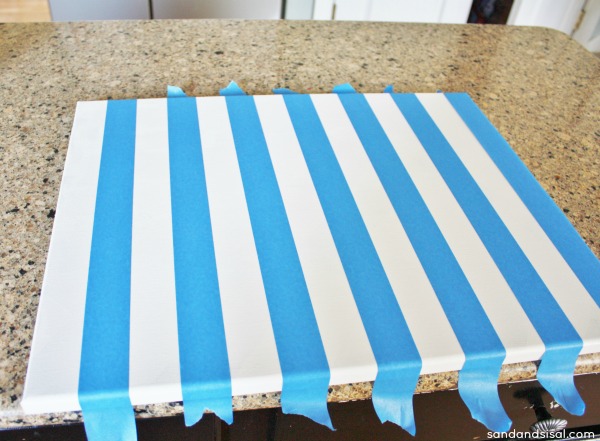
Step 1: Mask off lines across your canvas with Scotch Blue Painters tape. Feel free to make the lines as thick or as thin as you desire. For my striped art, I used the width of the tape to set an equal width for my stripes. Be sure to press the edges of the tape down well so that paint will not seep under.
Step 2: Apply your craft paint to the exposed white canvas. Remove the tape right after painting and allow the paint to dry thoroughly.
Step 3: Apply tape over all your painted areas, pressing to seal the edges. You should now only see white stripes again. Apply your next color of paint to the stripes you want painted. Feel free to leave some white canvas stripes alone, if you are desiring white stripes along with your gray and yellow stripes. Again, gently remove the tape when you are finished painting.
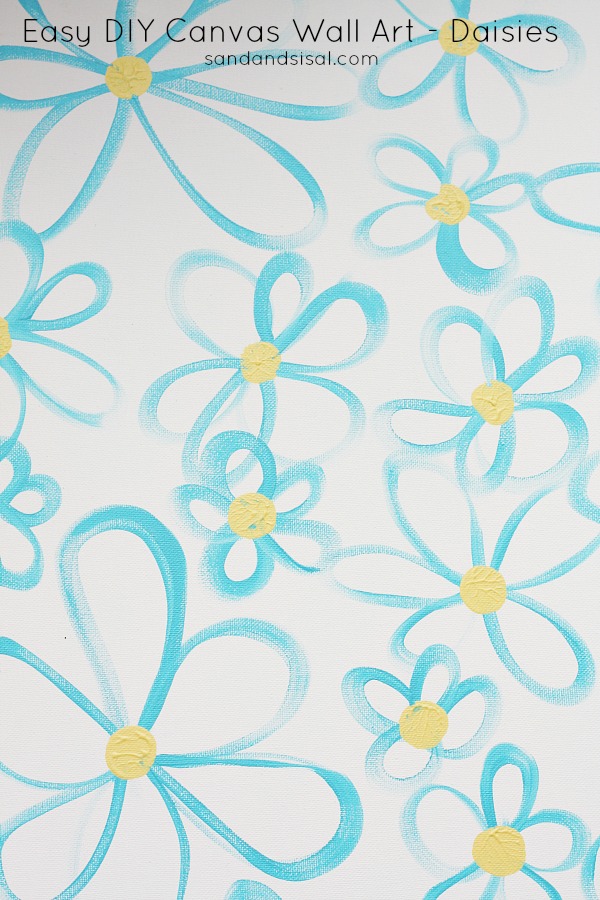
I hear you now…. you are saying, “But Kim, I can’t paint flowers!” Yes you can and it is easier than you might think. I wanted this Daisy Wall Art to be very casual and fun, so don’t take your technique too seriously. If you can paint a quick figure 8 with a paint brush then you can make daisies!
Step 1: Choose 2 colors of paint. One for the petals and one for the centers.
Step 2: Using a flat tipped paint brush, create a figure 8. Turn your canvas, dip your brush again into paint and make another figure 8 over lapping the 1st one. Repeat this once more to create a 6 petaled daisy. Or if you’ve run out of room, then just add one little loop for an odd numbered petaled daisy.
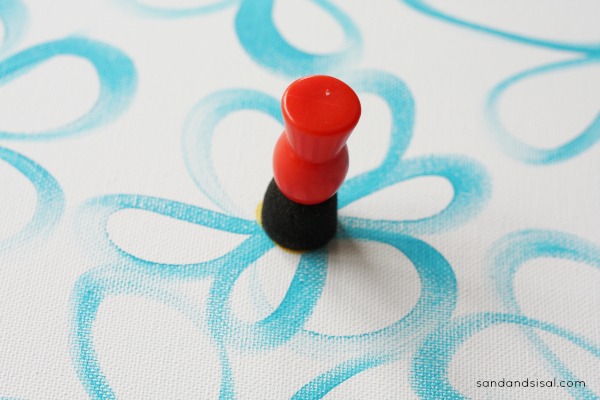
Step 3: Dip your sponge dabber generously into the 2nd color of paint and press it onto the center of the daisies. It should leave a nice, thick, textured circle.
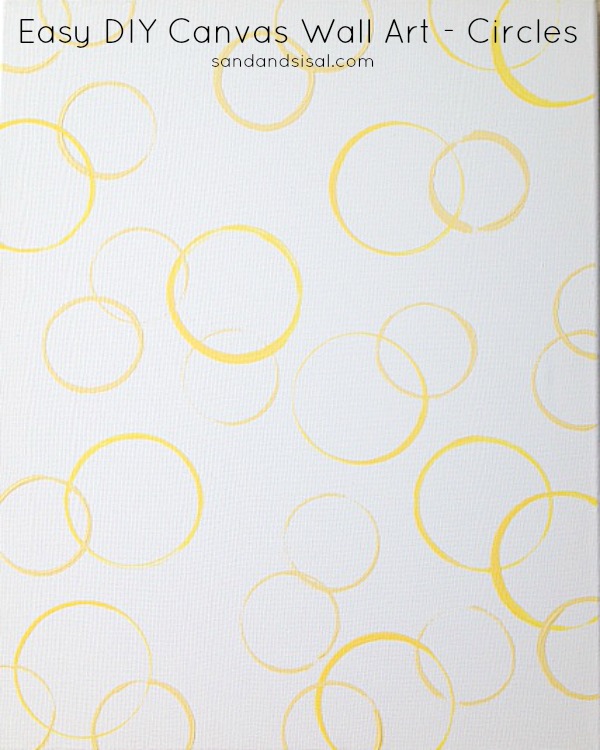
This circle or bubble canvas art is probably my favorite! It is so quick and easy. I think it only took 5 minutes to make! I’m not kidding!
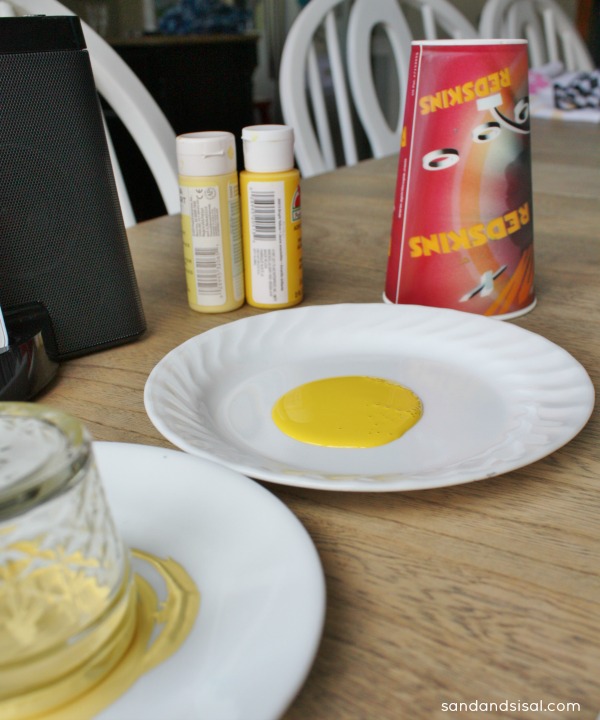
Step 1: Select 2 colors of paint. I used a bright, vibrant yellow and a lighter, softer yellow. Pour a puddle of each color on a separate plate.
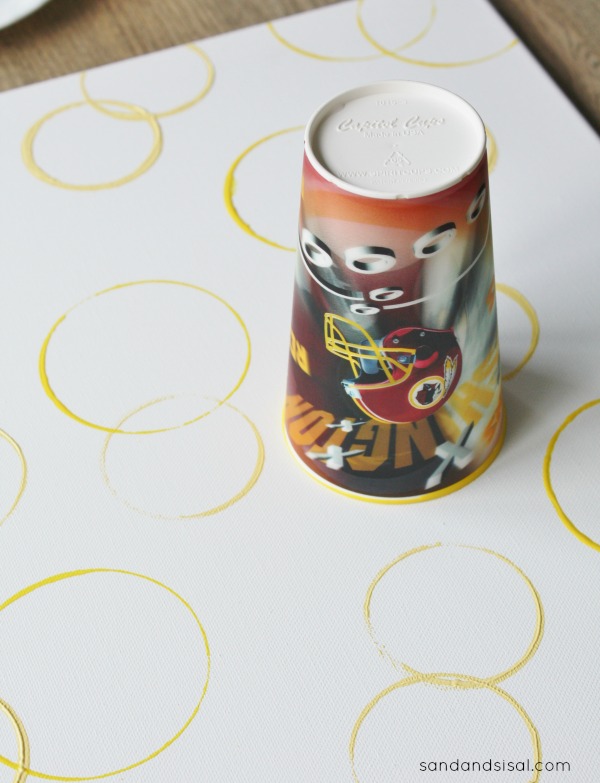
Step 2: Gather 2 or 3 different sized mason jars or cups. You can use soda bottle caps for small circles if you want.
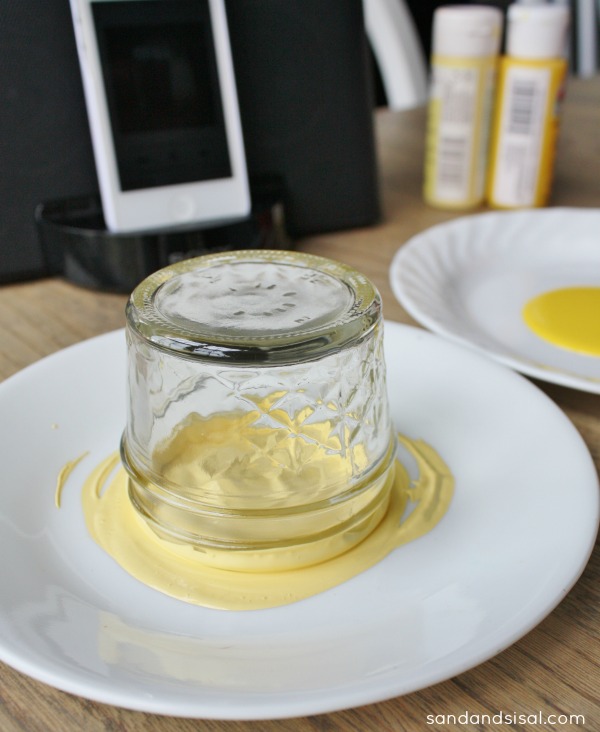
Step 3: Dip the jar or cup into the paint, making sure the lip of the jar is covered in paint. Press jar randomly on the canvas to create circles. Be sure not to slide the cup/jar.
Step 4: Use the other cup and the other paint color to add different sized circles. Overlap the circles and have fun!
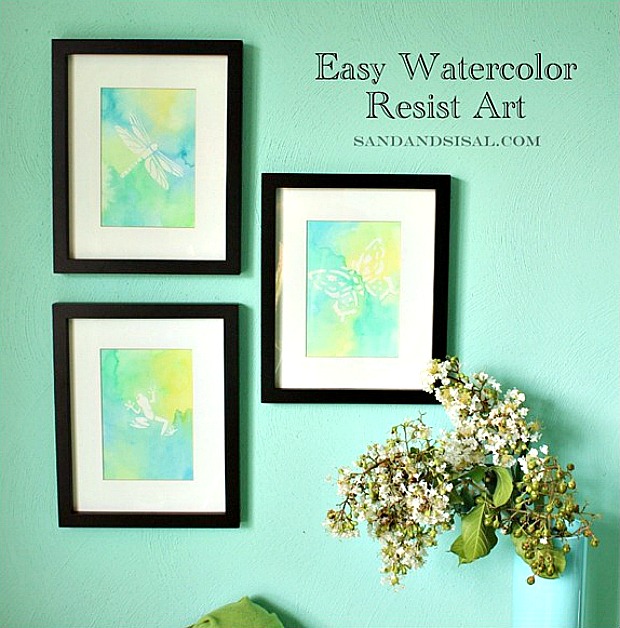
If you liked this post, then you might also want to check out some of my other Easy DIY Wall Art tutorials.
Happy Creating!
KIM
Nicely done! Love me some DIY wall decor… xo Heidi
Thank you Heidi!
Pretty! 😉
Thank you Jess!
I loved this post! Very creative, easy to do, looks fabulous, and doesn’t cost an arm & a leg! By the way, where did you get your “Whatever” sign?
Thank you Jane! We actually found it at a thrift store and painted it white and finished it with “Sparkle Mod Podge” (which doesn’t show up on camera well, but it’s pretty).
I love this! I’m on a budget but love hanging artwork all over the house. This is so fun and so easy.
~Meaghan from DIYfaerie
Thank you Meaghan!
That is so cool! They look store bought! I love the color palette too. Love the color on the chair. My favorite color to work with these days is aqua blue.
Thanks!!
These are so beautiful and fun! You did such a good job! We would love it if you would join in on our Awesome Things Tuesday Link Party!
http://www.kraftingkreations.com/2014/07/awesome-things-tuesday-link-party_29.html
Those look so great!! This is going to be my first DIY project but you left wonderful directions so wish me luck. I may not be a teenager but I really love the color scheme y’all used so I’m thinking of copying them. Did you put up the white border to make the square on the wall where the art was hanging or was that already on the wall? Thanks for sharing
Hi Cindy!
You don’t have to be a teenager to love the color scheme! 😉 We installed trim molding rectangles all through out the room. There’s a link to the room’s makeover if you would like to see more of how the moldings look. Thanks so much and have fun with your paintings! ~ KIM
love this, it’s pretty and I wanna try that! 🙂
This is remarkable!! Simple and creative. I used this idea with other canvases I had made from a site called photosthatshine.com which basically takes any photo you send them and prints it on a canvas(so cool) and made one giant display on my wall and everyone who comes over, asks how I did it.