I read a lot of blogs, and I mean A LOT! There are some blogs though that when you read them, they not only teach you something new and creative, but they speak to your heart. They instantly make you feel comfortable and you want to sit down over a cup of coffee and chit chat for hours. That, my friends, is Marty from Marty’s Musings. I’m happy to have her here today for Feature Friday! She will be showing us her daughter’s Teen Room Makeover and how to create your own meaningful wall decals. Welcome Marty!
Some of my favorite DIY projects have all involved using my trusty Cricut die-cutting machine to personalize our home on a budget.
First I created a family gallery wall in our den, then a special mantra for my craft room, and the latest, an inspirational scripture wall for my teenage daughter.
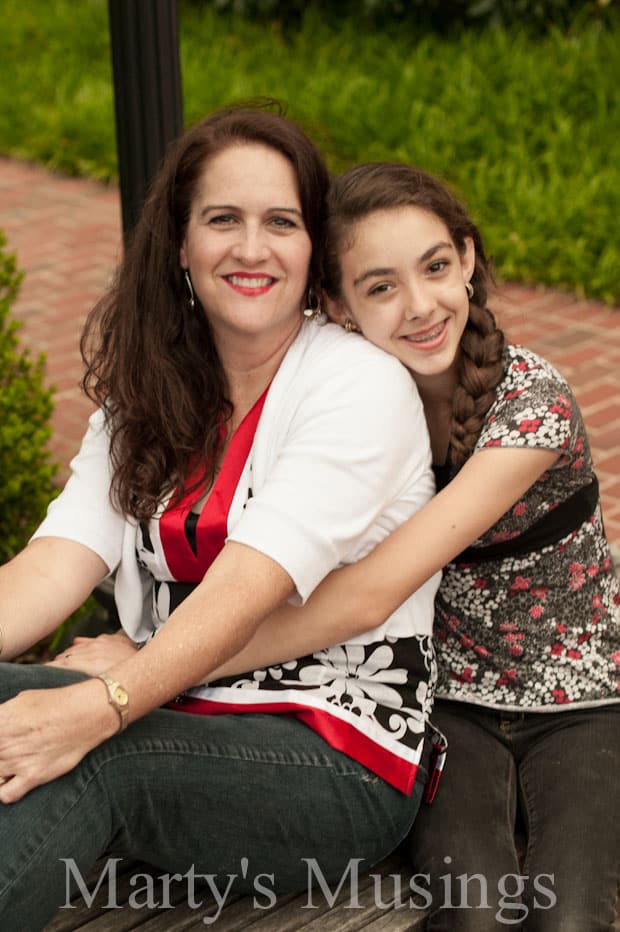
To give you just a bit of our story, we have two biological children and in 2000 adopted a sibling group of three children. When the children came into our home they were 15 months, two years and 10 while our bio children were 7 and 11.
Many years of heartaches and triumphs commenced with the decision to undertake a God sized task that He was clearly orchestrating. Our adopted children fought through attachment disorders, abuses of all kinds, neglect and wounds upon their hearts that could not be measured or understood.
As my youngest daughter has struggled with the normal teenage angst, coupled with deep hurts, I wanted her to be able to claim what God’s word said about her so that whenever we were separated by life’s trials she would remember her heritage as a child of God.
Psalm 139:14 is the verse I’ve claimed her entire life as part of our family: “I praise you because I am fearfully and wonderfully made; your works are wonderful, I know that full well.”
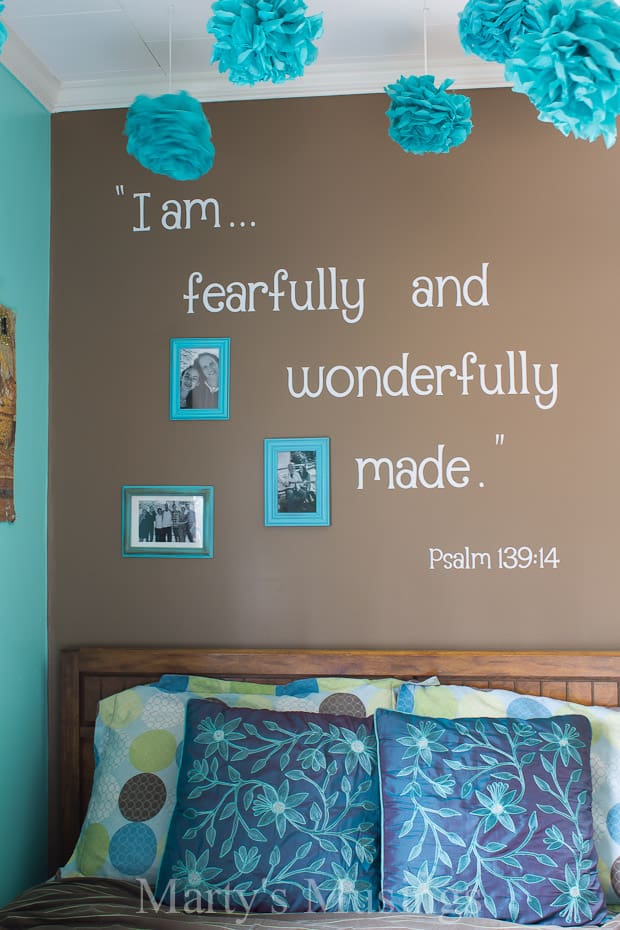
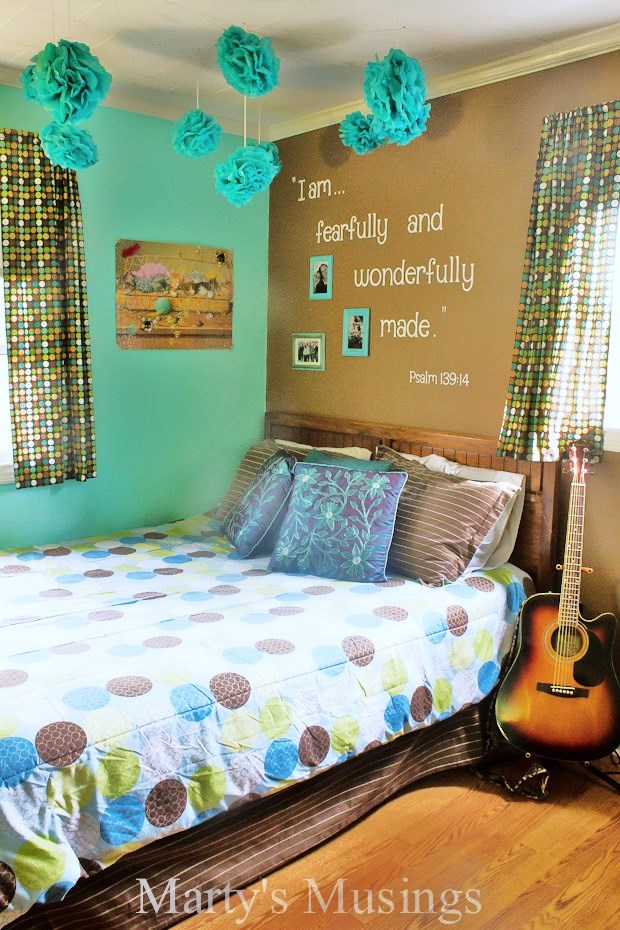
She and I decided to use the brown accent wall in her aqua room, directly above her bed, to remind her day in and day out of the beautiful daughter she is.
I don’t have pictures of every.single.step of this process because this post would be a mile long, but I’ll talk you through it.
Supplies needed:
- Vinyl sheets (I used Expressions Vinyl 12×12 Indoor)
- Transfer Tape
- Bone folder (or craft stick)
- Die-cutting Machine
Instructions
The first step was to decide the font or fonts we wanted to use. This is purely a matter of preference.
To save vinyl I cut out a few letters from cardstock to determine size and check the fit for the wall.
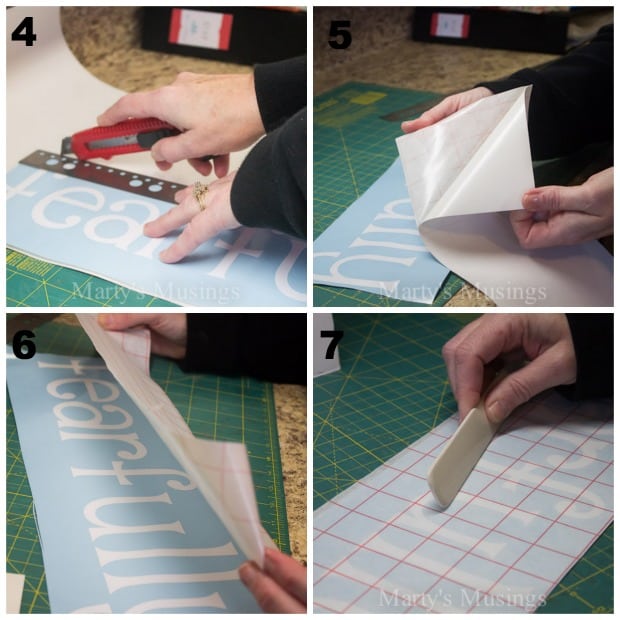
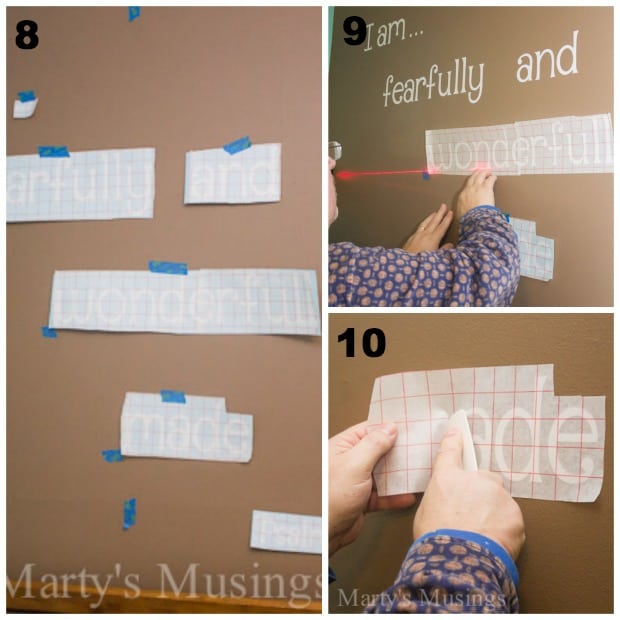
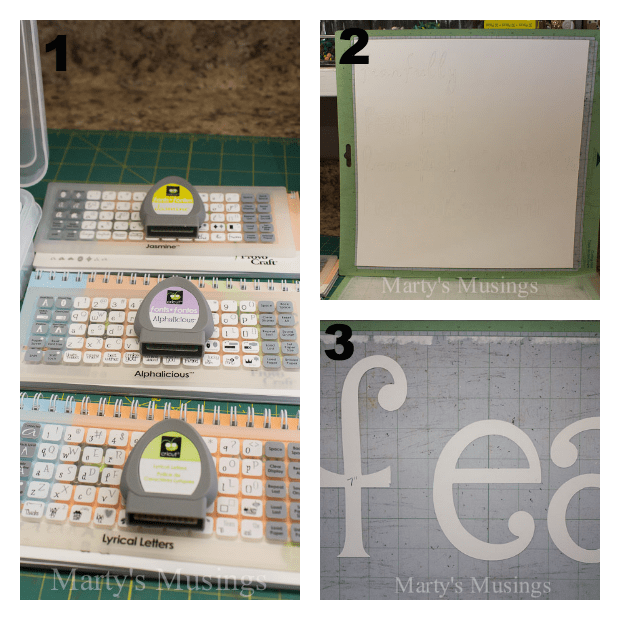 Next step is cutting out the vinyl with the Cricut, trimming it down and cutting out a section of transfer paper to match.
After that I peeled off the transfer paper backing, attached it to the front of the letters and pressed down with the bone folder (or craft stick).
 We used tape to temporarily position the words on the wall and decide on placement.
I let my DIY hubby do the actual work of attaching the vinyl because he is much more of a perfectionist than I am and is better at detail work. He used a laser level that mounts to the wall with removable adhesive tape and projects up to a 15 ft. laser line. Lining up the words….easy peasy.
He then peeled the tape off the vinyl word and adhered it to the wall, pressing down so that the vinyl adheres well to the wall.
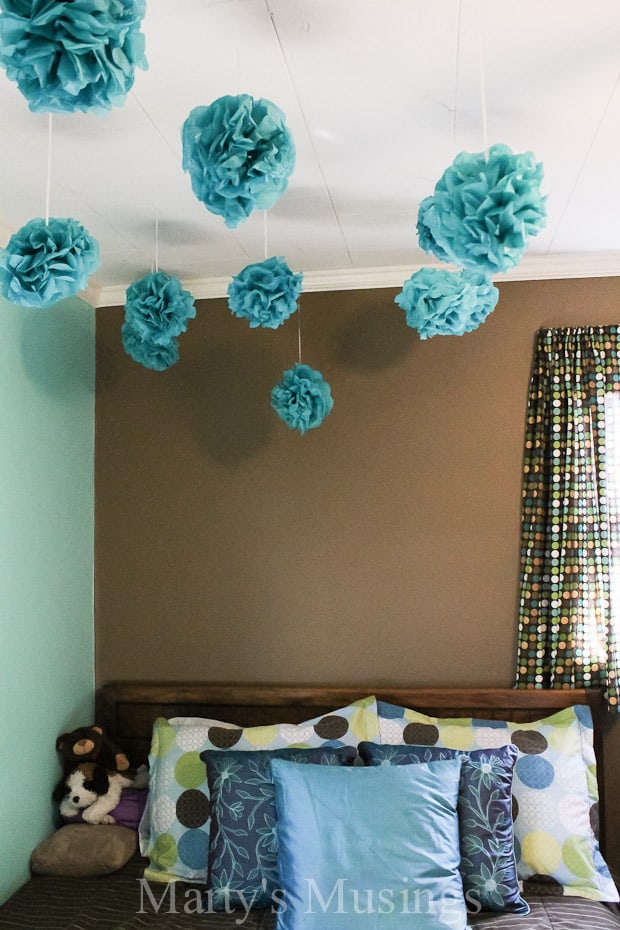
 Here you can see the finished product (with repurposed pom poms from my oldest daughter’s wedding.)
I am……fearfully and wonderfully made. I pray my daughter always remembers Who she belongs to.
Would you like to see more ways we’ve personalized our home on a budget?
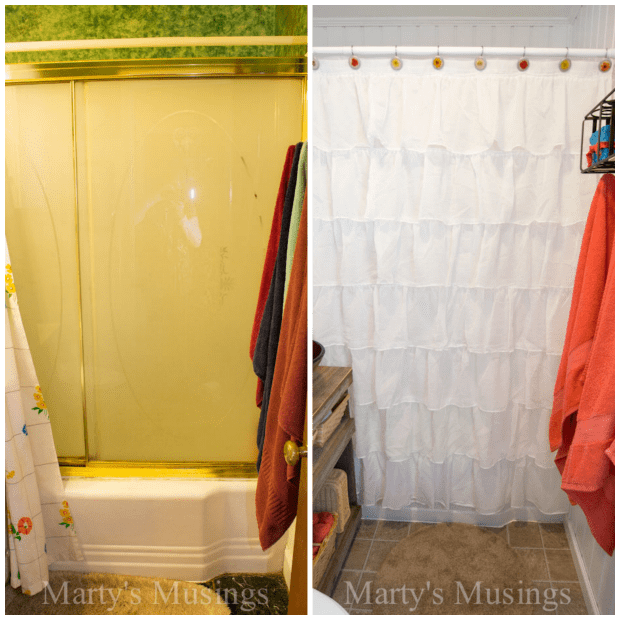
By far our most difficult home improvement has been our small bathroom remodel, and you can get a small taste of it below.
Our kitchen has been the second most time consuming project, as we have changed things one project at a time and are still not even close to being done!
I’d love if you’d visit my home tour or join me as I DIY our home on a budget at martysmusings.net.
You can also follow along on facebook, pinterest, twitter or instagram.
~ Marty
Kim, thank you for inviting me over to share our family’s story and my daughter’s room!
You are so very welcome! I love the colors of this room and all the special and meaningful touches you gave it! Your daughter is one lucky little lady!
Wow this room is amazing and I am LOVING that wall! Great job Marty, loads of inspiration 🙂
Thanks so much, Jessica!
Oh I love this Marty and the sentiment behind it! Great tutorial and it turned out beautifully!
Heather
Thank you so much, Heather! Some projects just grow more dear as the years go by, and this is one of my sweetest projects.
Oh, Marty, this bedroom is really sweet! Love the framed pictures. Your daughter is one lucky teen to have you as her mom ;-).
Awww, that’s so sweet, Brittany. Only if you know our story can you feel how important this and meaningful this wall really is. I’m lucky my daughter has come so far in her healing!
Love it Marty and Kim. I love the owner of word in a home, and pretty too!
We still love it, too, Laura. I have loved creating meaningful spaces in my home that so reflect our personalities and life story.
Love Marty and love her daughter’s room makeover!!
Thank you, Hollyl! Wish we lived closer and could chat more often!
Love the sweet words on the wall!! I bet your daughter is loving the new space!
Hi, Cheryl. She does love the space, although you know it doesn’t really look like that all the time! She’s not my messiest kid so that’s probably a good thing!