We have had the most gorgeous week of weather, blue skies, soft breezes and temps in the high 70’s. It was a the ideal time to take on an outdoor DIY project and enjoy being outside. Now I’m going to warn you, this project will make you sweat and you won’t have much of a manicure left over when it’s done. But look at it this way, you won’t have to go to the gym for awhile!
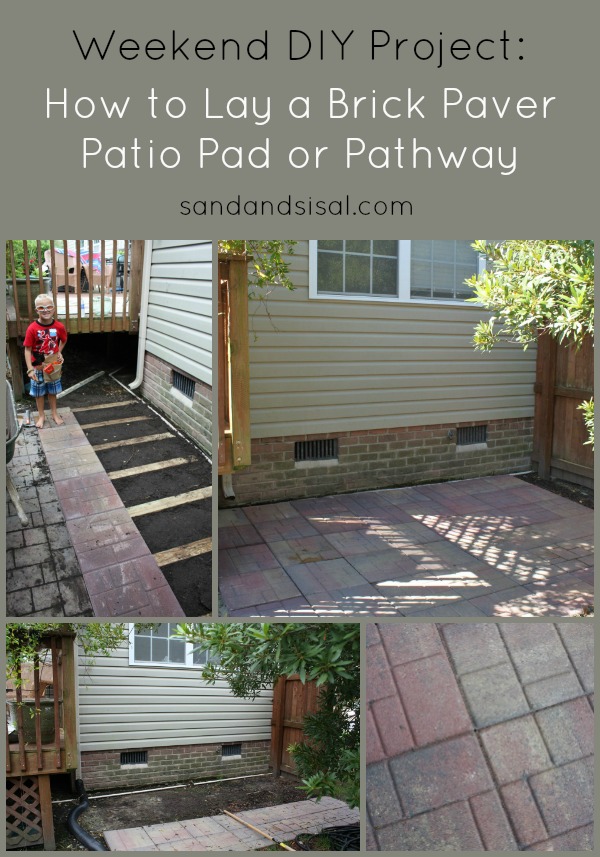
We have an area in our backyard that is rather neglected. It is where all the trash cans sit. It has become a muddy mess and an eyesore. This is the area that we will work on today. We laid the little pathway from the deck to the gate last year. 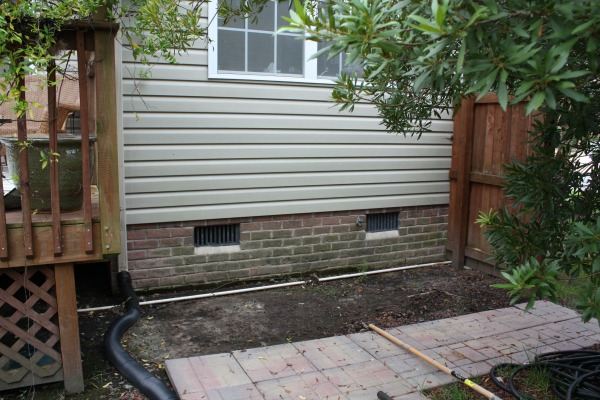
NOTE*** Normally when you lay a brick paver patio or pathway there is a very extensive prep process that is necessary. It entails digging out the earth, laying crushed stone, sand, etc. We laboriously tackled that project with our octagonal patio. For this project, we won’t be doing that. We will do the cheat method as I call it. This method of installation is just fine for a small area. I don’t recommend this way for a larger project or if you have serious drainage issues.
You will need the following items:
- large cement brick pavers (15×15″)
- 2×4′-8′ pressure treated lumber
- Skil saw
- shovel
- hoe
- long level
- rubber mallet
Decide how many paver stones you will need. We figured 30 would fill the space. Now this is where the majority of the exhaustion will come into play. I thought these babies weighed oh… 15 lbs each.
Ummm, no.
Try 37.5 lbs each! Insanely heavy.
Hubs and I loaded them onto our cart at HD, then onto our truck, then off of the truck and we haven’t even started the project yet! Multiply 30 pavers times 37.5 lbs. That is 1125 lbs we moved 4 times. Like I said. You will get a mega work out.
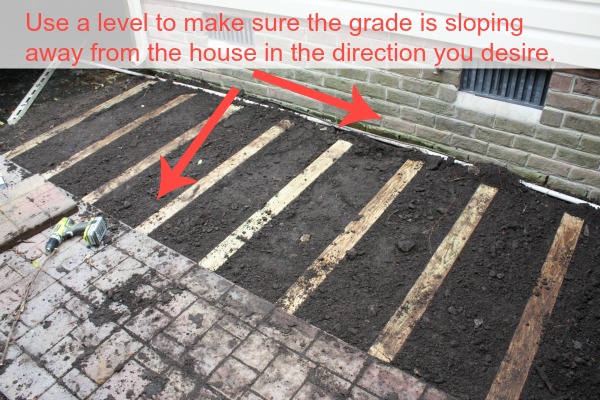
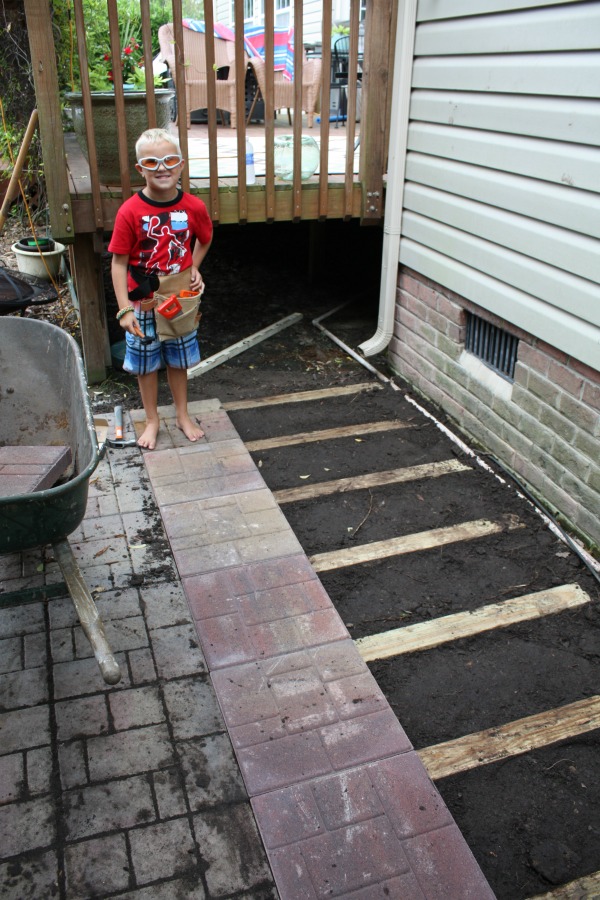
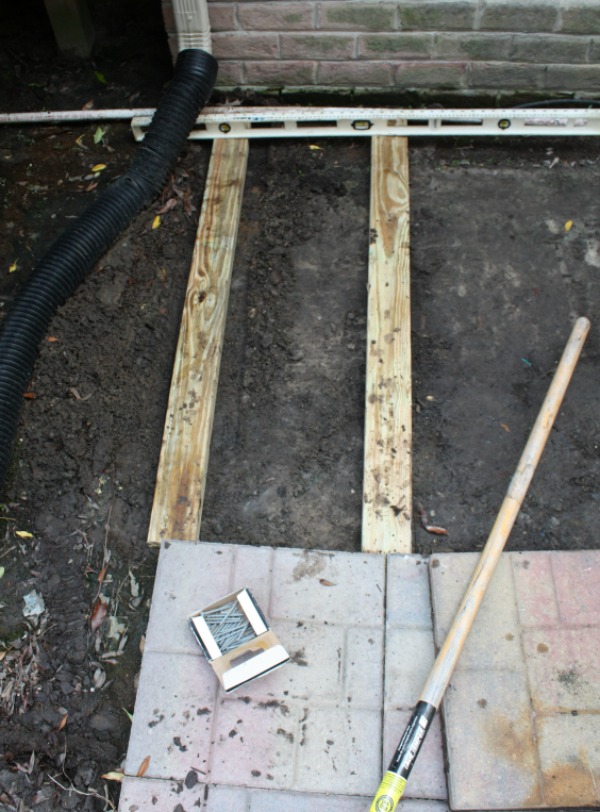
We started the project by cutting our 8′ 2×4’s in half to 4 ft. The treated 2×4’s are going to be buried in the ground and spaced evenly so that the pavers’ edges will rest on them. You will use your shovel and hoe for this part.
Now the most important part of this project is to make sure the grade is sloping away from your house. You do not want water pooling at the base of your home. You will need to use a long level to ensure your grade is correct. Our grade not only had to slope away from our house but also slope down toward the street. Fill in the area between the 2×4’s with dirt or sand. Just make sure all of it is level.
 My little cutie-pie was the supervisor on duty that day checking our work. 😉
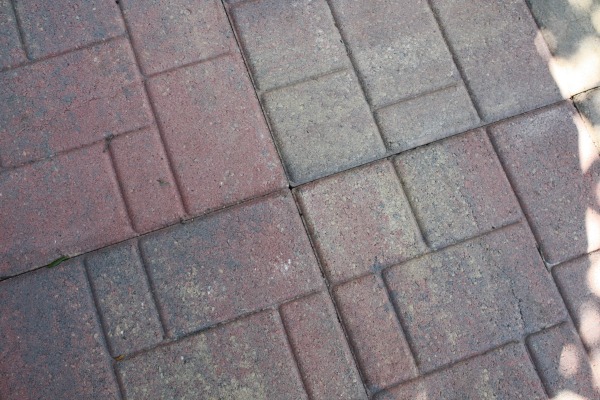
Lay your first row of pavers and make sure they are butted up tight next to each other. Continue with the consecutive rows. Use a rubber mallet to help adjust them into place.
 Here is what it looked like when we were done. No more mud! Yay!
Of course this isn’t a glamorous DIY project, but now our garbage cans have a nice little pad to rest on and we have more usable space. Sometimes it’s the little things that make me happiest!
My husband just said, “I can’t believe you are taking pictures of our trash can…” 😉 Hey, I’m just keeping it real.
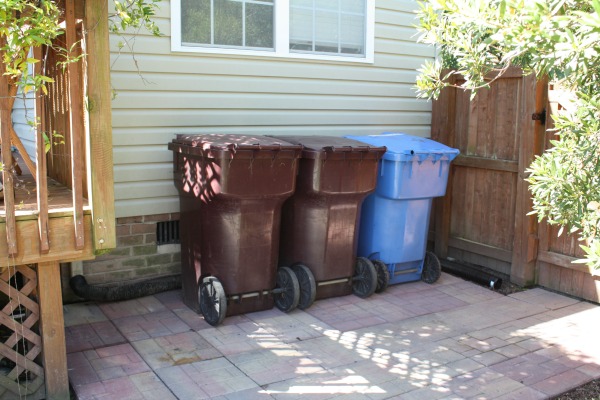 Now it’s time for some much needed rest and ibuprofen. Happy DIY-ing!
Kim
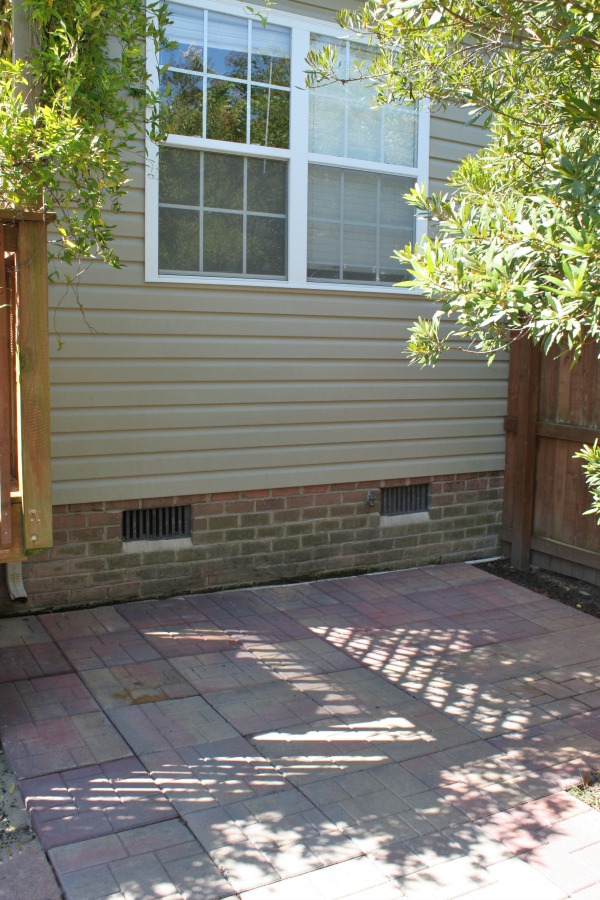

Didn’t that turn out nice! We need to do this too!
Thanks Angie!
You have no idea how timely this post is for me! hahaha I think I love you! I am tackling. a very similar project this weekend and now it seems a lot less daunting. Thanks Kim!
Hi Jolene! It is certainly not as time consuming as the traditional way, but it works for the smaller area and our pathway that we built over a year ago has remained rock solid. Thanks!
This turned out really nice, Kim! I can relate to how heavy those paving stones can be! Back breaking work but so worth it in the end! I actually talked to my hubby about painting our trash cans all pretty…..he looked at me like I was crazy! So he built a structure to hide em! I still think it’s not a bad idea! LOL!! Congrats!~~Angela
Haha! I think painting the trash cans would be awesome! But a cool structure to hide them is probably a lot better! Thanks so much Angela!
nice spot for the garbage! 🙂
Huge difference, Kim! I need to do this under our deck, right outside our walk-out door (like a landing pad). Thanks for sharing!
xo Heidi
holy moly. as i was reading this, i was thinking, dang it looks good, but what about her back???!!! then i saw you took some ibuprofen. it really looks great! and i know it’s not glamorous, but its so nice for that section of your yard. everybody has to put the trash,cans somewhere, right???
amazing job!
Haha! Thanks so much Kellie. I swear my back was killing me and I had to keep reminding myself… lift with your legs Kim! 😉
You go girl! Sorry to hear about the back pain, but your hard work paid off. High five for a job well done and fantastic tutorial to boot!! xo
What a great looking extra patio area, fantastic job! Thanks so much for sharing the how to 😀
I need to do this badly. I have a patio that the concrete has lifted and is all uneven :-/
This is great! I have to do this for a small area and this helps a lot. I really didn’t want to do all the prep work so I have been avoiding it. This means I can actually get it done and check it off my list. Just out of curiosity, is there a standard slope to use?