This post brought to you by Moen, Incorporated. All opinions are 100% mine.
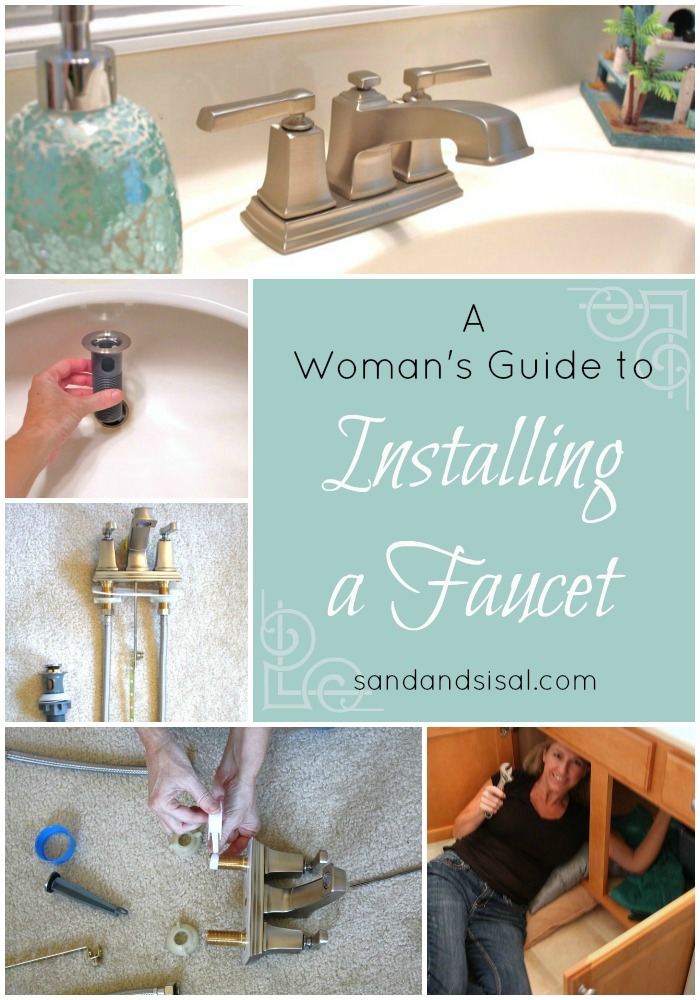
Hey ladies! You know how strongly I believe that we woman can do our own DIY projects around the house, right? Last week I gave you a Woman’s Guide to Deck Repair, and today I want to walk you through a Woman’s Guide to Installing a Faucet. Learn how to do these projects yourself and you will be spared the scary plumber’s crack!
The sweet peeps over at MOEN asked if I would be willing to demonstrate installation of their new brushed nickel Boardwalk Spot Resist bath faucet.
Um, hello? You had me at “boardwalk”.
The builder of my home obviously had no clue how to match fixtures and hardware. I have a lovely mix of shiny brass doorknobs and hinges, bushed nickel light fixtures and hardware, and chrome faucets and shower heads (sigh). The combination has been driving me nuts and I’m thrilled to have a chance to remedy the situation a bit at a time!
Chrome is not fun to keep clean. Put it this way, I have 2 little boys.
Enough said.
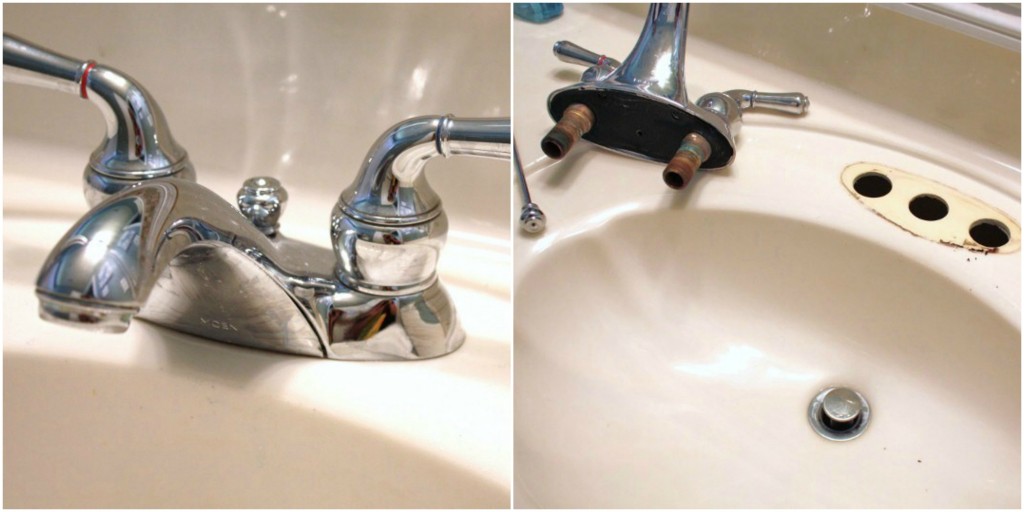
Step 1) Turn off your water lines and let’s rip this spotted chrome thing out!
(well, don’t rip it… remove… you know what I mean.) Ewww, what is that growing underneath?
Ok, here we go! Take your beautiful new Moen Boardwalk Faucet which by the way meets Water Sense criteria and uses 32% less water without sacrificing performance. Yay! Mama’s saving money on her water bill! And it is spot resistant and fingerprint resistant. (The Moen peeps obviously consulted real moms when designing this faucet!) You can find it at Lowe’s.
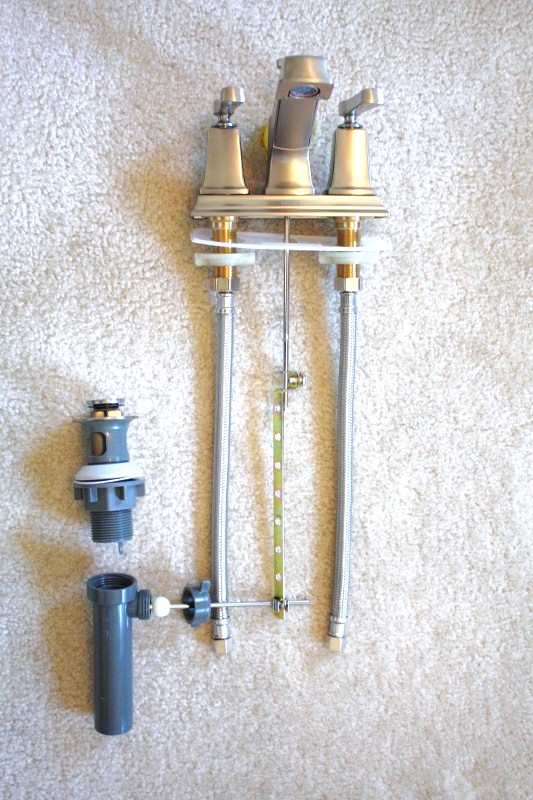
Step 2) I recommend laying out all your pieces first. I’m a visual person and this greatly helped me understand the installation. (Installation directions will always come with your faucet and there is also a website to visit for further assistance). Go ahead and dry-fit them into place so you understand how they will fit onto your sink.
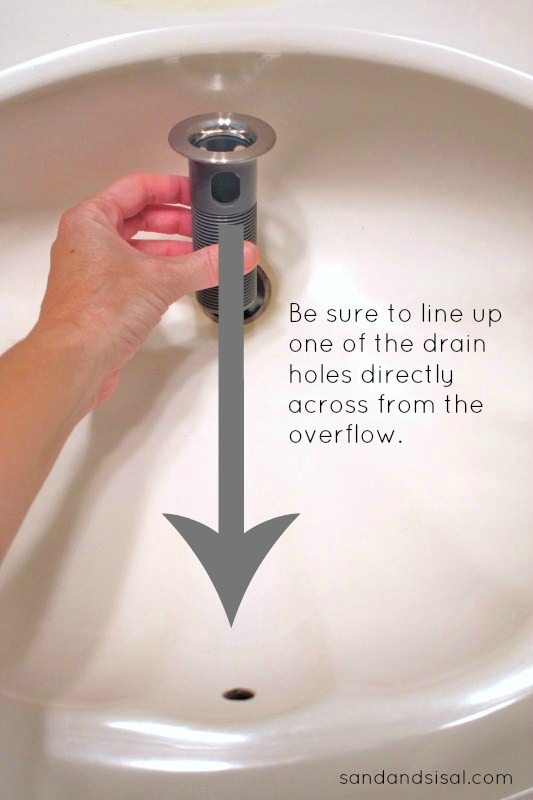
Insert the drain pipe, making sure to line up the side hole with the overflow.
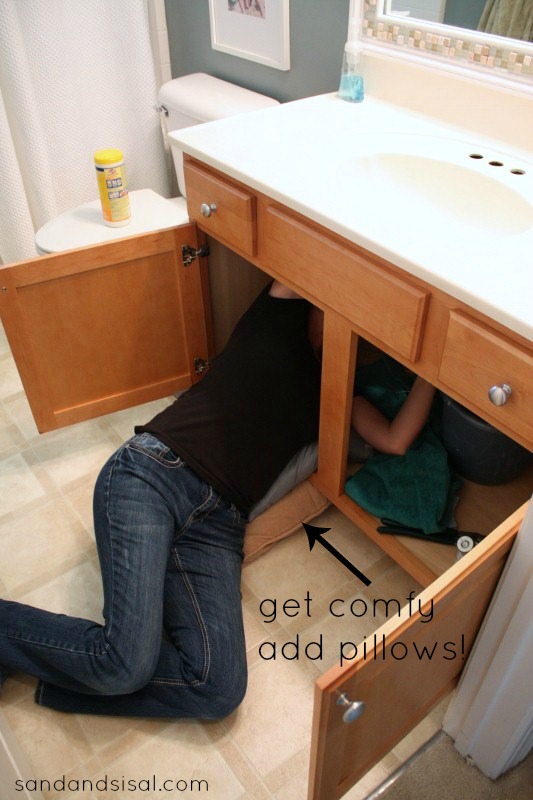
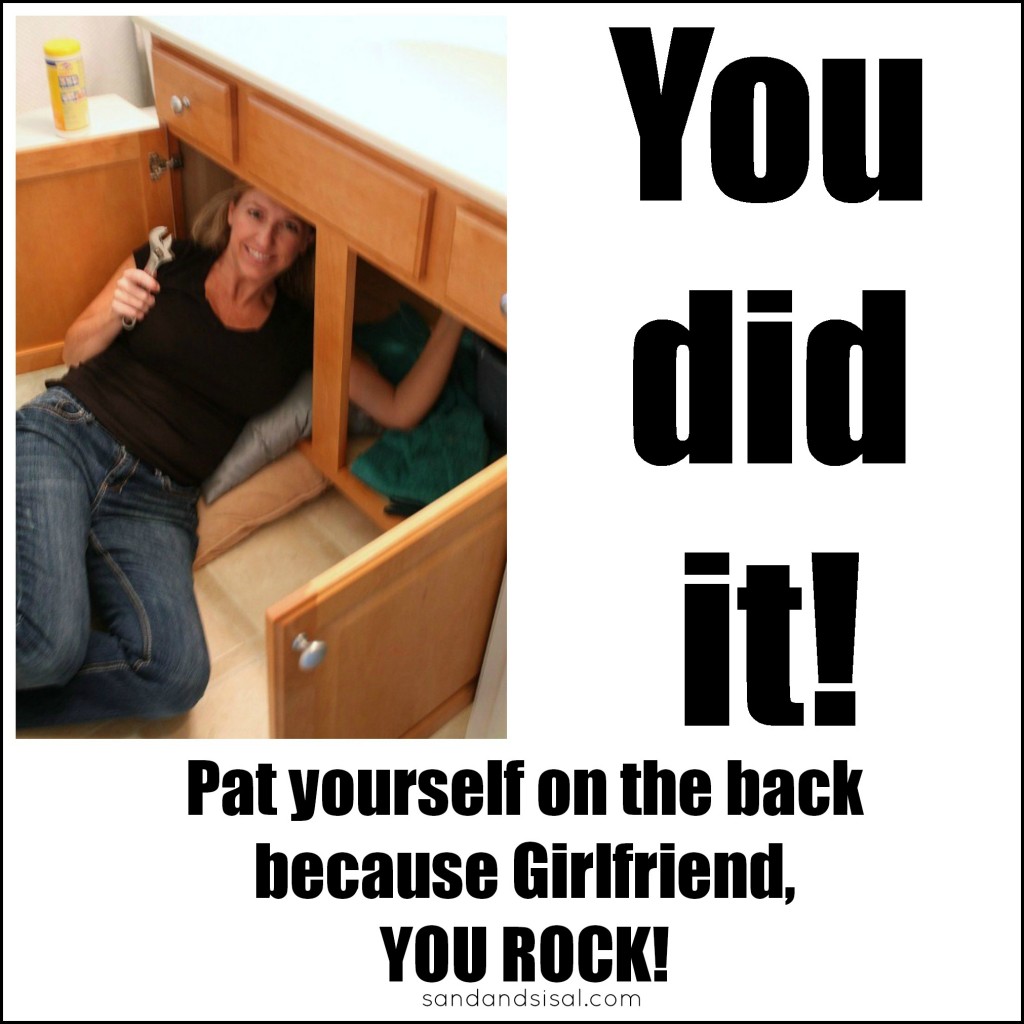
Now climb underneath the sink. Use a few pillows to prop yourself up and feel comfortable.
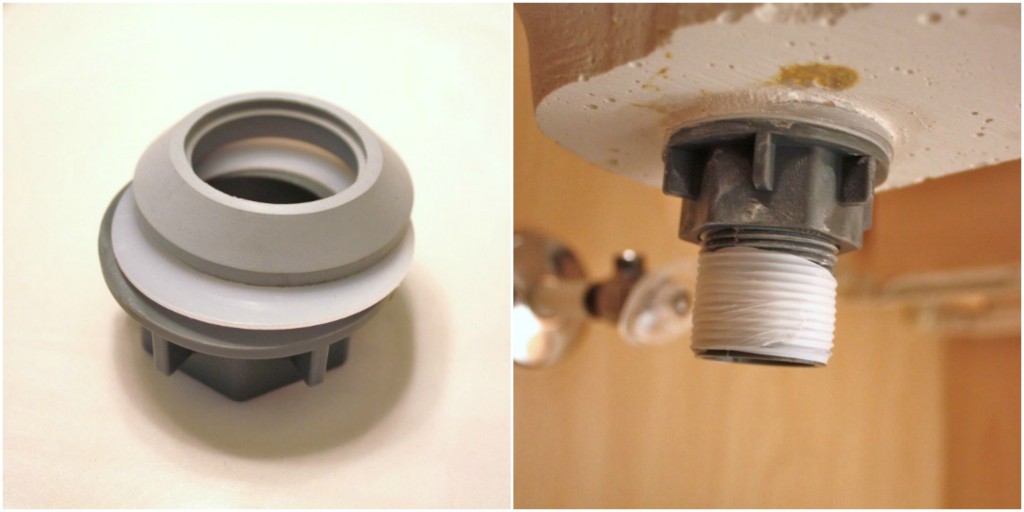
Step 3) Place your rubber gaskets in proper order and thread them onto the underside of the drain. Add a bit of Teflon tape to the lower half of the drain pipe.
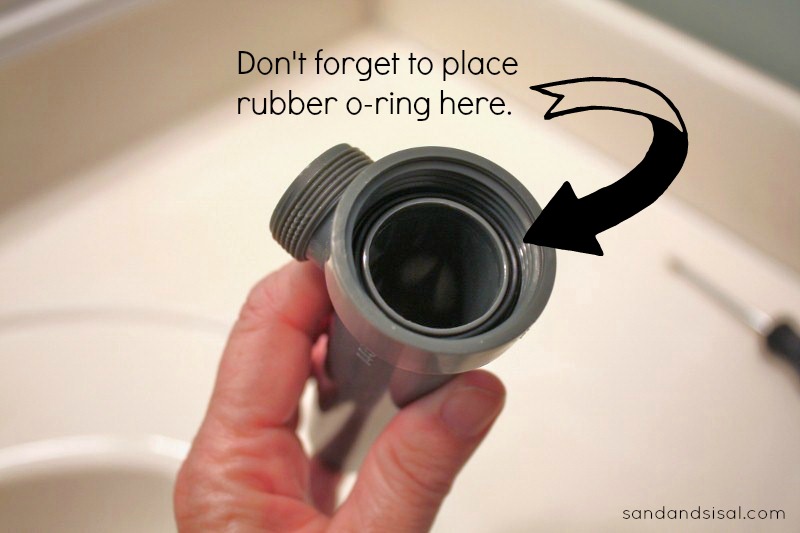
Place the small black rubber o-ring into the drain pipe and thread it onto the area where you just applied the Teflon tape.
This is what it will look like (left pic). Step 4) Now screw on the PVC Trap pipe and tighten.
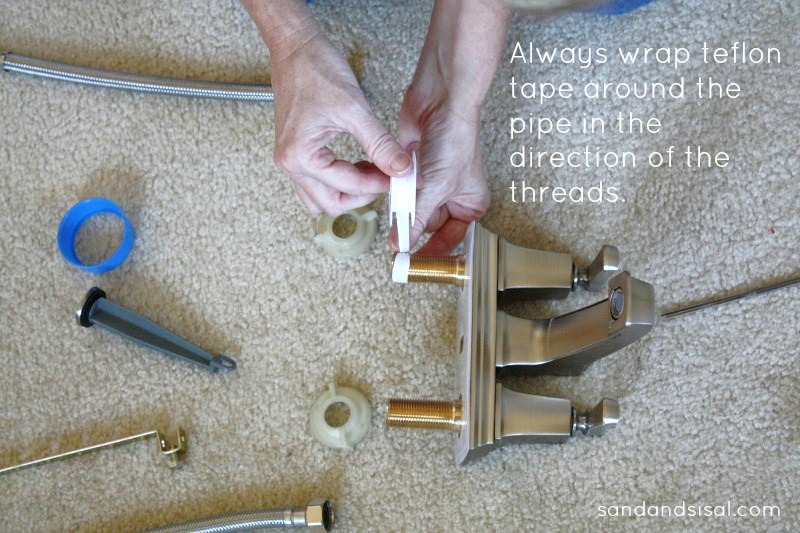
Step 5) Time to install the faucet. Wrap the bottom threads of the hot and cold faucet lines with Teflon tape and place into holes on top of sink.
Step 6) Screw on faucet line nuts to hold faucet in place securely.
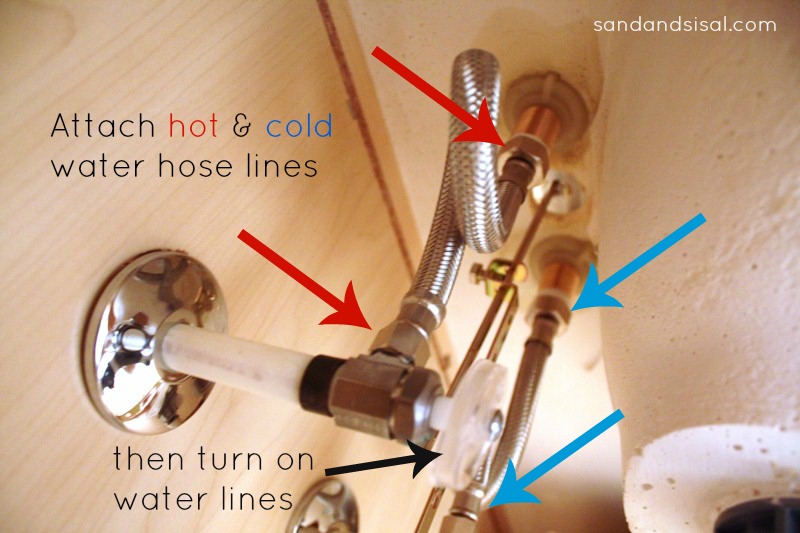
Step 7) Attach hot and cold water hose lines to faucet water lines. Hand tighten then with a wrench tighten 1/2 turn further.
Step 8) Turn on the water lines and celebrate!
Girlfriend you just installed your 1st faucet!
You are AMAZING and I’m so proud of YOU!
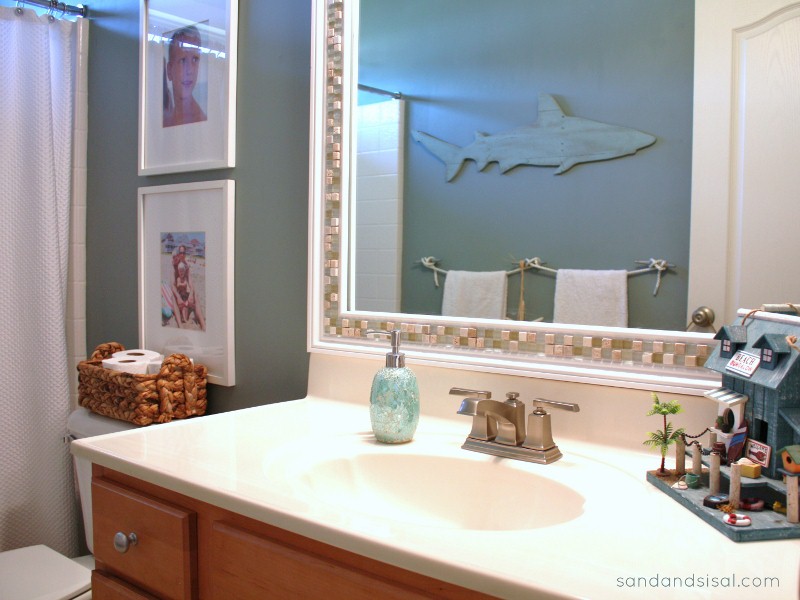
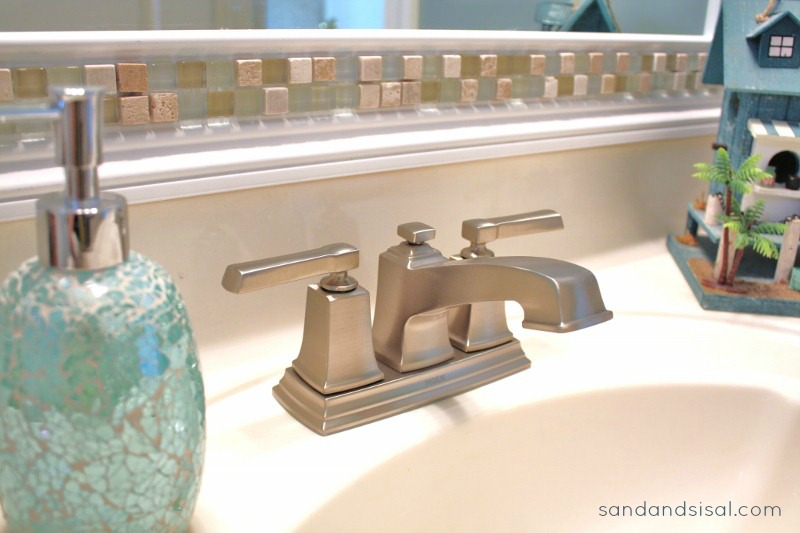
Doesn’t it look great?
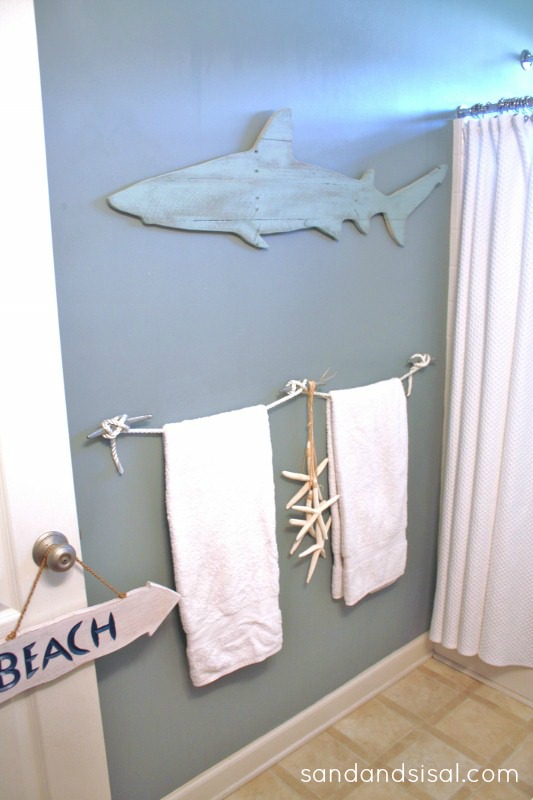
My boys adore that Pallet Shark. Feel free to check it out and see how I made it!
I love how the brushed nickel faucet looks against the Tiled Framed Mirror now.
Connect with Moen on Facebook here.
So tell me what you think? Ready to install your own faucet?
I think you can do it! I believe in you!
Kim

Hi Kim, thank you so much for this step by step tutorial. I come from a family of plumbers and after many years of being a homeowner, I hate having to call my brother for every little plumbing issue. I have wanted to learn how to do faucets as I have three hideous and leaky ones to change out. THANK YOU – I am definitely tackling that this week!!
Hi Lisa!
Oh geez, I hope your brothers don’t rip apart my tutorial! haha, This was my 1st time doing it, but I did it! I’ve done some plumbing, but not a ton. Hubs went back and checked everything I did to make sure it was all good. Give it a try. It really wasn’t that hard…It’s not easy, but you can do it. At least if you run into issues, you can call your bros! 😉
I love your tutorials! Yet another one of your posts that I’m saving for later – both for the tutorial and so that I can make a pallet shark for our bathroom when we finish our move to Hawaii 🙂
Hawaii? I’m envious now! Thank you so much for the sweet comment!
Great job! I am impressed 🙂 Love the new look.
That faucet is gorgeous! Thanks for the tutorial – I’m sure I’ll need it someday!!
This is so cool! I was just saying to my hubs the other day that I would really like to use some of the gift cards we have to Lowe’s to purchase all new faucets for our bathrooms. (Our builder also had very questionable taste when it came to choosing all the metal in our home!-can we say “builder grade” ???) but to have them installed would take us over our budget right now. I am pretty handy and was wondering if I might be able to do it myself. You’ve given me the confidence to try-thank you sooo much! Hugs, Meghan
This was inspiring! Here I totally resigned myself to replacing all my chrome except for the faucet.
I was surprised the drain didn’t call for plumbers putty? (I’ve only done a kitchen sink repair).
Off to shop for purty faucets now 🙂
This may seem like a stupid question…but how do you get the old faucet out exactly? Thank you! I’ve been wanting to do this since we bought our house a year and a half ago!
Hi Stephanie!
That’s not a stupid question at all. Basically you follow the steps in the opposite order. 😉
I was wondering what color paint is on the walls in the bathroom with the shark pallet. I am looking for a blue gray color for my boys bathroom too. Thanks so much! Love it!!!!
Thanks so much Desirae! It is Atmospheric by Benjamin Moore.