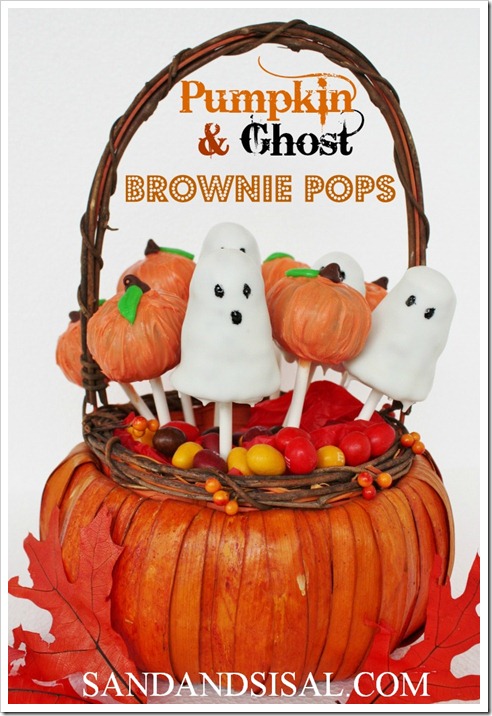
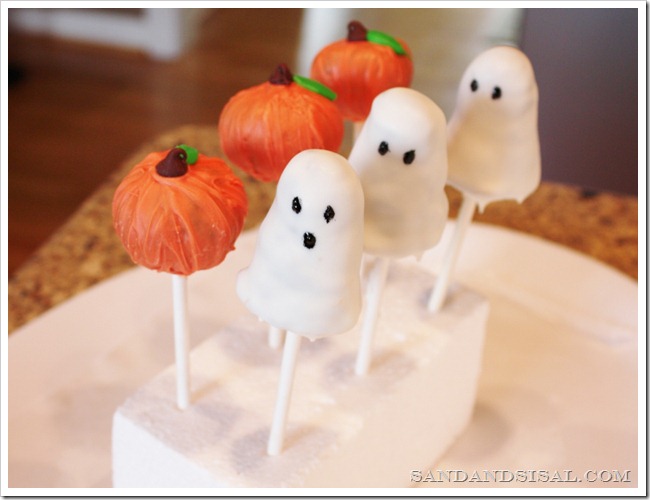
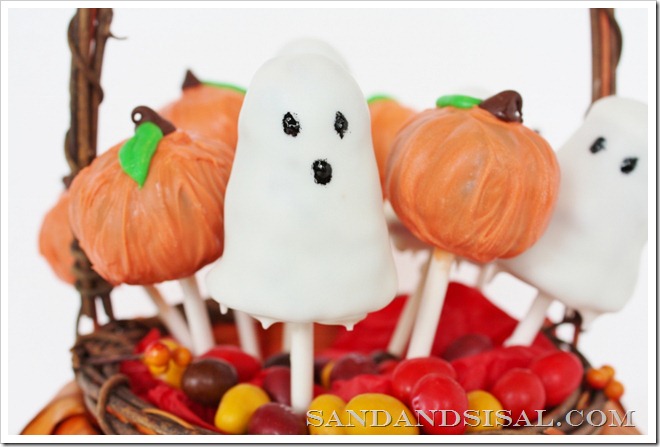
Welcome your little goblins this October with Pumpkin & Ghost Brownie Pops!
These sweet, fudgy, festive pops are both kid and crowd pleasers!
Let me show you how easy Pumpkin & Ghost Brownie Pops are to make.
Start with a boxed brownie mix, prepare as directed and place in a 9 x 13 glass baking dish.
Bake your brownies for 28 minutes only, then allow to cool.
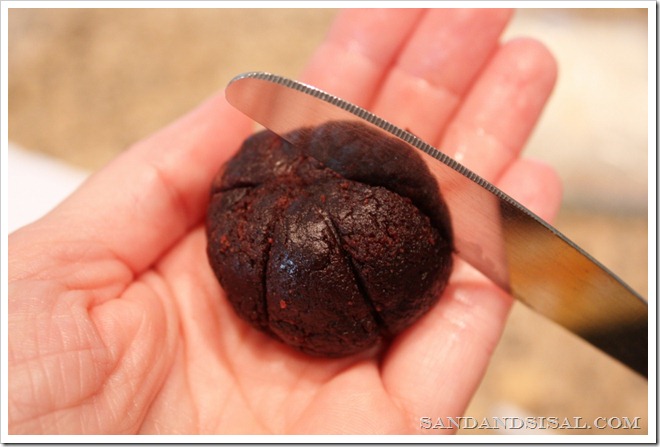
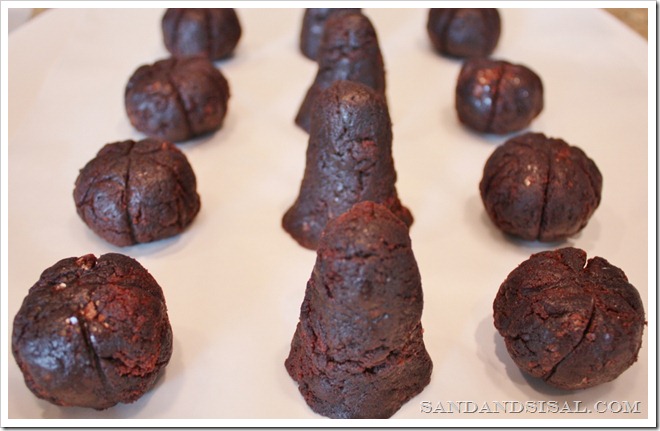
For pumpkin shapes, scoop a large amount into your palm and roll between hands into a ball shape.
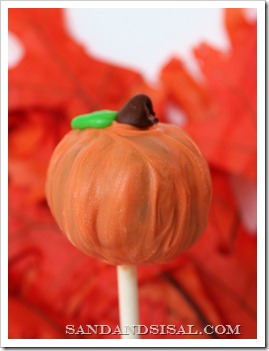
Then with the backside of a butter knife, make grooves in your brownie ball.
It’s starting to look like a pumpkin now!
For the ghost shapes, scoop a bit more brownie into your hands and roll into a cylinder shape, then place upright onto waxed paper and manipulate the brownie until the desired ghost shape is formed. Revert to your play dough playing days!
Now is the time to insert a stick into the BOTTOM of each pumpkin or ghost. I used Wilton’s 6 in. Cookie Sticks. Lay on a cookie sheet and FREEZE.
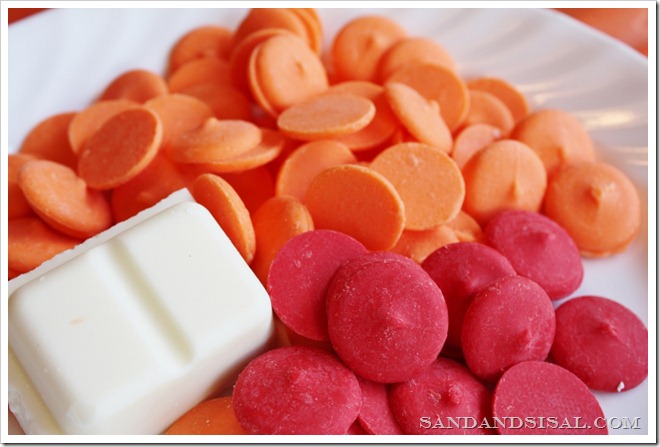
You will need white, orange, and red candy melts. I chose to add a bit of red because the orange color wasn’t as intense as I liked. The white candy I already had on hand and it’s called white bark. I melted the candy into 2 separate cups, in the microwave. Do not over heat! To thin the consistency I added a tiny bit of vegetable oil.
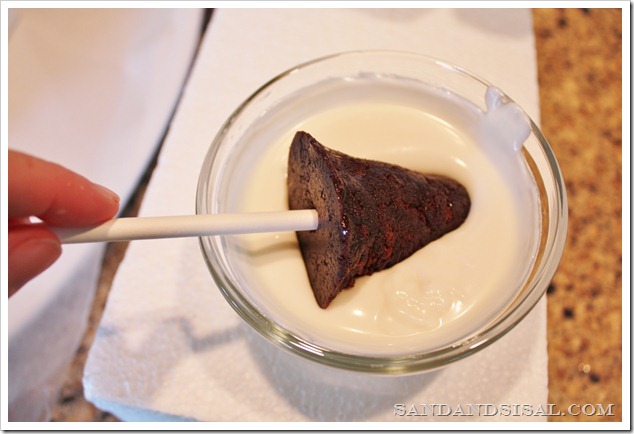
Remove the brownie pops from the freezer and dip into the melted candy coating, swirling to coat well.
Be prepared to reheat your candy to maintain a fluid consistency. I will admit that the ghosts were super easy to coat but my orange candy was too thick (I didn’t add veg oil soon enough). So instead of stressing, I simply used my finger to smooth the candy, following the form of the pumpkin, until it was covered. Fingers are allowed! You aren’t looking for perfection, just a nice coat. Imperfection gives each pop character!
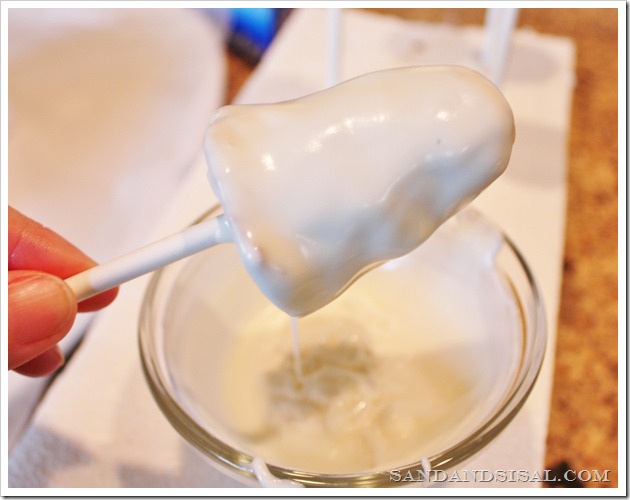
After dipping, set each stick into a block of Styrofoam and allow to set up.
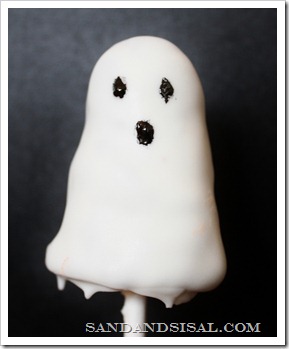
So you see how the drips give the ghost a creepier appearance? For eyes and mouth, I dipped a toothpick in black coloring paste and dotted it on. For a pumpkin leaf mix powdered sugar, green food coloring and a few drops of water. Place in a plastic snack baggie, snip off a corner and pipe on your little pumpkin. The stem is a chocolate chip.
Pumpkin and Ghost Brownie Pops are perfect for your child’s class party or a Harvest & Halloween Festival!
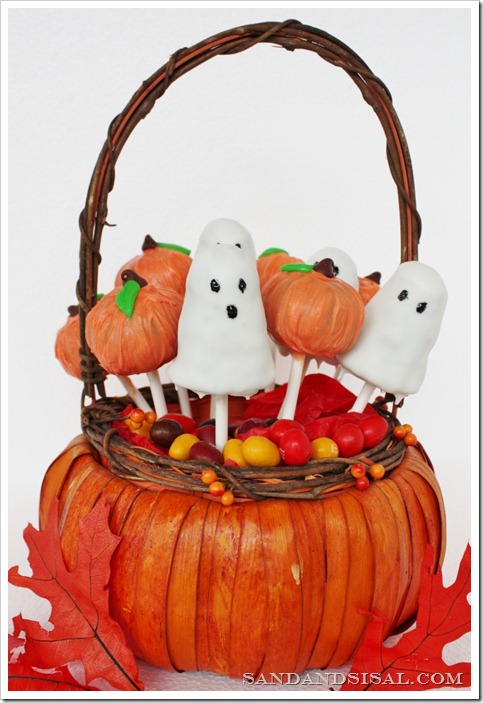
Serve them in a basket or jar filled with M&M’s or candy corn or package up individually to hand out to friends!
But watch out! These little goodies get gobbled up…. mysteriously!!!
Kim
~Brownie Pops are an easy treat any season of the year.
Click to see my tutorial How to make Easter Egg Brownie Pops~
linking up to:
 |
 |
 |
 |
These are super cute! Thanks for the tutorial…I think me & my 5yo will be trying our hand at these.
These are so cute! I’ve always wanted to make them but I didn’t realize they were this simple…thanks for the tutorial.
Oh my goodness, absolutely adorable!!! 🙂 Love them!
These look AMAZING!!! I’m not sure I’d ever get to the final decorating, though…mine would mysteriously disappear loooong before that…;) Thank you so much for linking them up to my Everything Halloween party! Yay!
So cute and super yummy! I want one :).
Thanks ladies! It is a fun activiity do to with the kids!
Maggie- That’s EXACTLY what did happen with my 1st batch! They made it to the sticks but then got devoured. 🙂
How yummy do those look??! Pretty dang tasty from this angle! Nice job!
(I would have never thought to hand-shape hot brownies- but why not? They are pretty workable come to think of it– man, you are goo’od!)
Thanks for sharing!!
Visiting from Midwestern Sewing Girl’s linky party {Everything Halloween}
~Suzanne in NW Illinois
Super cute!! Bet these were delicious!