The price of fancy pillows these days are just outrageous!
Pillow covers are incredibly easy to make!
I try to recycle when ever possible (think green!).
Old throw pillows shouldn’t be thrown away! Recycle them!
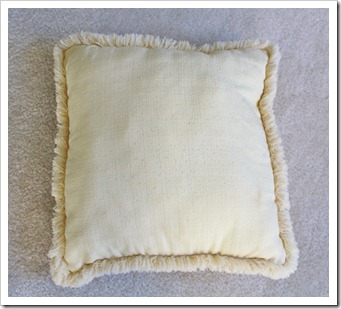
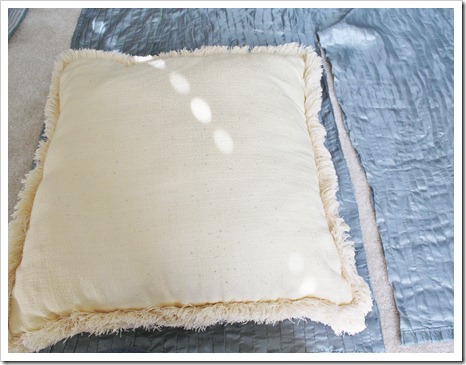
This yellow, over washed, ancient throw pillow has been shoved into the depths of my linen closet for over 5 years.
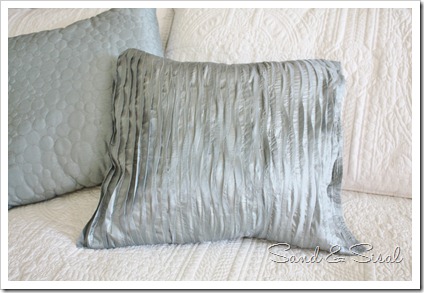
He desperately needed a face lift so I searched for some fabric.
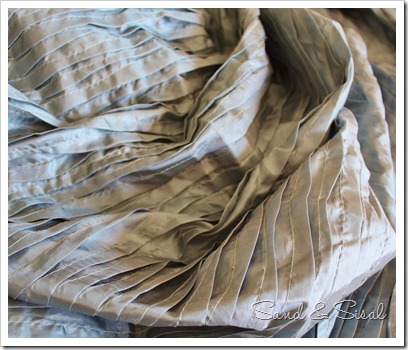
I found this SHOWER CURTAIN at Target on CLEARANCE!
GORGEOUS!!!!!!
Now this is way more fabric than I need but trust me, I’ll find a use for it!
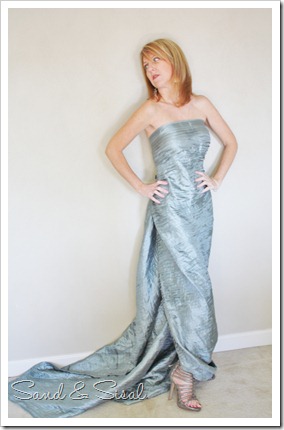
Look what you can do with a shower curtain and a few chip clips!
Shower Curtain Couture anyone?
(Sometimes you just have to have fun and laugh at yourself!)
Anyhoo….where were we?
Oh yes, pillows… let’s walk through the process.
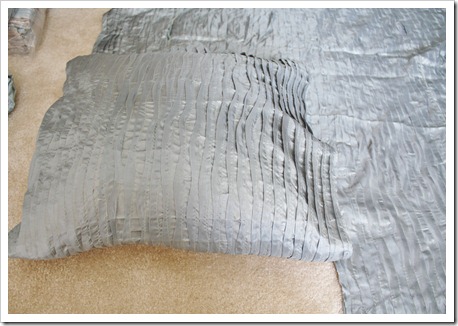
Lay your fabric out and place the pillow along the bottom corner and cut along one side.
Now fold the fabric AND pillow up and over on itself.
Trim along the top edge also.
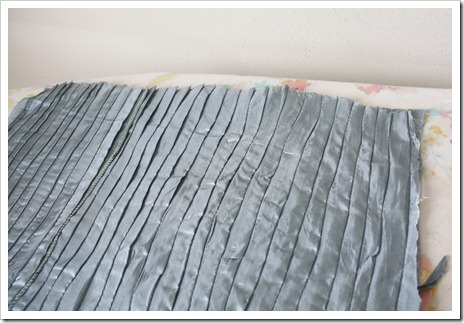
Take the rectangle of fabric and fold it in half and lay on an ironing board.
The “wrong”side should be on the outside, facing you.
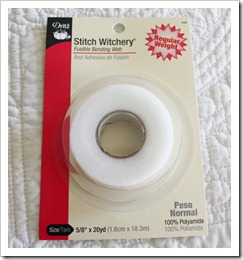
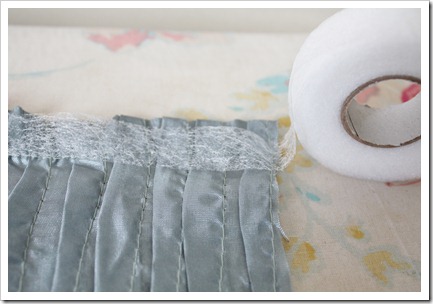
Here comes the “No-Sew” part. Get Stitch Witchery.
Cut a strip of Stitch Witchery to the width of the top of the fabric.
Lay it along the top of the fabric, in between both pieces.
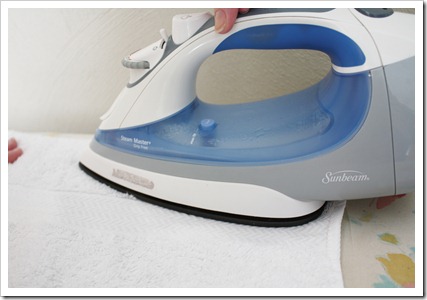
Set the iron to the wool and steam setting and place a damp cloth on the top of the fabric.
Place hot iron over where the Stitch Wichery is and let it sit and steam for 10 seconds without moving the iron.
Move to the next section until the seam is formed. Allow to cool. If parts aren’t fusing then repeat ironing.
Repeat this process with the CUT side of the fabric.
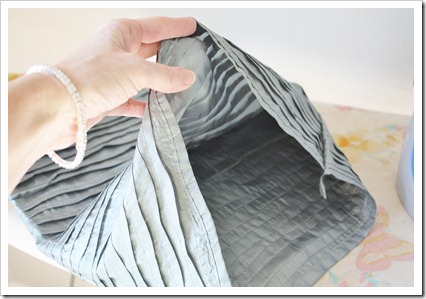
Now turn the pouch right side out.
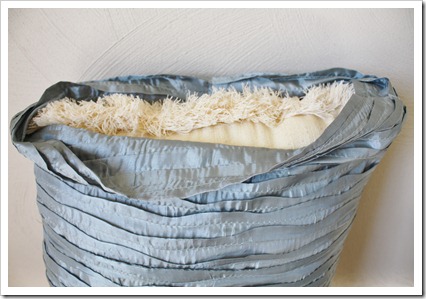
Stuff your pillow inside the pouch.
Time to seal up the pillow.
Lay the pillow on the ironing board. Cut one more piece of Stitch Witchery and lay it between the top and bottom.
Note how these are the original edges, are already finished for you.
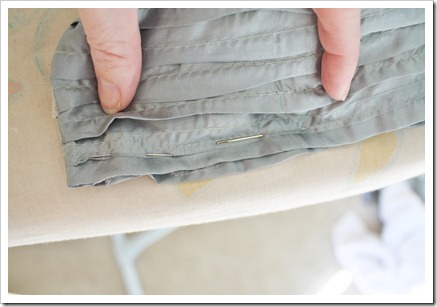
Take a few straight pins and pin the seam and Witchery tape together. (I even pinned it to the ironing board so it wouldn’t move).
Steam iron the entire pinned seam just like you did before.
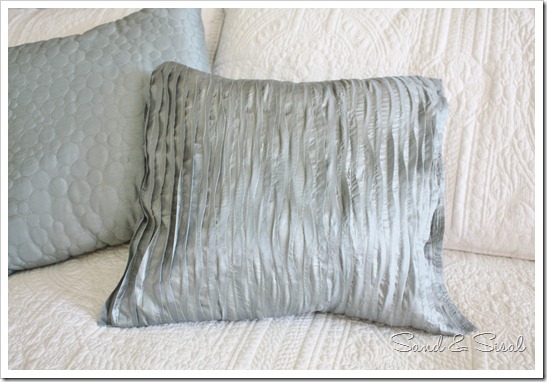
Guess what? You’re done!
You just made a fancy-shmancy ruffle pillow without sewing!
Wouldn’t a bolster pillow look great in this fabric?
I’d love to hear from you! Tell me what you think! Ready to try it yourself?
Kim
Linking up to:
 |
 |
 |
 |
 |
Oh Kim! I loved the couture shower curtain dress! Oscar worthy really.
LOL You are too funny!
Great tutorial- I always sew but I’ve heard great things about that stitch witchery!
-Kristi
@ Creative Kristi
I loved the dress too – with a train and everything. You might be onto something there… Great idea for pillows – I’ve used hot glue which works great on fabric. I need to go find some fabulous fabrics! Miki
That turned out really beautiful! I think I need to make some pillows now!
Debbie
I would have never thought to use a shower curtain for a pillowcase. But why not! Awsome!
Jen
Such a clever idea… just added it to my mental “to make” list!!
Kim!!! You are a genius!!! I love it!!! I’m going to target right now!!! lol
I love your dress!!! You are sooo funny!!! ha ha ha!!!
Love your tutorials! You’re the best!!!
xoxo
SO cute! And I LOVE that you put on the curtain. My kind of gal.
xo
shaunna 🙂
Kim, I love pillows and that one is delish. What a great idea. Loved the dress, too!
I love that color. I think even I could do this.
Mary Ann
I love your fashion shot (: You look dazzling in that shower curtain!
Wow, how easy this is! What a great idea (:
I’ve never seen any one look more lovely dressed in a shower curtain 🙂
I will have to try some of that Stitch Witchery. I usually just break out the glue gun.
What will you do with the rest of the fabric?
I LOVE the dress! It seriously looks fabulous! I’ve used hem tape on many-a-pillow but it does come undone overtime with abuse. The ones in my bedroom are still good, but my porch pillows and a living room one are totally shot. I blame on it your nephews for sure! But I still love hem tape!
so happy to have found your blog–I love this clever idea! I’m always looking for new and fun ways to update our house. I also couldn’t stop smiling with the shower curtain dress 😉 can’t wait to see more from you! xoxo {av}
I really need to do this to a few pillows in my home. Thanks for inspiring!!! = )
Your shower curtain couture made me smile and reminded me of long ago when I owned a satin peach dress, My brother teased me mercilessly that I made it out of his shower curtain. I do love the pillows, I am in awe of your ideas!
Hee,hee,hee…. Thanks Suzanne (Chip clips held it together in the back! Ha!). That blog post was written so many years ago and I was a bit silly back in those days, but hey, I never take myself too seriously anyhoo! Thanks so much!!! Have a wonderful weekend.
~KIM