I believe shopping your home first is always a wise decision.
The wall above the thrift store storage table desperately needed something, but what?
This is a CRAZY house of 4 kids coming and going to friends and sports and such.
The kids’ cell phones are always dead and some “back to basic” communication was needed, a.s.a.p.
You can’t get more “basic” then chalk and a chalkboard!
Well, ok, maybe writing in the sand.
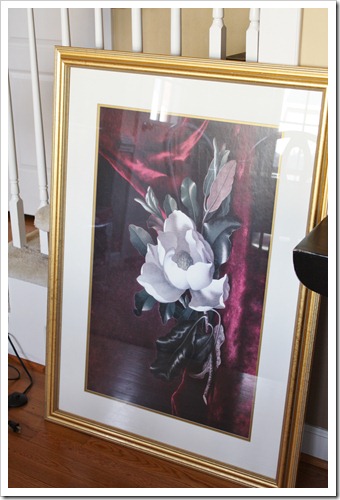
Anyhow. I looked around the house and found this picture that I’m tired of.
It’s faded and quite old.
Time to go!
After disassembly, I was left with a good frame and mat.
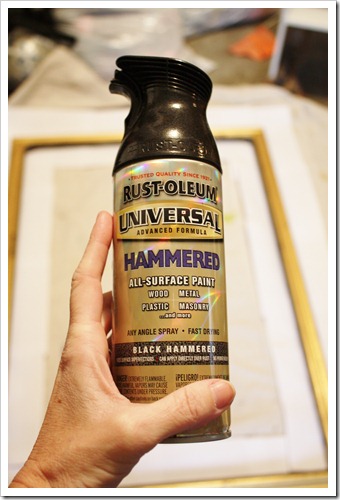
This time I wanted to try another paint in Rust-oleum’s Universal Metallic Collection,
black hammered metal.
I like texture, let’s give it a try.
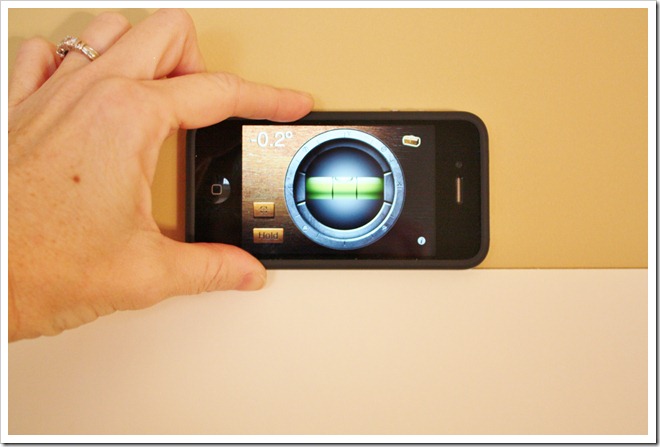
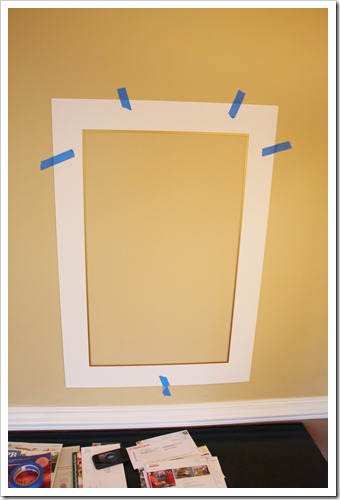
I placed the mat up on to the wall and used my iPhone level app to level it.
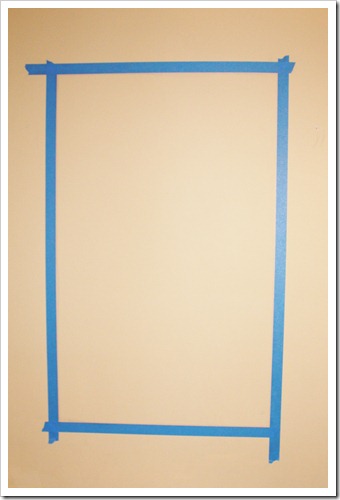
Once it was level I taped it into place with painter’s tape.
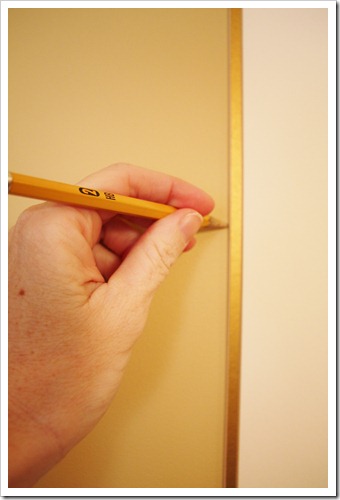
I then traced the interior of the rectangle with a pencil.
Next with painter’s tape, I taped off 1 inch wider than the tracing.
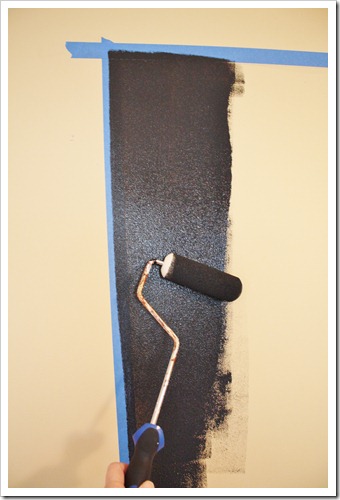
I rolled the interior with 2 coats of chalk board paint.
Try to allow 2 days drying time before writing on it.
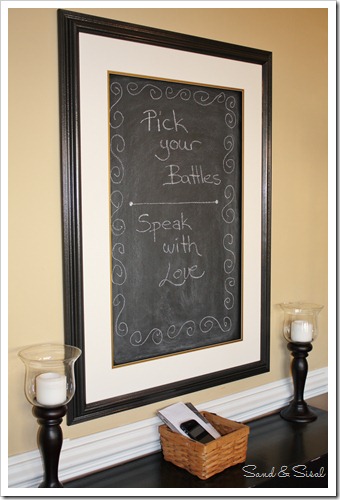
Then I simply inserted the mat board back into the frame and mounted it to the wall.
An old mat and frame found a new life and
our family will hopefully communicate a bit better.
Kim
Linking up to:
 |
 |
 |
 |

love this!
This looks gorgeous. I tried chalkboard paint on our textured walls and wasn’t happy with the writing surface. I think if I did this, I would have to use a piece of board in the frame rather than paitning directly on my textured wall. I love this idea and your frame looks great!
Looks cute!
great job, who knew there was a level app on the iphone. i am hoping to get one when they come to verizon…wonder if they have one for droid!
thanks so much! i have a similar project i am working on…this was helpful.
xx-Kristyn
Very Clever!
Hey, this gives me a great idea! Why not take that old picture, paint the inside of the glass black, and use neon dry erase! I always use 3M strips to hang stuff (’cause I like to change things around all the time), so this method would keep the wall clean. Kewl Beans, no?! :O)
I really like this idea Kim! It’s so much easier than painting on the glass of the picture as I’ve seen so many times before.
Love this! I just bought some of this paint. Do you like the finish or is it just a basic flat black? Trying to decide if I should return it or not! I think I am going to have to dig out that chalkboard paint.
Nice message board, and sooo easy. Thanks for the tutorial.
Brittany
http://www.prettyhandygirl.com
that is such a cute idea, and what a time saver!!
Love this! How did you like the new spray paint?
so cool!!
Very Nice!!!
This is a GREAT idea!! Thanks for sharing.
Stef at TooMuchToDoSoLittleTime.com
Thanks everyone! To answer Chelsey’s quesion: I am absolutely in love with the Rust-oleum’s Universal Metallic collection. I have ZERO complaints. So far I’ve tried the ORB, the brushed nickel, and now the black hammered metal. I really want to try the copper one soon.
I just used that same spray paint on a chandelier. It was my first time using it. I definitely have a texture on the chandelier but it appears to have small bubbles. Is that what your end result was or did I get the bubbles from coating mine too thick?
Kristin- Do you see the chandelier metal still through the bubbles? If yes, then it just needs another light coat. The directions say to recoat within one hour or wait until 24 hrs before recoating. I sprayed the frame with 3 light coats all within an 90 min. period. Also shake SUPER well and don’t spray in cold temps. Does that help any? Let me know if you have any other questions. 🙂
Thanks so much, Kim! I may try another coat, but considering you can’t see the bubbles once it is hung, then I may just not worry about it and learn from my mistakes for next time!
Extremely good idea and very very useful. I already contemplate the most appropriate location at home for that.