Laundry day rolls around and I’m emptying out the kids’ pockets. I’m pretty confident I’ll find little treasures inside. Out tumble a few Legos, a screw, a very hard gummy bear, and a pretty little shell or two or three. I’m not sure we have ever left the beach with out bringing home a small collection of the seashells. Our collection has grown into several gallon sized bag fulls of shells! I think it’s fair to say our family has a bit of a shell obsession.
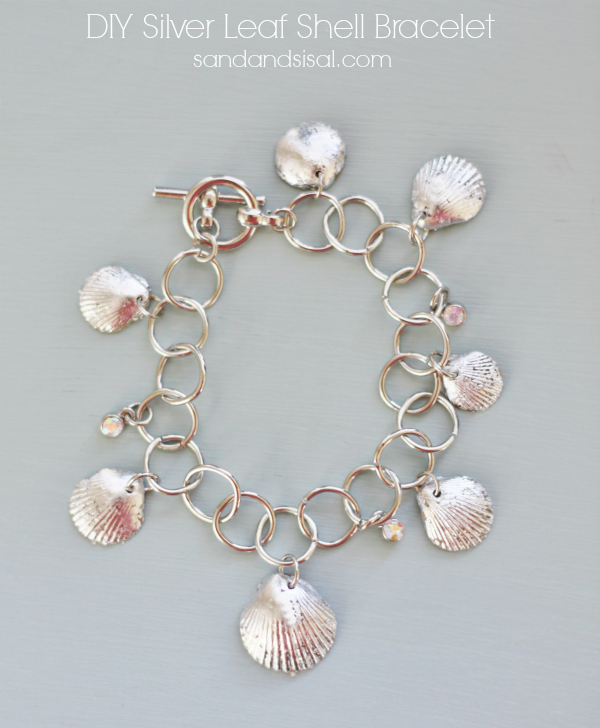
I can’t bear throwing the lovely shells away, so let’s get creative with them. I’d like to show you how to gild seashells and make a DIY Silver Leaf Shell Bracelet!
How to Gild Seashells
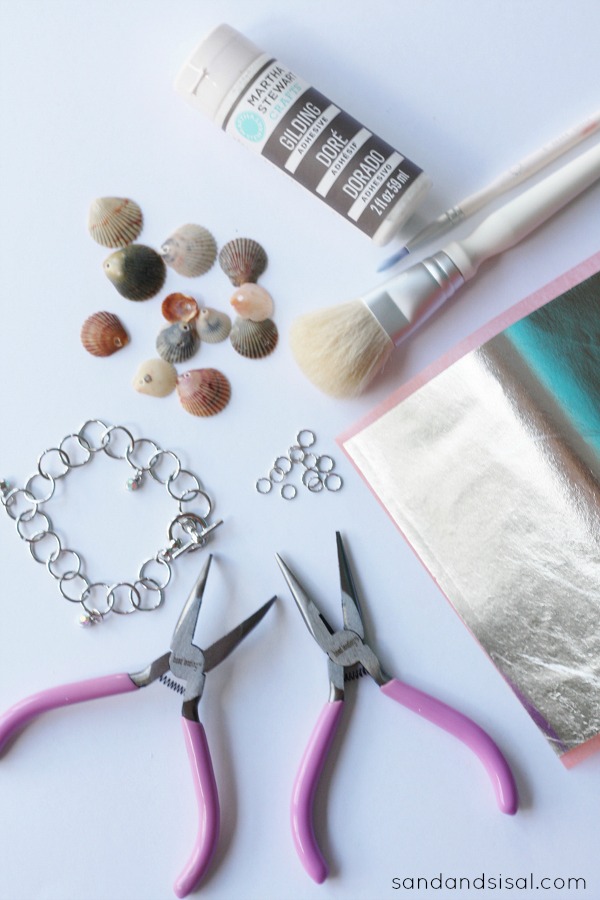
Now there are two ways to gild seashells. You can use liquid gilding which is easy to use and what I used on my copper outdoor lanterns over my garage. Or you can use traditional silver leaf sheet and gilding adhesive. I happened to already have silver leaf sheets on hand so that is what I will demonstrate using today. To make Silver Leaf Shell Bracelet you will need the following items listed below: (contains Amazon affiliate links)
- small shells (1/2- 3/4″ sized shells)
- Drill with 1/16″ drill bit
- a piece of scrap wood
- 1 silver link bracelet (available in the jewelry crafting dept of craft stores)
- jump rings
- 2 needle nose pliers
- Plaid Martha Stewart Decoupage Gilding Adhesive, 2-Ounce
- Plaid Martha Stewart Decoupage Gilding Sheets, Silver
- Plaid Martha Stewart Decoupage Gilding Brush
- 1 small paint brush
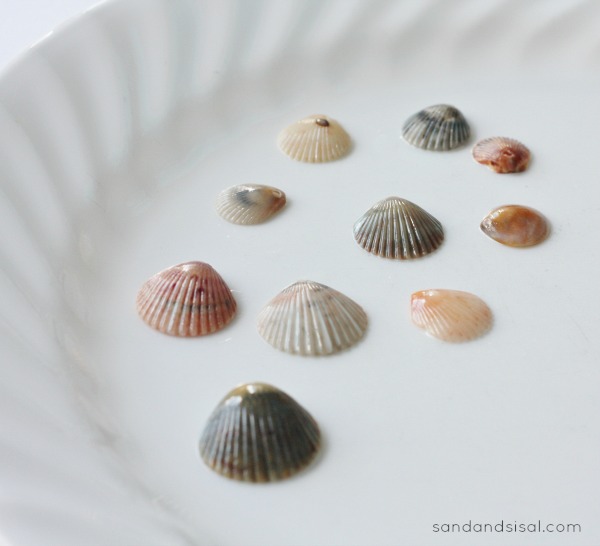
Step 1) Wash and dry your shells.

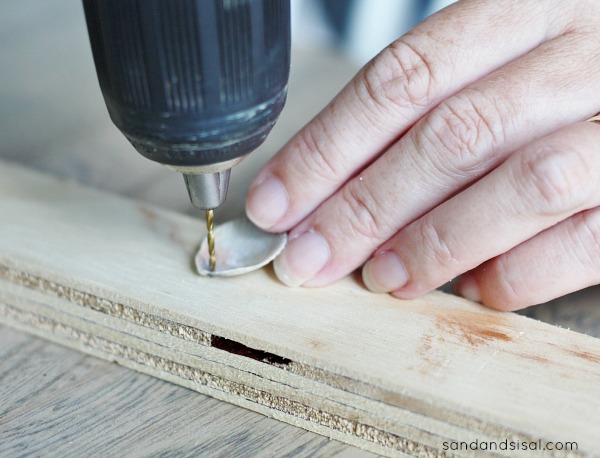
Step 2) Time to drill holes in the shells. These small shells are very thin and quite easy to drill. Place a scrap piece of wood on a table or flat surface. Hold the shell at an angle so that the area where you would like the hole to go is sitting as level as possible with the wood. Mark where you want to hole to go with a pen if desired. Start drilling slowly, holding the shell firmly. Then increase the speed. If you break a shell or two, it’s ok. It might take practice.
Step 3) With a small paint brush, paint on an even layer of gilding adhesive onto one side of the shell. Allow it to dry until it is tacky.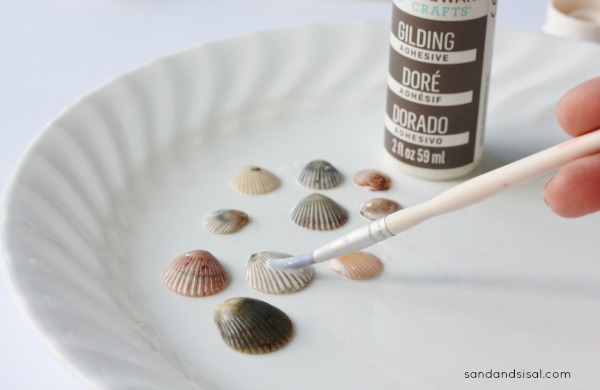
You will know it is ready when the shells look shiny and the adhesive is clear.
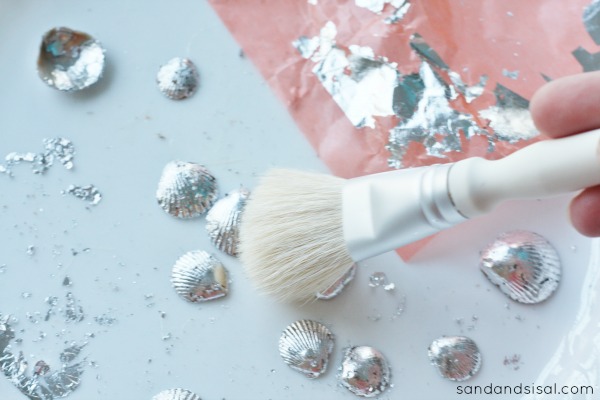
Step 4) Carefully remove a sheet of silver leaf and gently press the sheet to the tacky shells. The silver leaf will peel right off the sheet and stick to the shells. Repeat pressing the silver leaf until the shell is covered. Allow the silver leaf shells to dry for an hour. Then with the fluffy soft brush, gently brush the excess silver leaf off the shells. Turn your shells over and repeat step 3 & 4 again to coat the insides. Don’t worry about covering up the holes. You will still be able to see them.
Step 5) Place a pliers in each hand and open your jump ring, pulling the ends in opposite directions (one end towards you, the other end away from you). Slide the open jump ring through the shell hole and onto your bracelet, then close the ring tightly with the two pliers.
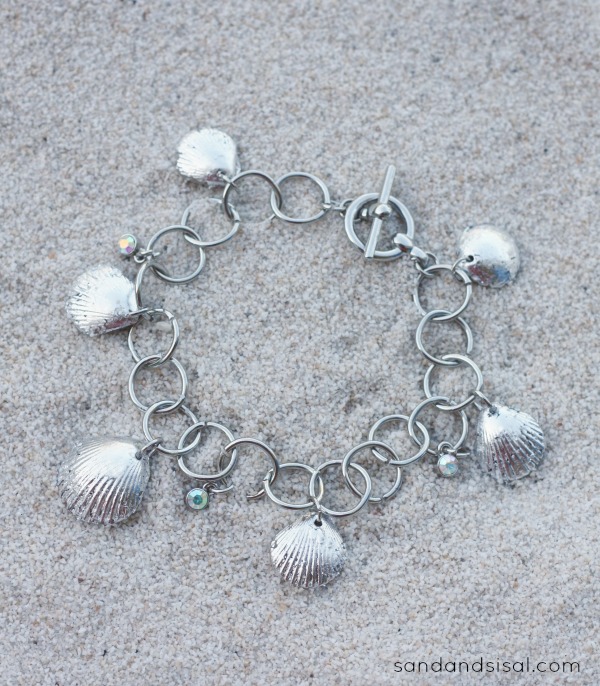
Congrats! You just made a Silver Leaf Shell Bracelet that is beautiful and will hopefully hold sentimental value as you remember the time spent along the shore, beach combing, making memories and discovering the sea’s little treasures.
Happy Crafting!
KIM
Linked up to Tidy Mom
Love this idea!! Haven’t worked with gilding, either kind, but this sure is the incentive to do so.
Thank you Patty!
SUPER CUTE! I love this idea!
Thanks Anele!
What a great idea, Kim! We have a ton of those little treasures lying around here too! XO
LOVE, LOVE, LOVE this!!! How well does the silver stay on? I would stack it with other bracelets so worried it would chip off.
Hi Donna! Mine is holding up well so far. If you want to stack them then I would probably recommend using silver liquid gilding instead, just to be safe. 😉
very cute!!!! 🙂
Gorgeous bracelet! The holidays are right around the corner… what a great gift idea too!
Great idea Laurie! Thanks so much!
All my best,
KIM
Very cute and lovely bracelet; but please be aware that shell dust is TOXIC. It should be drilled under water .outside preferably, with a mask on.