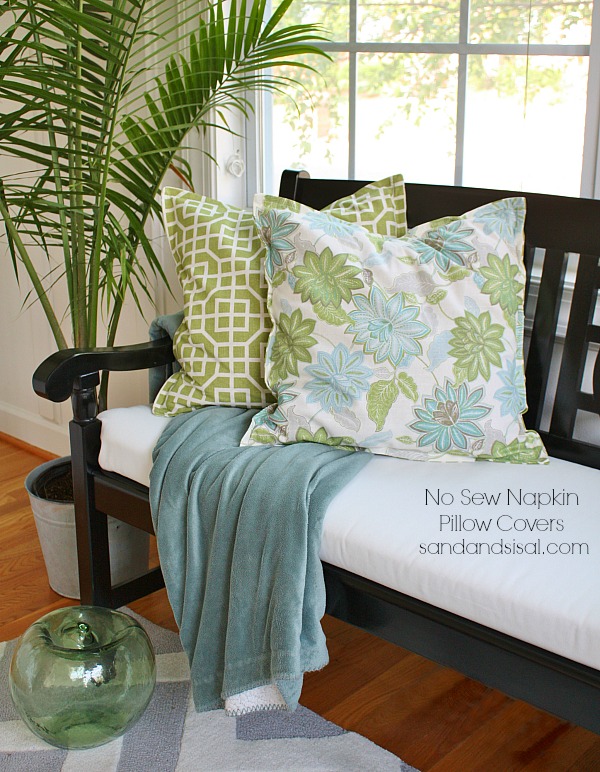
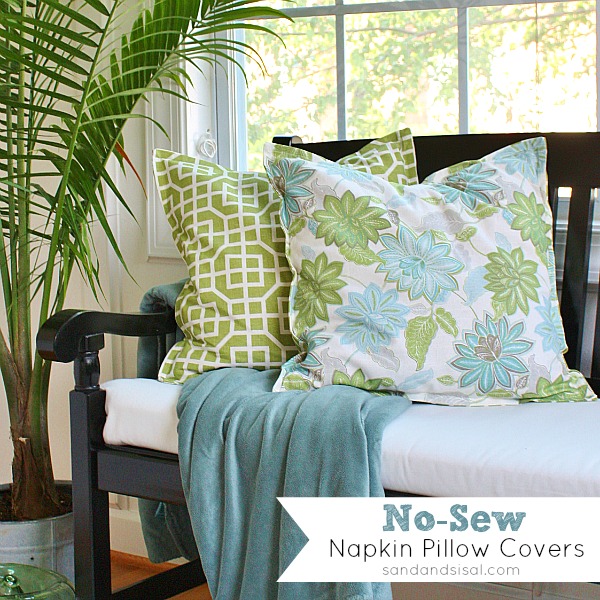
If you love comfy, fluffy, fashionable pillows, but not the cost, then you will love these super simple, No Sew Napkin Pillow Covers made from cloth napkins! Yes, I said napkins! I love switching out throw pillows with the changing seasons or just to freshen up a room’s appearance. Unfortunately I don’t have a ton of space to store all these pillows. The solution is to make pillow covers for your existing throw pillows. And even better yet, we will make these pillows reversible!
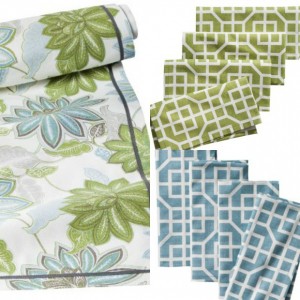
You can find beautiful prints for cloth napkins at Target for a very affordable price. These Target Threshold napkins were the inspiration for my office makeover (which I will reveal very soon).
 To make these No-Sew Napkin Pillow Covers, you will need the following items:
- Thermoweb Heat’n Bond Ultra Hold Iron-On Adhesive
- Velcro Brand Fabric Fusion Tape
- Scissors
- iron
- 20″x20″ square cloth napkins (2 coordinating prints) I chose Threshold’s patterns in Trellis & Floral
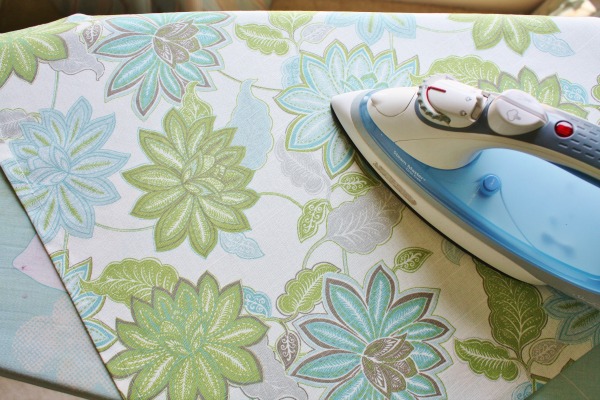
Step 1) Iron all your napkins well. You do not want any wrinkles before you begin.
 Step 2) Place one napkin on an ironing board, wrong side up. Roll out a long strip of the Heat’n Bond Ultra Hold tape, remove paper backing. Place it on the top seam and trim.
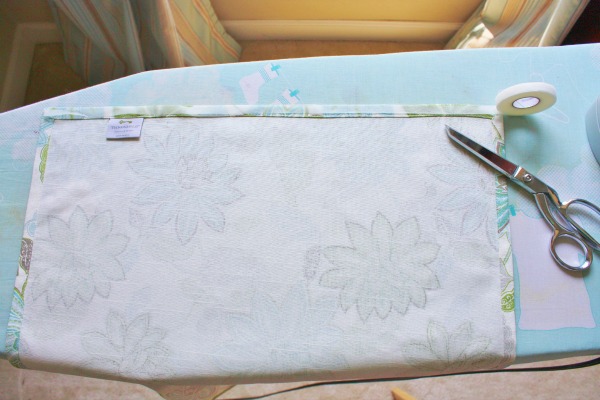 Place a strip a few inches long, extending down from the left and right corner. (Doing this step helps make sure your corners will be fused together well.)
 Step 3) Carefully place and align a second napkin (in a different print), right side up, over the top of the Heat’n Bond. Press well with iron on a no-steam setting. **Follow the instructions that come with the fusible tape.**
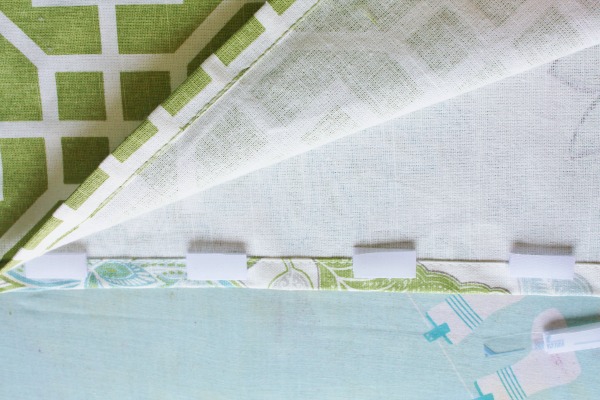
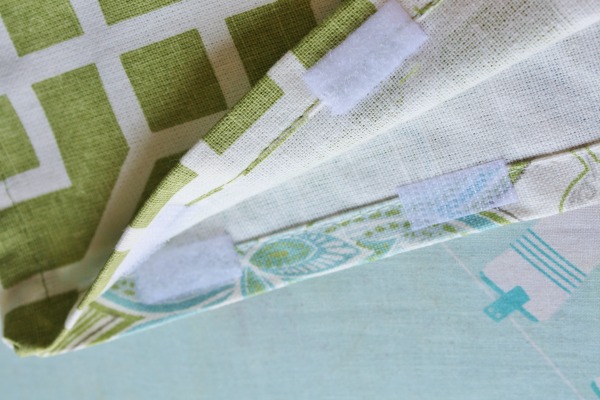
Step 4) Add the Heat’n Bond tape to both the left and right side of the napkin, leaving the bottom open. Press again. Step 5) Cut thin strips of Velcro Fabric Fusion Tape, remove backing, and stick onto the bottom seam, spacing about an inch apart. This is where you will be able to easily insert and remove your pillow. Align the top napkin carefully over the Velcro and press with the iron on steam setting. **Again, follow the manufacturer instructions.**
 Allow fabric to cool. Open the napkin pillow pouch cover,stuff your pillow inside, and press the Velcro to close. Voila! You have a pretty and reversible no-sew pillow cover!
 If you love no sew then check out these other projects!
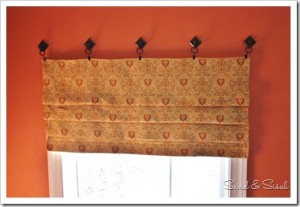
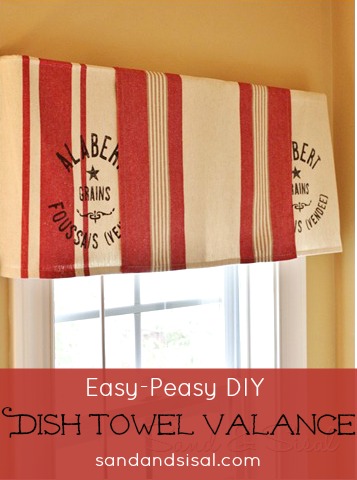
The Easiest No Sew Window Treatments Ever

Great tutorial!!! I LOVE the colors/fabric – what a great idea to use napkins!!
Thank you Katie!
i love how those prints work together. look forward to seeing your office.
THanks Laura!
I love your tutorial. You had me at “no sew”!!
Marcy
Thank you!
How cute is that!!
Oh my goodness, I saw this on Pinterest and recognized the floral print. I bought the big tablecloth in that print at Target last week because it was on clearance and thought it would make a great bag. 🙂 I like the idea of the pillow covers. I also like your window treatment idea. Off to read that post next.
Melissa
Thanks Melissa! You’re going to make a bag? How awesome! I love those Target Threshold prints! Great minds think alike. Have a fabulous weekend and thanks for stopping by Sand & Sisal! ~KIM
Love this tutorial! Just used it to make pillows from some Vera Bradley print napkins I picked up at HomeGoods. Thanks!
Oooo, now those would be beautiful! Vera Bradley prints are pretty. Thanks so much Linda!
I used the same floral print from Target. I used tablecloths, cut and made bed ruffle, pillows and panels. I love the soft colors!
What a fabulous idea!