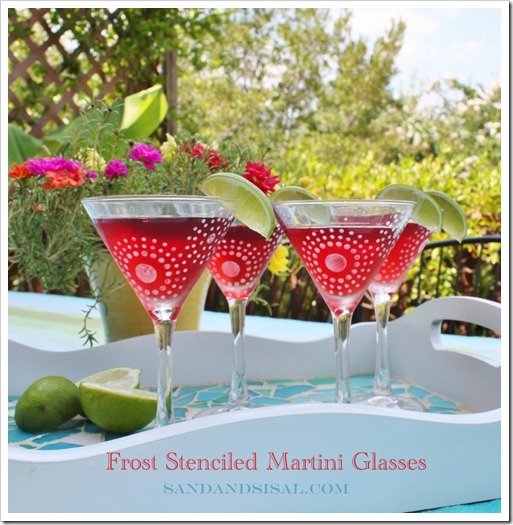
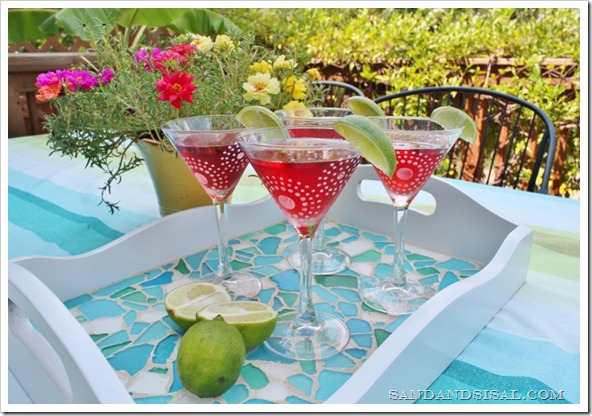
After a weekend of painting walls, ceilings, and trim work, I celebrated my hard work with one of these beautiful martinis served in custom Frost Stenciled Martini Glasses. If you are like me, then I know you all love simple, no fuss décor crafts that look elegant and don’t cost you a pretty penny. This project is one that anyone can do, no special talent or skills required, just a willingness to get creative!
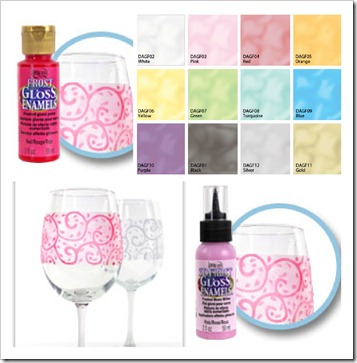
DecoArt sent me their new lines of glass paints to sample (yes, I’m a lucky girl!) and I played around with the frost paint line. I love the look of etched glass and their new Frost Gloss Enamels give you the subtle, soft effect of etched glass, but without caustic chemicals, and they come in a rainbow of colors. They also have 3D Frost Glass Enamel that can be used for added dimension in your designs or writing.
How to Make Frost Stenciled Glasses
You will need the following:
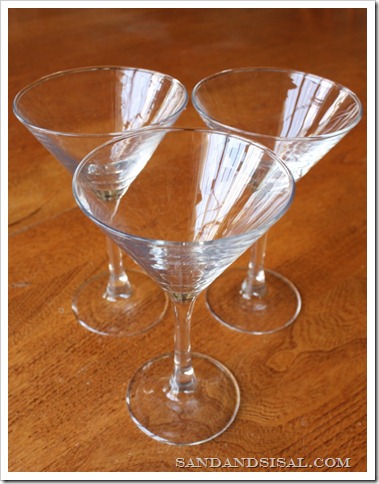
- Martini Glass, Clear, 4-Piece
- DecoArt Americana Frost Gloss Enamels Paint, 2-Ounce, White
(or your color choice)
- DecoArt Americana 3D Frost Gloss Enamel Writers Paint, 2-Ounce, White
(optional)
- Gloss Enamels Stencils-Mod
- a makeup sponge, paint sponge dabber, or paintbrush
I wanted to jazz up some plain martini glasses just a bit and chose to use the Frost Gloss Enamel in White. I washed them in hot soapy water, dried them well, and then rubbed the outside surface with rubbing alcohol. This removes any bit of oil that might remain and helps the paint adhere well.
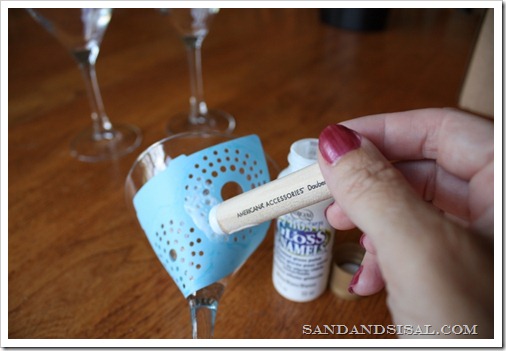
I pressed the stick-on stencil onto the glass and smoothed out any air bubbles. These stencils are great because they stick to glass really well and you can wash them and reuse them over and over. They have a humongous assortment of stencils to choose from too. I used a 1/2” paint dauber to apply the paint but a makeup sponge would work just as well. I found that a paint brush will work, but you need to use very light strokes to prevent under-bleed. Apply a nice, even coat of paint covering the stencil. The frost paint will not look very opaque while it is wet.
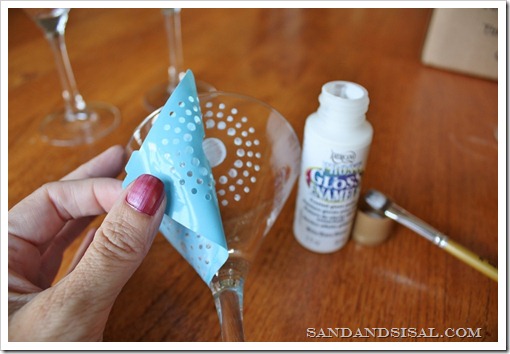
Peel off your stencil to reveal your frosted design. If it is messed up or smudged then simply wash the paint off your glass and stencil, dry them well and start over.
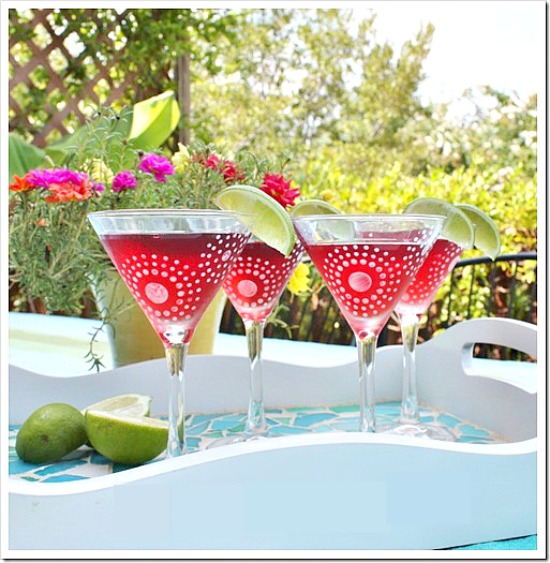
You can now add some 3D paint if you desire for a special effect. I added a row of dots around the base of the glasses. The paint dries quite quickly which is nice. It will cure in four days. What is even better is that you can make it dishwasher proof by placing the glasses on a cookie sheet in a cold oven, turning the heat to 275 degrees, bake it for 30 minutes, turn off oven and let it cool inside.
How pretty are these martini glasses? I love how they look just like etched glass!
For really awesome tips, tutorials, videos, and ideas check out the DecoArt Glass Paint Program. You can find all the products found in the Glass Paint Program at Michaels Craft Stores. Select stores will have all the new glass paints set up next to all their glassware too.
You can also find more of my glass project tutorials in the Décor Crafts tab up top.
Kim
Join me on FACEBOOK, TWITTER, PINTEREST, G+ or SUBSCRIBE.
Linking up to: Home Stories A to Z
Disclosure: This was sponsored post. All opinions are my own.
Ah! I love it! Looks like store bought. Completely cute;)
Thank you Kathleen!
Oh my goodness!!! So simple, yet such a statement! I guess I know what I am doing next 😉
I love simple too! Simple but pretty! Thank you Jessica!
Sweet!!! I foresee many etched glass projects coming up!
Thanks for sharing.
Haha! The paint really looks like authentic etched glass too!
Kim Kim KIM! You did it again! These are so cute, and would make adorable gifts!! I pinned this away for later use! Thank you!
THANK YOU JEN!
These are just way too cute! Love them =)
These are beautiful. Great photos too, Kim. Thanks for the idea. These paints rock.
xoxo,
Johnnie
Thanks Johnnie! I really do love these paints and I was pleasantly surprised at how REAL the frost paint looks like etched glass.
Love how these turned out Kim! Just beautiful!
Kim,
The martini glasses turned out great! I’m about to do the frosted look on a vase that I picked up a couple of weeks ago at GW. Just got it out of the box last night and cleaned it up, but I’m doing the spray on just for a super quick project (I say that but I’ve never used the spray on kind before)Anyway, hope to do it sometime today or tomorrow because today I’m knee deep in painting a kitchen wall. The plan was to work on the dining room but the kitchen was calling my name louder! Have a great day and have a martini for me~I think my “cutting in” around the cabinets would be a bit wonky if I had a glass. :0)
These are gorgeous Kim!! I love the stencil you used and the frost paint is perfect!!
How cool is this!!!? What an awesome project and I love their colors. This stuff would be great for upcoming Holiday decorating. Thanks for the oven tip, I didn’t know that 🙂
Oh, Kim, those look fantastic! Love the pattern. These would make a fab wedding gift!
This is super cute! I would love to drink out of these : )
I think that was my favorite stencil in the set. 🙂
I love that the white Frost gives the glasses an etched look. These look super classy!
These are gorgeous glasses, Kim! Perfect to give as a housewarming gift, too!
I’d take up Martini drinking for those Qt’s 🙂
So pretty! I love that stencil design!