• Home
  • Meet Kim
  • Blog
    • Facebook
    • Instagram
    • Pinterest
    • Twitter
    • YouTube

Sand and Sisal

  • DIY
  • Home Tour
  • Decorating
  • Gardening
  • Recipes
  • Thanksgiving
  • Decor Crafts
  • Seasonal
  • Christmas/New Years
  • Winter/Valentines
  • Spring/Easter
  • Summer Holidays
  • Fall
  • Halloween

March 19, 2012 ·

How to Make a Gallery Wall

Before/After· DIY· How to

Prev postNext post
Use your ← → (arrow) keys to browse

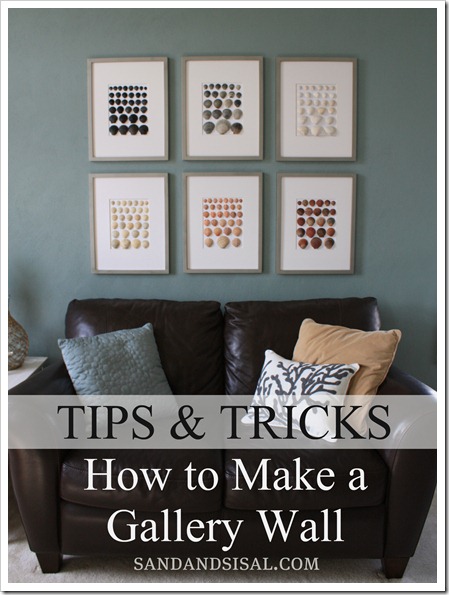
Have you ever wanted to make a gallery wall but were too afraid to attempt it? Or maybe you feared your walls would look like Swiss cheese with all the nail holes because you couldn’t get the pictures lined up straight? Making a gallery wall can be simple if you know the right tips and tricks!

Make a Gallery Wall

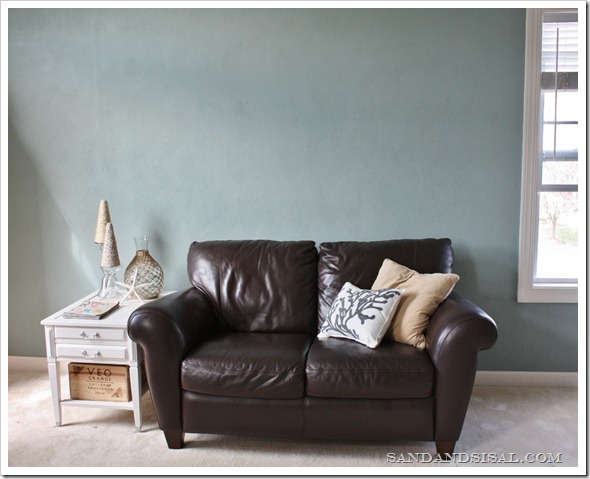
Choose a wall where you want to have your gallery. This is a wall in our playroom. To make a gallery wall you will need just a few items: your framed art, wrapping paper, scissors, a marker, painter’s tape, a level, a ruler, a hammer, and nails.

empty wall

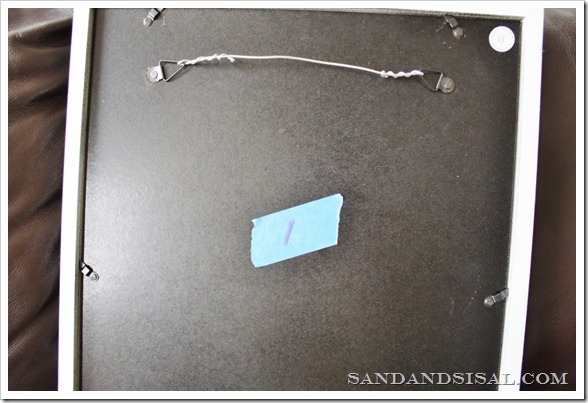
Gather your framed artwork or photos. These can be all varying sizes, but for this example, all my frames are the exact same size. Number the back of each art work with a small piece of painter’s tape.

label the pics

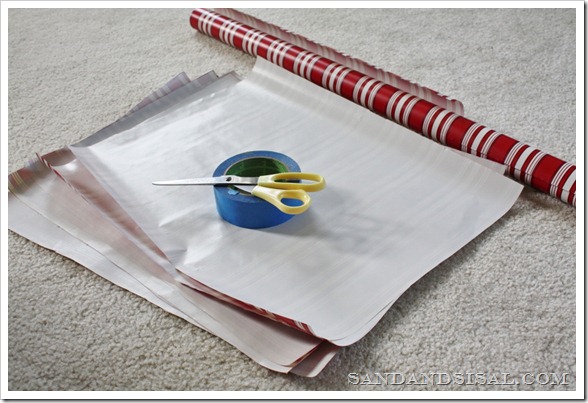
Roll out inexpensive wrapping paper onto the floor, with the white side facing upward. Lay your artwork on top of the paper and trace around it with a marker and carefully cut the shape out. Number your paper with the correlating frame number.

wrapping paper (1024x683)

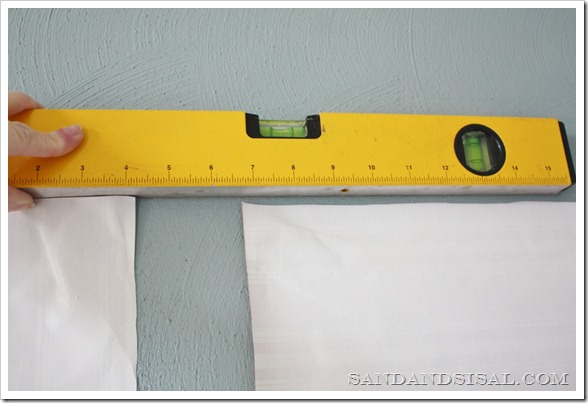
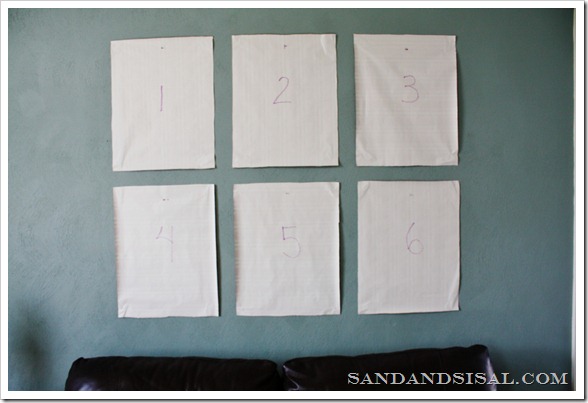
Take your numbered papers, attach painter’s tape to the back of them, and start arranging them on the wall where you like. Use a level to maintain a straight and level line from one picture to the next. In the picture below, the level shows the paper on the right needs to be moved upward.

Level and adjust (1024x683)

After arranging and leveling your papers, step far back and see if you are pleased with the arrangement. If not, then make the needed adjustments.

how to make a gallery wall

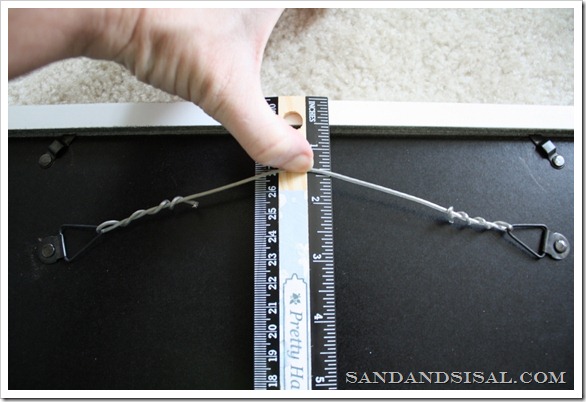
Turn over artwork #1 and measure the distance from the top of the frame to the saw tooth hanger or in hanging wire. Be sure to pull the hanging wire taught, mimicking how it will hang on a wall. Write that measurement down.

measure hanging height

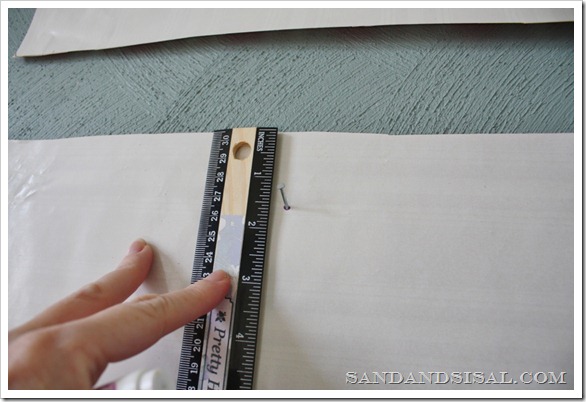
Take that measurement you just wrote down for Frame #1 and mark that distance on Paper #1. This is where you will place your nail. Repeat for all the frames. Now it’s time to hang the artwork! Match up your numbered frames with your numbered papers. Place the art on the nails and gently pull the paper off underneath.

transfer measurement to paper

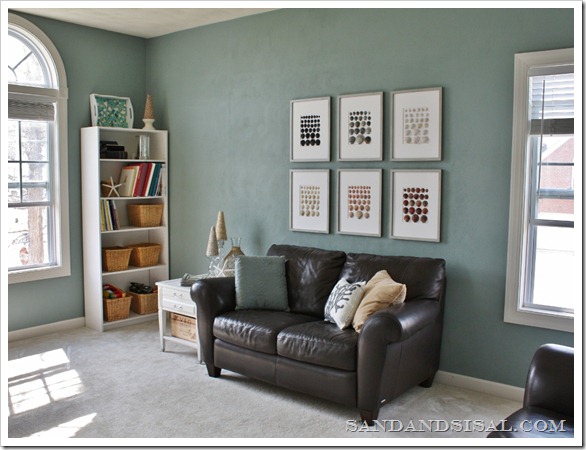
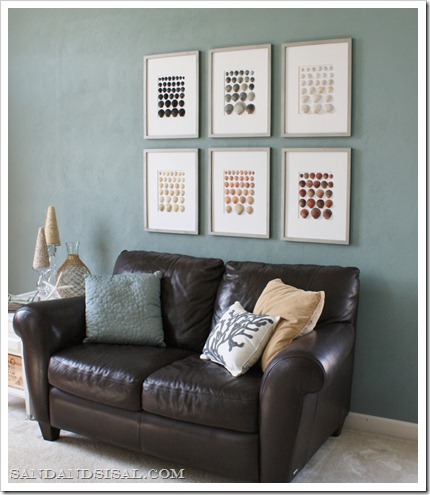
You are left with a beautiful gallery wall that is balanced and level and you didn’t have to curse the sun and moon out of frustration! (Not that I’ve ever done that…of course).

How to make a gallery wall

make a gallery wall

For more DIY ideas be sure to check out the DIY Project Gallery Tab at the top! Click on the link to learn how to make the Shell Art like you see in the wall gallery.

Kim

Join me on FACEBOOK, TWITTER, PINTEREST, G+ or SUBSCRIBE.

Linking up to:

    WeekendBloggyReading CraftomaniacMondayButton TipMeTuesdayButton1 tutorialsandtips
« Southern Camellias
Shell Art »

Comments

  1. Courtney {a thoughtful place} says

    March 19, 2012 at 1:44 am

    So great Kim! Posting about a gallery wall tomorrow and will link to this. Great tips. Happy Sunday.

  2. Scandi Coast Home Australia says

    March 19, 2012 at 6:52 am

    I am crazy adventurous with gallery walls.
    I have also learned to patch holes really well ;o)
    ……………………………………………….
    Tania Maree xx

  3. The Single Nester says

    March 19, 2012 at 5:39 pm

    Looks great. I just did a gallery wall for my home office that I will be posting about. I traced the frames on newspaper and then folded the newspaper in half to mark the hangie thingey on the back.

  4. Jessica Bruno says

    March 22, 2012 at 1:57 am

    Oh my word….great tip pulling up the wire up and measuring. What the heck is wrong with me? Why have I never done that!? 🙂

  5. Laura/Pet Scribbles says

    March 24, 2012 at 2:52 pm

    As I said on Twitter when I shared this post yesterday: crooked frames be damned! Thanks for making sense of how to get that magazine-ready gallery look: this one is a keeper!

  6. Anonymous says

    March 6, 2013 at 4:08 pm

    Is the paint color on your wall also Atmospheric?

Trackbacks

  1. 5 Ways to Fill a Blank Wall - Sand and Sisal says:
    March 25, 2014 at 11:06 am

    […] gallery wall can all also have a repetitive, structured theme. I created a very linear gallery wall in our playroom using framed DIY Shell Art, made from shells our family has collected along the […]

  2. Creating a Gallery Wall - Beneath My Heart says:
    October 23, 2014 at 1:00 pm

    […] are many ways to hang your items.  I like this way suggested by Kim from Sand and Sisal.   She cut wrapping paper the same size as the […]

  3. Gallery Wall: Staircase Story says:
    April 30, 2015 at 11:45 am

    […] here, here and here for inspiration on fantastic stairwell gallery walls. And my friend Kim from Sand & Sisal just posted about tips for hanging a gallery wall. Go check it out. Sharing with: My Uncommon Slice […]

Welcome

Kim WilsonWelcome to Sand & Sisal: where love of home and sea meet! I share tutorials in DIY, decorating, crafts, gardening, & recipes.  [READ MORE]

Let’s Connect

  • Facebook
  • Instagram
  • Pinterest
  • Twitter
  • YouTube

Keep in Touch!

Love this post? Let's keep in touch!

Subscribe for free to have Sand and Sisal delivered straight to your inbox.

Search

Categories

Archives

Copyrighted Content Permission

All images and tutorials on this blog are copyrighted material. Please contact me if you would like to use any media (photos, video or audio files), tutorials, or ideas from this blog. 99% of the time I would be happy to allow you to use ONE photo with appropriate credit and link back to Sandandsisal.com (preferably to the same post it was borrowed from.) Absolutely no text or tutorials can be replicated. Contact Kim via email: sandandsisal (@) gmail (dot) com

Amazon Associates Disclosure

Kim Wilson is a participant in the Amazon Services LLC Associates Program, an affiliate advertising program designed to provide a means for sites to earn advertising fees by advertising and linking to amazon.com.

Privacy Policy

Click HERE to review our Privacy Policy

Copyright © 2025 · captivating theme by Restored 316