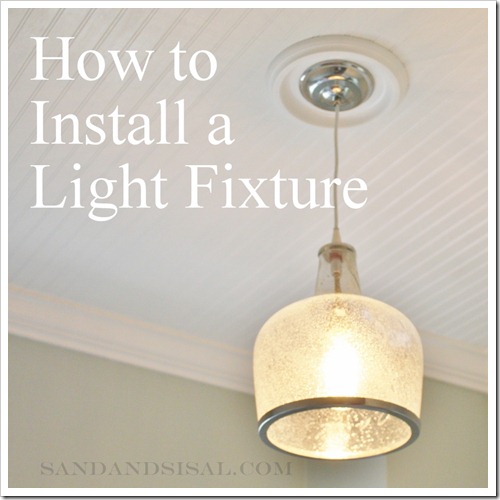
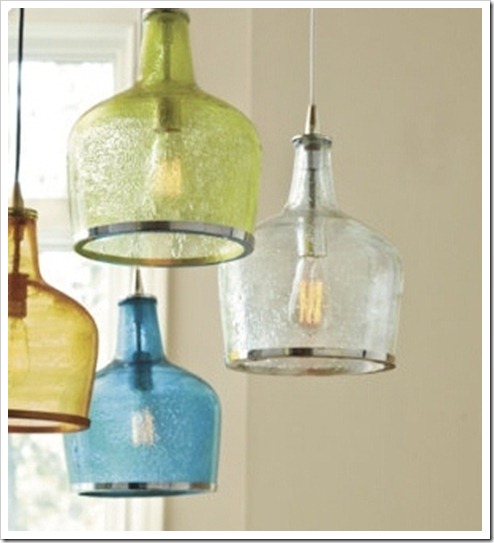
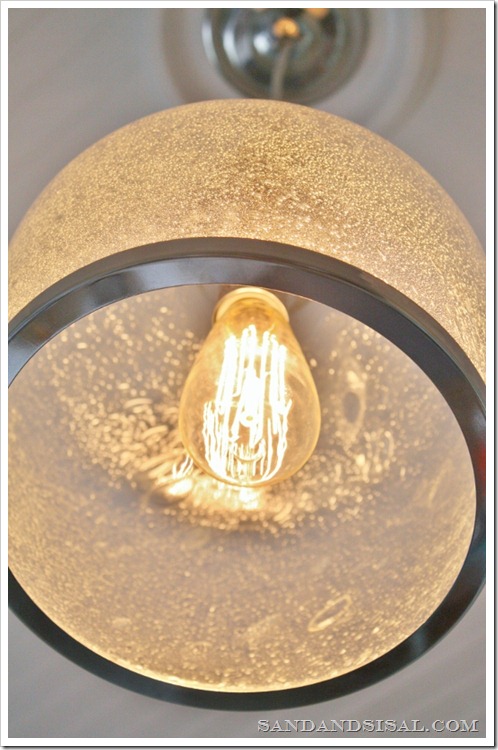
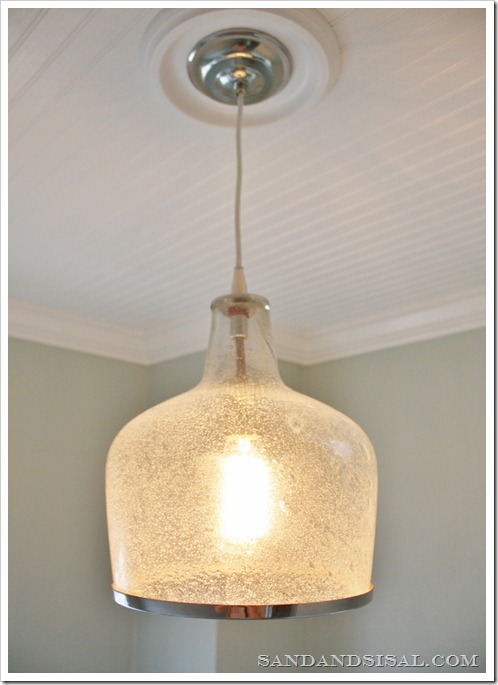
I recently purchased this beautiful Addie Pendant from Ballard Designs. The pendant is mouth-blown seeded glass with silver metal trim and is a foot tall. It now resides in our laundry room which is almost done with its makeover! This is the third light fixture we’ve installed in the past two months so I figured I’d show you all How to Install a Light Fixture for yourselves!
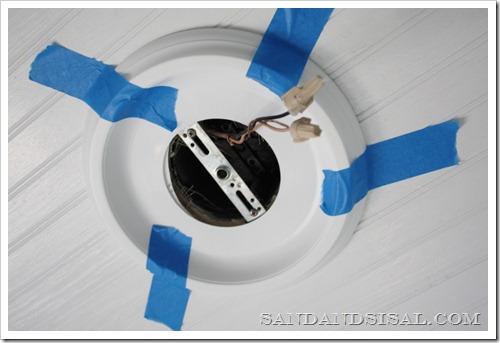
When we installed the bead board ceiling, we cut the hole for the electrical box to large, so a small ceiling medallion covered up our little mistake. The medallion was adhered to the ceiling with silicone adhesive and then secured with tape until it was set.
DISCLAIMER: I am not an electrician so please understand that every light fixture is different and this is a basic explanation of wiring. Please consult a professional if you are unsure of what you are doing. I am in no way responsible if you inadvertently electrocute yourself! Comprende? Always turn off the power at the breaker box to prevent possible injury from electrical shock.
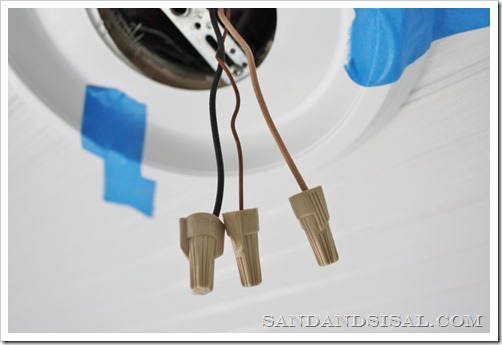
Each outlet box will have a white wire, a black, and a green or copper wire. Remember this BLACK is HOT! Hot means it’s a live wire. Associate the color black with death (electrocution=death). White is neutral and green (sometime just a bare, thick copper wire) is the ground wire.
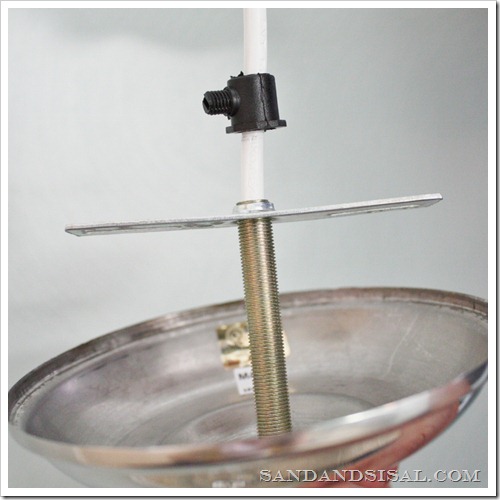
Before you start, hold up your light fixture and determine how far you want the fixture to hang. Mark the cord with a pencil. Your light fixture usually comes with hardware. The long cord attached to your fixture gets threaded up through all these hardware pieces. Here is a what came with my light (from bottom to top) a silver end cap, a silver canopy, a threaded tube, a metal crossbar plate and a black plastic knob. I took a picture showing the order in which they are assembled so you could easily see it. Go ahead and put all these items (minus the black knob) onto your cord.
The black knob, once tightened, is supposed to hold the wire tight so your fixture wont come crashing down. I found it wasn’t holding well, so I suggest the traditional method of using a knot. So imagine tying a knot in your cord once it is threaded through the tube and plate. The knot will rest above the plate and ensure your fixture stays up!
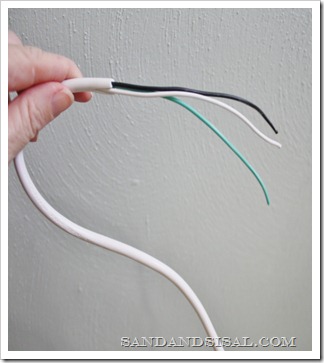
You will need a friend to help hold the fixture while you wire it. Attach your metal plate with the screws provided to the outlet. Thread your light cord up through the secured plate up to where you marked your desired length. Measure an additional 6-8 inches of cord and then cut your cord. You will have to carefully cut the cord insulation with an exact-o blade or box cutter to expose the enclosed wires.
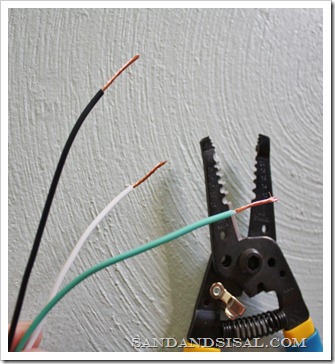
The end of your light cord has three wires in it, a black, a white and a green. Use a wire stripper to safely remove approximately 1 inch of the rubber insulation around each wire.
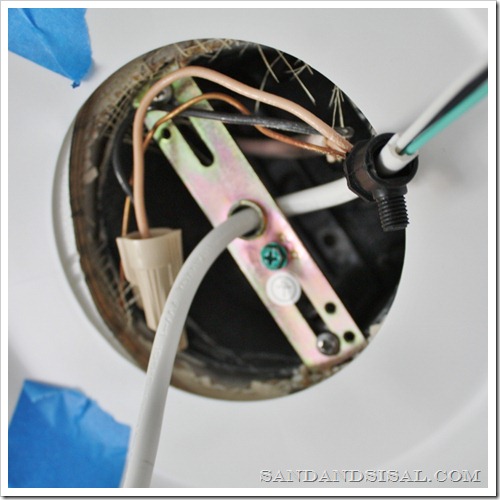
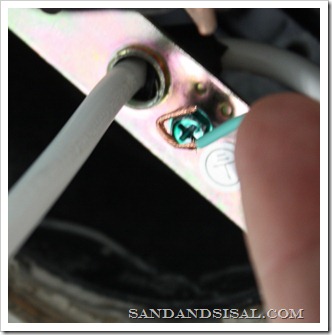
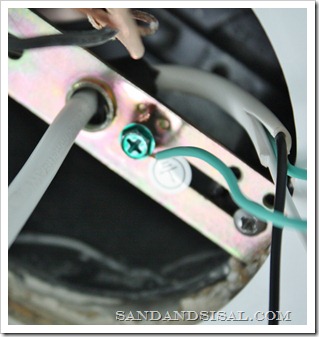
The first step is to attach the green/ground wire from the ELECTRICAL BOX to the metal plate (no picture is shown, but I secured it on the left side of the plate). The second step is to take the green/ground wire from the fixture cord and make a little hook (see pic on left). Put the hook under the screw as shown below and tighten. Because the screw turns clockwise, you also want your little hook to turn with the screw to remain tight and coiled. If you reversed the placement of the hook, then your wires could unravel as you tighten the screw.
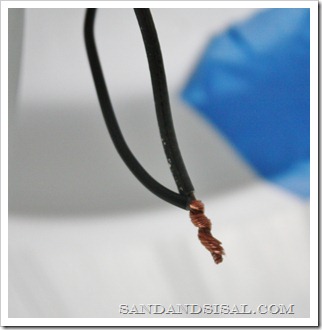
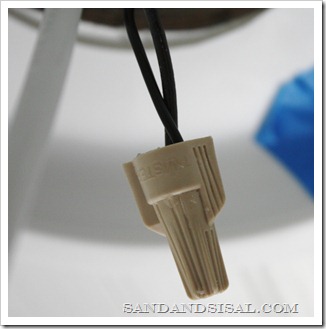
Now connect your wires. Twist the black wire from the outlet box to the black wire of your fixture cord, twisting clockwise. Next, twist on a wire cap, turning clockwise also. Repeat this process connecting the white wires. You should not have any frays of wires exposed at all.
Push up the metal threaded tube to the plate and twist clockwise a few turns. Now push up your canopy and hold. A small amount of the threaded tube will protrude the bottom of the canopy. You want just enough protruding so that you can twist on the end cap. If it is hanging out to much, simply twist it up further. You can always thread the tube before you attach a single wire if you desire, but I have found that threading it later simply gives me more room to work. It’s up to you.
Add a light bulb to your fixture. I’m trying out a “new” filament bulb. It looks great but this particular bulb has a bit of a yellow tint that I’m not crazy about. I’ll be searching for a non-yellow bulb soon.
Turn the power back on in your breaker box and switch on your light! Enjoy your new fixture!
Please refer to my Lighting Height Guide if you are unsure of how high to hang certain types of fixtures.
Kim
Linking up to:
 |
 |
 |
 |
 |

Oh my lands that is gorgeous…..I must have.
Thank you Rach!
I love your new light fixture! I am going to replace one of our light fixtures above the sink, and really want a pendant light. I love the look of the clear seed glass like yours. So pretty!
Thank you Jennifer! I’m looking at other seeded glass fixtures too. I’m kinda hooked on them now!
Oh you are good! Gorgeous light and it looks great with the filament bulb. Those are so cool. I am to chicken to try it but great tutorial for those who aren’t afraid 🙂
Thank you Jessica! It took watching my husband install several fixtures before I got comfortable, but it’s really easier than it looks. Thanks again! ~ KIM
Love the look of the medallion…sometimes the “oops” turn out in our favor!!
I am wondering how difficult it is to install a hanging lantern fixture where there is currently a can light? Any tips?
Thank you so much! I do know that there are conversion kits you can purchase but I’ve never dealt with one. I’m sorry I’m not too much help. Thanks for stopping by! ~ KIM
Looks amazing! Did you go with the clear or amber version?
I love it!
I love ballard designs so much and am hoping to purchase a few things from them, once our home reno is complete!
thanks for sharing!
xo- Kaara @ In the Kitch with Kaara
I am building a new house and have all four of the addie pendants for use in the kitchen. They need longer cords for the high ceilings, and the electrician cannot get the tops off to change out the cords. Any ideas on how to get a new cord in the light? Thanks