Yes, I’m aware it’s fall, but here in the south we enjoy warm temperatures up until Thanksgiving. Summer is my favorite season. The beach, the sunshine, the heat, and the COLOR of all the beautiful annuals and perennials fills my soul with happiness! So why not save a little piece of summer with plant clippings and have gorgeous blooming color in your home all winter long? It’s simpler than you might think!
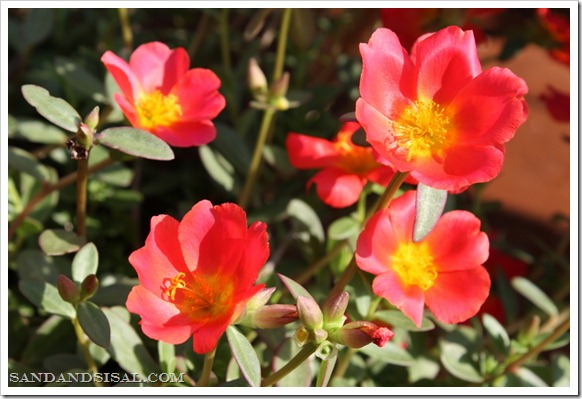
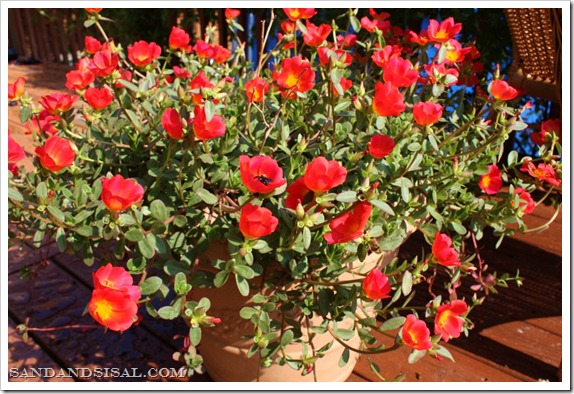
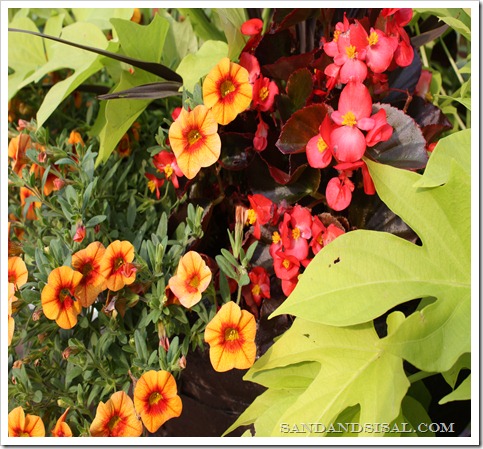
These vibrant, hot melon colored flowers are portulaca. Portulaca love the heat and sun and are very low maintenance. This is normally an annual in my area, but before the frost hits, I bring it inside and it resides in a sunny spot in my home. This beauty has lived for 3 years in and out of my home! Pretty good for an annual! Wouldn’t this make you smile in the dreary months of February?
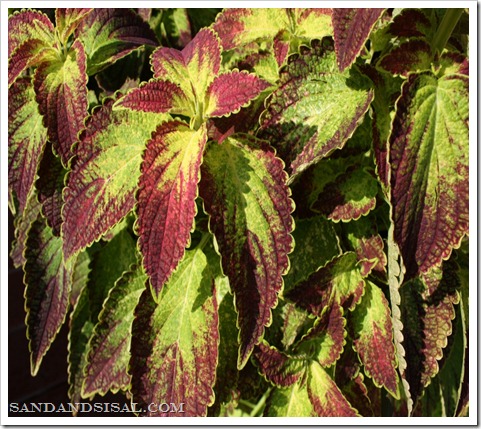
In the spring I started a few deck planters filled with Begonias, petunias, and potato vine and ornamental grass. By August the plants were overflowing and needing constant trimming and clipping. Instead of throwing out those clippings, reuse them! Did you know you can create new plants from just clippings and water?
How to Grow Plants from Clippings
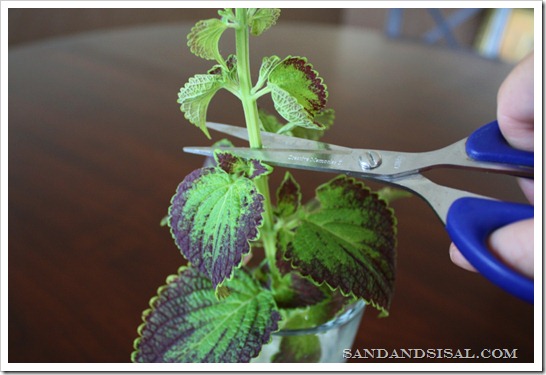
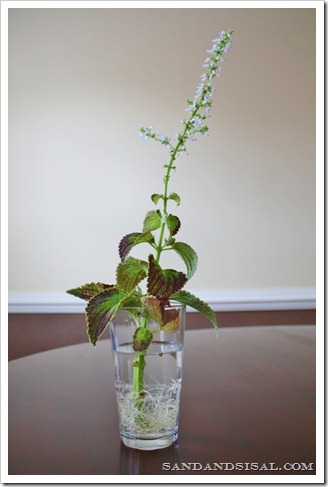
Cut a clipping from a healthy annual. Choose a newer branch or shoot off the top or side of the plant. Place the clipping in a glass of water. Remove all the lower leaves that would be under the water line. Next cut off the top of the plant IF it has started blooming with flowers or seed. You want the plant to focus on root production, not flower production.
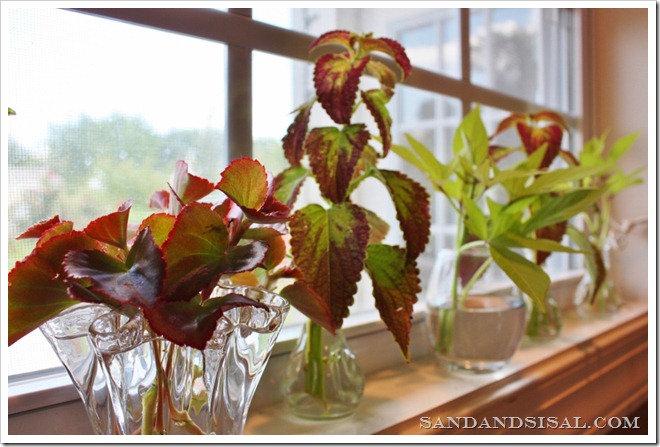
Place your plant clippings in a bright spot in your home. This is a north facing window in my kitchen and though it is bright, it doesn’t receive direct sunlight.
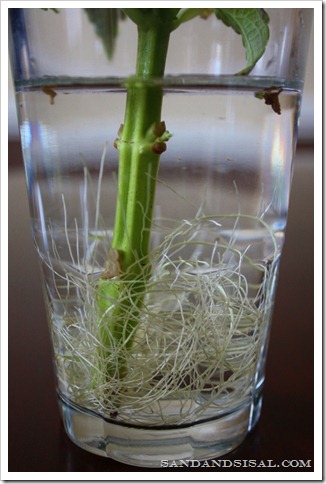
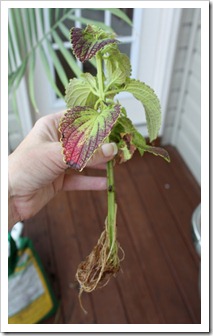
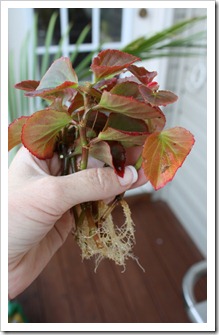
The below pictures is plant and root growth after only 3 weeks! If you don’t want to wait that long, you can dip the bottom of the stem into some rooting hormone powder first, but I just used plain water.
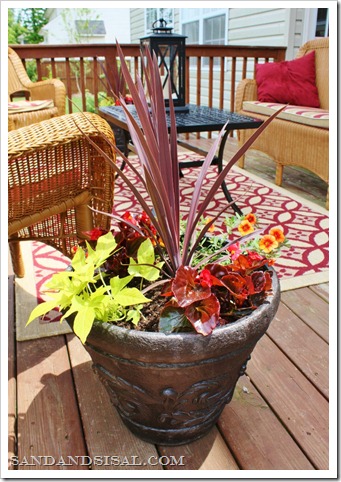
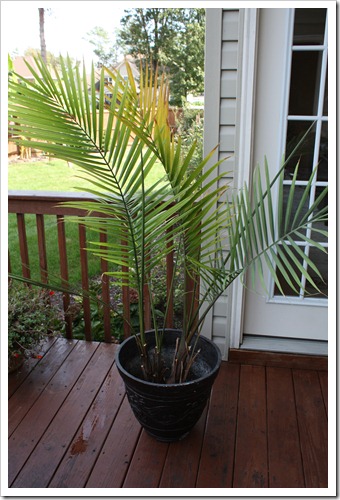
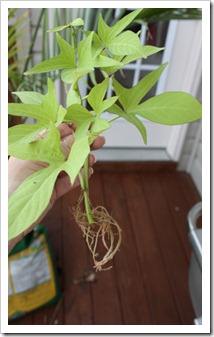
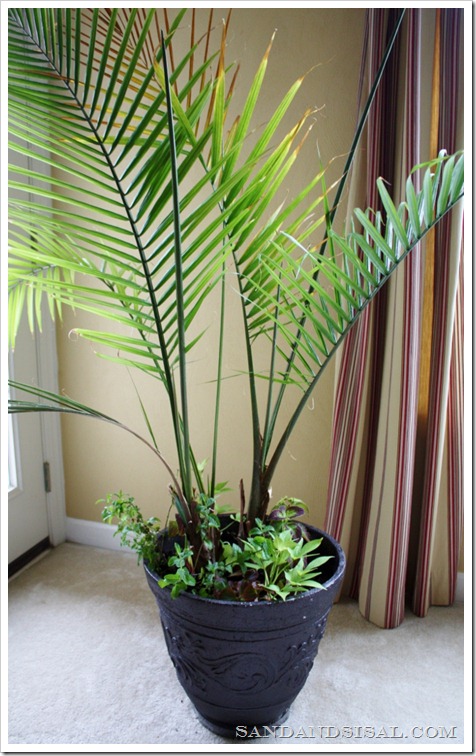
Now that the clippings had a healthy amount of roots, you could transplant the clippings into small containers with potting soil and allow them to grow larger. I chose to transplant them directly into the base of a planter I already had. This palm adorns my family room all year round but he looks a little plain.
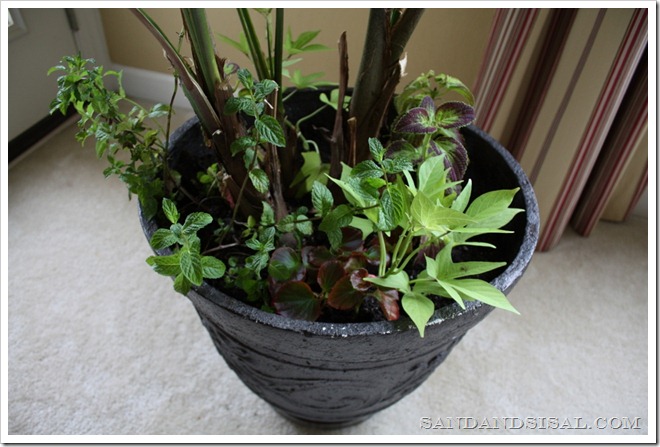
So I took him on to the deck, added fresh potting soil and took the rooted plant clippings and planted them around the palm.
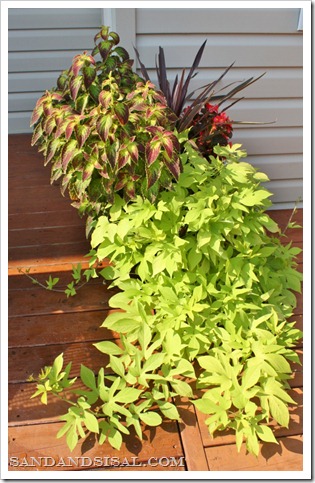
Potato Vine (left) – Coleus (middle) – Begonia (right )
I also decided at the last minute to dig up a bit of mint out of my garden and placed it in the planter.
Place the planter in a very bright spot in your home. In the wintertime, an ideal spot would be any area with direct sunlight. In a few months you will have full plants with blooming color that will help chase those winter blues away!
For more gardening ideas, please check out my Gardening Tab up at the top of the page.
Kim
For the latest in DIY, Décor, Recipes, and Gardening be sure to join me on
FACEBOOK, TWITTER, PINTEREST, G+ or SUBSCRIBE!
Linking up to: Nester’s Plant Party
I have done this with houseplants with a lot of success…now I have to try it with some outdoor plants! Thanks so much, Kim!
XO,
Jane
Great post Kim! The timing is perfect. I’m going to reference your post in my “ how to host a plant swap article ” from yesterday ;0)
Brittany aka Pretty Handy Girl
GREAT post for us non green thumb readers! I actually will try this 🙂 Thanks for sharing!
wonderful post I know what my kiddo and I will be doing today!Heathere
i love the post 😀 but i was wondering if you can make it with a crape myrtle or a bougainvillea clipp and if you changed the water at some point during the 3 weeks