We sighed a deep breath of satisfaction when we finished the board and batten in our downstairs powder room. It was our first attempt at building board and batten. Now, understand, this is the only bathroom on the main level so it gets used a lot.
How do I delicately communicate this?
When someone spends a lot of time in one exact location, one will visually scrutinize the immediate surroundings, nit-picking every negative detail.
Are you still with me?
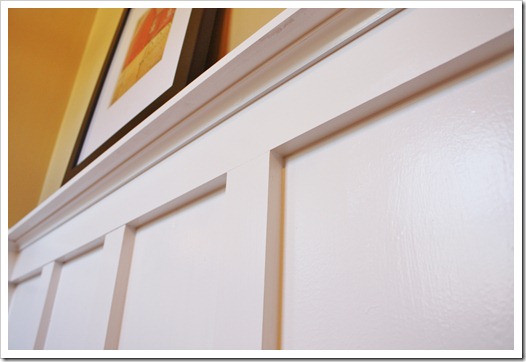
Here was the view (from the throne).
(Click above picture to read my tutorial on How to Add Board and Batten to Beautify a Bathroom)
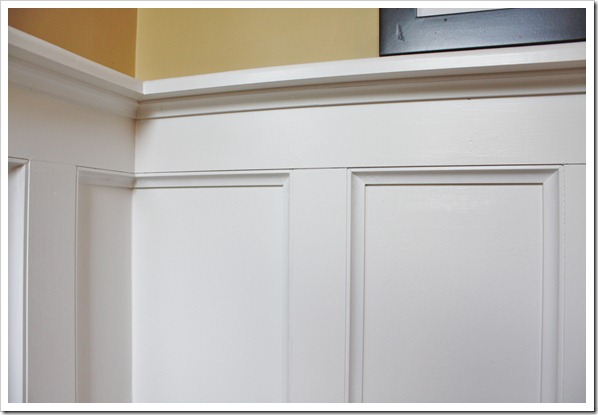
What annoyed me about this board & batten is the sharp angles and edges
It had a rustic quality and didn’t look finished enough for my taste. The woodwork needed more detail, and I liked the cove molding on the underside of the ledge. So out came the saw and trim.
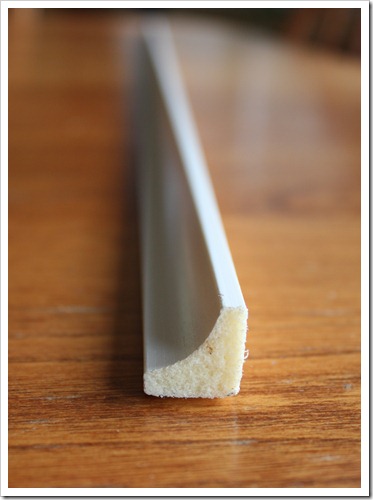
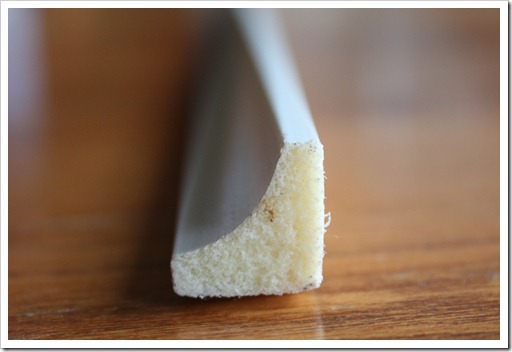
Cove molding is super inexpensive ($2-$3 for an 8 ft. piece)!
I love to use this foam molding for accent pieces.
It’s feather light which makes it easy to handle and it comes pre-painted in white or even faux wood grain.
No power saw is needed to cut this! You can cut it with a sharp box cutter or fine toothed hand saw blade.
I used my miter saw because it’s fast, accurate and cuts this cove molding like butter!
I measured the inside height and width of each board & batten box.
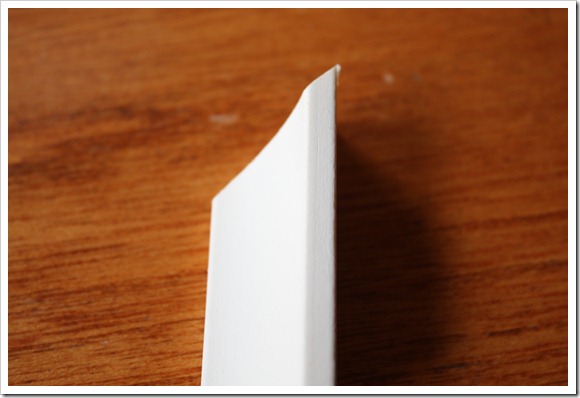
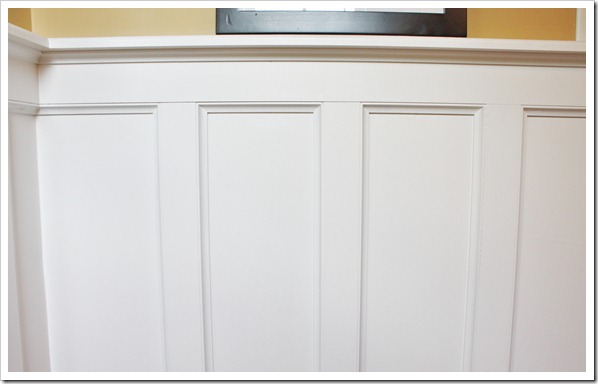
Then I cut the cove on a 45 degree angle just like you would for a picture or mirror frame.
(Click for my tutorial on How to Frame a Mirror and learn how to make these cuts)
Next I used my finishing nail gun and tacked it to the wall, filled the nail holes, and painted.
The view from the throne is now complete and looks finished. Doesn’t it look better?
But the window valance above the throne is another annoyance which I’m about to fix!
So stay tuned!
Kim
 |

Outstanding! Looks amazing!! The husband is not going to like this, because I am about to add another project to the to-do list!!! Thanks for sharing!!
Girl you are so funny! I think you did an awesome job in there and the walls just pop now. Now you have me thinking of places where I could do this…hmmm. Enjoy!
Kim, this board and batten is fabulous. I love how hefty it looks. Much better view for sure. Would love to have some in my tiny powder room. Thanks for joining the party.
I love the difference this made! So much so, that I went to Lowes and purchased some cove molding to do the same in our tiny powder room. I have a question for you. I can’t tell from the photos how you finished the cove molding along the baseboards.
Where did you purchase the foam cove molding? I can’t find it.
Hi Dianne!
Home Depot has this in their “Decorative finished Moldings” section. It ‘s next to some of the dark stained looking finished molding. It is their Celucor vinyl interior molding. Some smaller HD’s don’t carry it, but all the larger ones do.
Thanks!
~KIM
I can’t go to HD today to look, but I can’t find ‘Celucor’ anywhere on the internet as a product or company and a search of HD website doesn’t have the vinyl piece you used. Is there a chance they don’t sell it anymore? I liked your “concave corner” look better than the rounded shoe molding. LOVE your wainscoting!!!
Hi Dianne,
It is possible it’s been discontinued, it is basically just their vinyl or polyurethane cove molding. You can easily substitute their primed pine cove molding. It is nearly as light, less expensive, and very easy to work with. What you are looking for is “cove molding”. Just ask the guys at HD or Lowes and they will show you everything they have. 😉
http://www.homedepot.com/p/Unbranded-WM-100-11-16-in-x-11-16-in-x-96-in-Pine-Primed-Finger-Jointed-Cove-Moulding-00106-93096C/204757724
Ha Ha! I did notice that the item you linked is online order only. What? Seriously, don’t they have anything in the store anymore? I will look for cove molding and order if I need to. Thanks so much!