Give your teen a customized bulletin board that expresses their style! Learn how to make your own style tile!
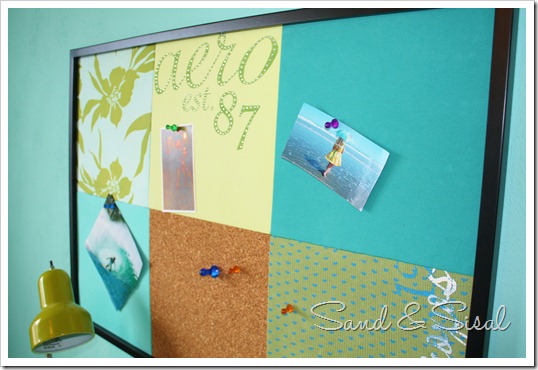
Pottery Barn Teen is featuring customized “Style Tile Boards”, which are really quite nice, for a “lovely” price.
I love to replicate what the top catalog stores are feeding the masses.
But if I can do it for a teeny-tiny fraction of what retail charges then you’ll see me doing a happy dance!
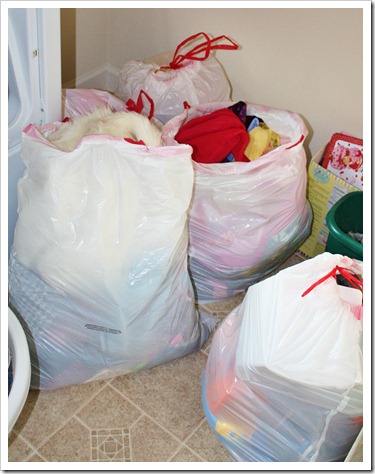
Today I raided the pile of donation bags that have been piling up in my laundry room.
I chose several t-shirts that my daughters have discarded (Aeropostale and AE reign supreme in our hood!).
I headed over to “Tar-jzay” (Target) where I can be found several times a week.
(It’s sad when you’re such a “regular” that the employees know your name!)
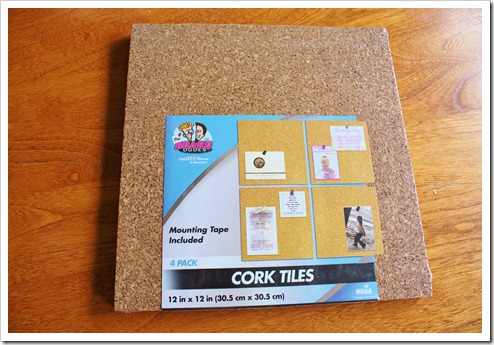
I found these 12×12 cork tiles ($6 for 4) at Target along with 24×36 poster board ($24).
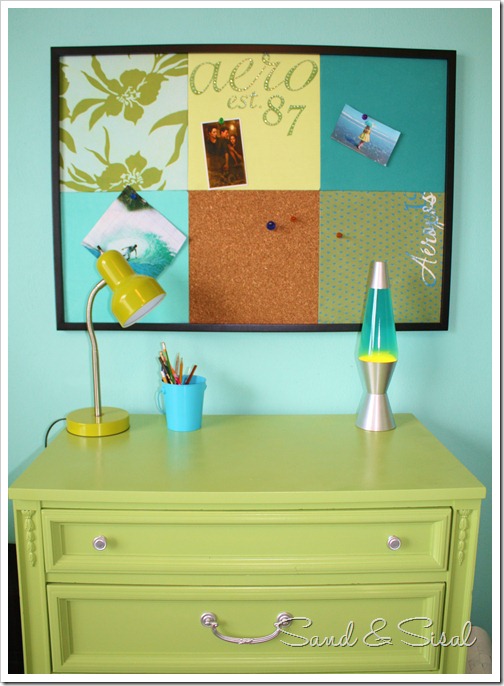
I chose a 24×36” frame because I knew I could fit six 12” squares inside the frame, (two rows of three squares).
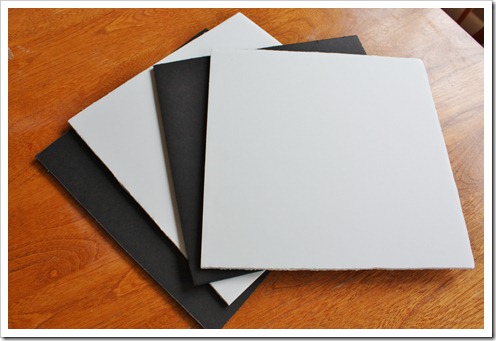
I also picked up a few sheets of foam core board.
They were out of white board so that’s why I have black board.
I cut the boards into 12×12” squares.
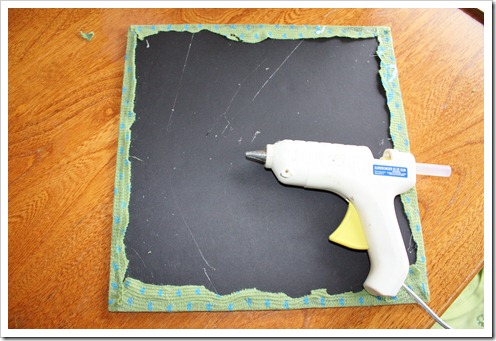
I took those discarded t-shirts, cut out squares a little larger than 12×12” and secured them to foam core with a glue gun.
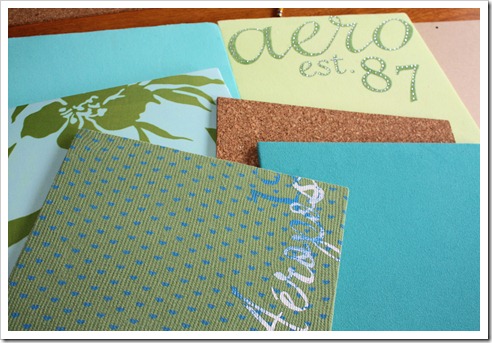
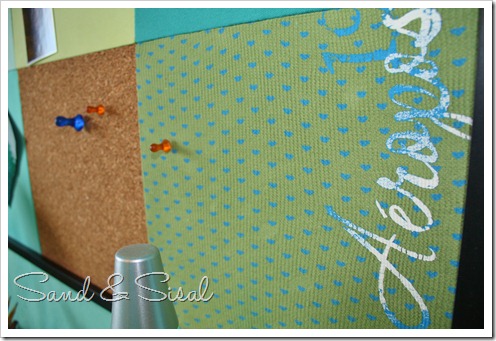
Below are my fabric covered and cork squares.
Disassemble your poster board frame. You will not be using the thick plastic inset.
Lay the frame backboard on a flat surface.
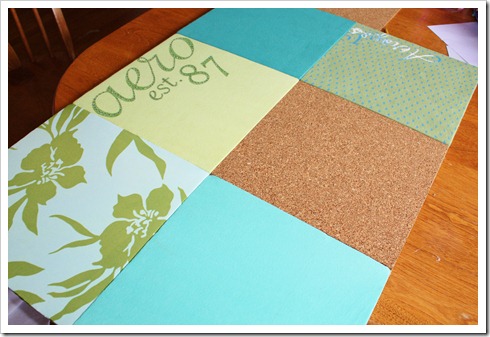
Once you have the squares covered, arrange them on the backboard of your poster board.
Use your glue gun to secure them to the board.
You can also use double sided foam tape or spray adhesive if you prefer.
Insert the backing board into your frame and secure. Voila!
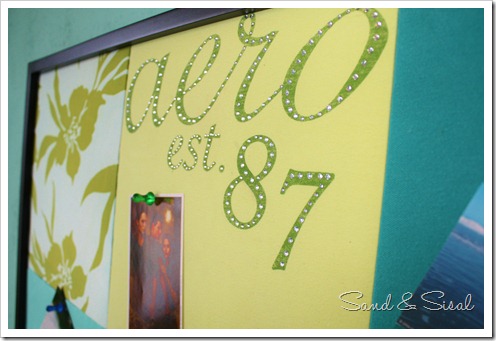
My girls love their bling. The rhinestone Aero shirt gives the board extra glitz!
Search your closets, grab those discards, and create your own style tile board your child will love!
Kim
Join the conversation on Facebook!
Linking up to:
 |
![TT_Button_new_thumb[1] TT_Button_new_thumb[1]](https://lh3.ggpht.com/_TeXtWuNGnEE/TYvJWle1h7I/AAAAAAAAB8I/_pjpU5LL_qw/TT_Button_new_thumb%5B1%5D%5B7%5D.jpg?imgmax=800) |
 |
 |

Kim I LOVE IT!! My daughter went nuts when she saw it, guess I’ll be making one!! Martina
Yes, it looks great! I love the colors too! Thank you for all your work! 🙂
That is so cool! My daughter would love it.
What a wonderful idea!! This is going to be a great project to do with my daughter.
Love it, Kim. Great way to repurpose those clothes, too. Thanks for joining WUW.
This comment has been removed by the author.
Fantastic Idea! Tee shirt quilts are fun too.
Love this….Personalizing is always a plus in a teens room…thanks for the idea!!!
Love this. I will have to try it, I just took down my daughter’s old cork board when I re-did her floors and thought i should jazz it up a bit, this is a great idea!! Thanks!
What a great idea!! I love that.
I have a quick question for you! You were kind enough to answer my question a few weeks ago about using BM Atmospheric paint. I am thinking of painting my dining room this color and wanted to know if it had some gray tones in it? My dining room is open to my living room, however, seperated by an arch and pillars. I was hoping to paint my living gray eventually wanted to see if you thought the colors would “go” together. Thanks so much!!!!! Have a great weekend!
Karen
We are on the same wave length with these cork boards. Yours turned out great Kim!
I heart you….
This is sooo rad! I am going to go and share this now with all of my peeps!
THANK YOU for doing this. Anytime I get a PB teen, westelm or whatever other great catalouge I recieve in the mail I always tear out things as inspiration or things I know I can make. I tore this one out and I was stumped with this because I couldn’t find any fabric I wanted to use and couldn’t figure out how to really put it together. Never thought of using old clothes. Great idea!
SUCH a great idea. Thanks for sharing!
This is amazing! It looks better than the “official” PBteen version and it looks like something even a regular person like me could make (without hiring Martha’s crew of experts) – thanks so much for sharing!
So cute!
Kim!!!
I miss you dear! I’m sorry I haven’t been commenting! This board looks a gazillion times better than the pottery barn version! You did an AMAZING job! I seriously wish you were my mom! LOL
Fabulous job and thank you so much for sharing!
xoxo
I love this! The colors/ shirts are awesome. What a great idea. I’m clipping this!! Also wanted to say thanks for stopping by Emily A Clark and reading about my painted chair. I appreciate your comment!! It means a lot.
What a great idea! Love how it turned out! What an awesome way to use old t-shirts!
I LOVE that you used old shirts! My tweener would like one of these – thanks for the instructions.
I LOVE this!!! It looks so PB teen! You did a fantastic job! I need to find some time to try this myself! BTW Thanks for stopping by my blog and commenting!
Pottery Barn should be copying YOU. I love it.
Absolutely awesome! I have two boys and look forward to creating something similar in their rooms.
I love it! Great use of cast-offs & I LOVE that you put it all in a frame! Brilliant!! 🙂
-Kristi
From Creative Kristi
This could be really cute with sports shirts for a sports themed boys room too! Hmmm, gears are turning.
Where can you find foam core bords at..if i cant find them is there something else i can use?
What a great knock off! I’ve featured this post on Copy Cat Crafts today, you can view it here
http://www.copycatcrafts.com/make-a-pb-teen-inspired-tile-board/
We’d love it if you’d like to display a featured button! You can grab your button on the right hand side of your post. Thanks!
SO ONLY ONE OF THE SQUARES IS ACTUALLY CORK? IS THE CORK PUT ONTO THE FOAM BOARD ALSO TO BE SAME THICKNESS?? OR IS IT ALREADY SAME THICKNESS?
Good question! On the board I made, only one square is the cork. You can make it all out of cork if you’d like, but using the foam core board is actually less expensive. It’s totally up to you. The cork I purchased was 3/16 of an inch think, which was same as my foam core. Foam core can be found in different thickness, depending on the brand. You could possibly double the cork if your foam core is really thick.
I am looking to do a 9 tile board. Any suggestions on making or finding a frame ? Thanks in advance.
For a larger board, I recommend purchasing a fiber board at Lowes or Home Depot, cutting it to size and then framing it out with small molding. Here is a post I did explaining how to frame a mirror but it’ll teach you how to make a frame in general. 🙂
https://www.sandandsisal.com/2011/01/how-to-frame-mirror.html
Thank you so much for inspiring me and showing how to do it so clearly. This is the first project I’ve ever seen online that I actually did and didn’t just book mark. I love my new board! http://www.clairewade.com/1/post/2013/03/how-to-make-your-own-beautiful-pin-board.html
Thank you again!
Oh my! What a perfect idea! I love this so much and I’m really going to try this myself so soon. Superb! Thanks for sharing!